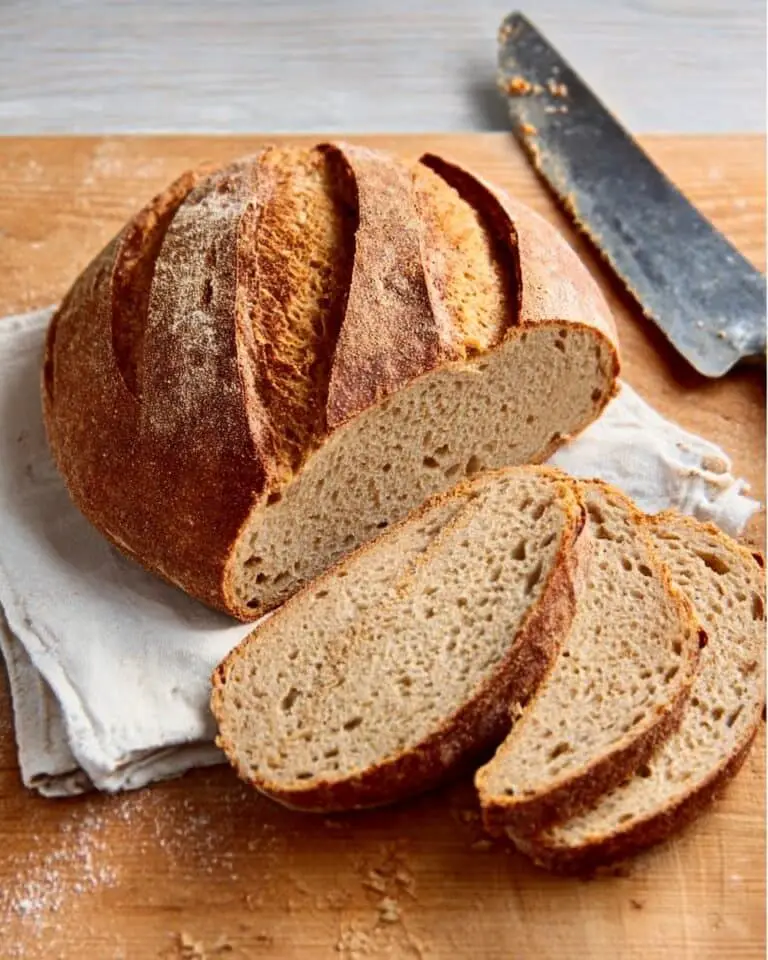
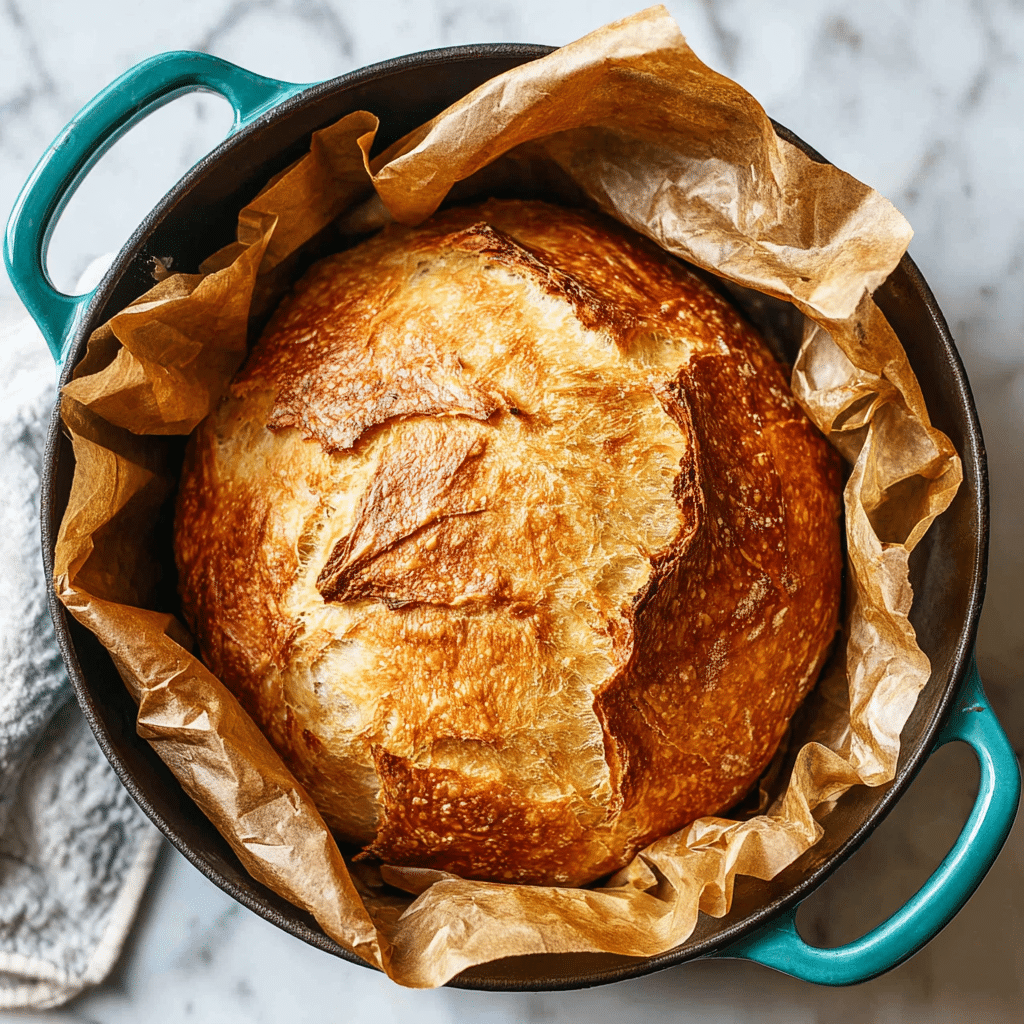
If you’re craving a crusty, flavor-packed loaf that seems straight from a countryside bakery, this easy roasted garlic rosemary artisan bread is the answer. Its golden, rugged crust hides a chewy, fragrant crumb dotted with sweet pockets of roasted garlic and hints of fresh rosemary. What makes this loaf truly special is its old-world, rustic charm—you’ll feel like a true artisan baker with minimal effort. Each slice brings comfort, character, and a little bit of magic to your table.
Ingredients You’ll Need
The beauty of this rustic recipe is how just a few key ingredients mingle to create something extraordinary. Each plays an important role, from depth of flavor to that classic, airy interior. Here’s what you need and why it matters:
- Whole head garlic: Roasting transforms raw garlic into buttery, sweet nuggets that melt right into the bread.
- Extra-virgin olive oil (divided): Adds richness to both the crumb and roasted garlic, lending a subtle earthiness to this rustic loaf.
- Coarse sea salt & freshly ground black pepper: Enhances the roasted garlic, bringing out its sweet and savory notes.
- Water (room temperature, ~70°F / 21°C): Provides hydration, activating the yeast and creating those beautiful artisan air pockets.
- Active dry yeast: The rising star—literally!—that gives volume to your rustic bread without any kneading.
- Bread or all-purpose flour (plus more for dusting): The sturdy backbone, creating the chewy structure and open crumb we adore in artisan loaves.
- Dried oregano: A pinch infuses the dough with gentle herbal warmth, underscoring the rustic, Mediterranean character.
- Kosher or fine sea salt: Balances and amplifies flavors throughout the bread for a perfectly seasoned slice.
- Fresh rosemary (finely chopped, plus more for topping): The unmistakable star of rustic flavors, lending fresh, woodsy aromas and visual appeal.
- Roasted garlic cloves (smashed): Meld seamlessly into every bite—don’t be tempted to skip or skimp on these!
How to Make rustic
Step 1: Roast the Garlic
Set your oven to 400°F (204°C) and get ready for some kitchen aromatherapy. Slice your whole head of garlic in half horizontally, then generously drizzle the exposed cloves with olive oil and a big pinch of salt and pepper. Wrap the garlic in foil and roast for about 40 minutes until the cloves are utterly soft, caramelized, and fragrant. Once cool enough to handle, squeeze out every last golden clove—these will be the heart of your rustic loaf.
Step 2: Mix the Dough
Add the yeast to your room-temperature water in a small bowl and let it bloom—about 10 to 15 minutes. In a roomy bowl, whisk together flour, salt, oregano, and rosemary. Pour in your yeast water, the smashed roasted garlic, and a splash of olive oil. Mix with a sturdy spatula until you have a shaggy, sticky dough. It may look messy, but trust the process—this no-knead technique is what gives rustic bread its classic chew.
Step 3: First Rise
Cover the bowl with a clean kitchen towel and let it rest at room temperature, undisturbed, for 8–10 hours. This slow rise is where the real magic happens, as the dough ferments and doubles in size, developing both loft and flavor. The longer, the better for that signature rustic depth.
Step 4: Shape and Cold Ferment
Lightly flour your work surface and turn out the soft, bubbly dough. Gently shape it into a round ball—easy does it; you want to keep all that precious air inside! Place it seam-side up into a floured bowl or basket. Cover and refrigerate for anywhere from 1 to 24 hours (or up to 48 if you’re after truly profound flavor), allowing your rustic loaf to mature beautifully.
Step 5: Preheat Oven & Score
About 45 minutes before baking, pop your Dutch oven (with the lid on) into the oven and preheat to 450°F (232°C). When the oven is blazing hot, take your dough from the fridge, carefully invert it onto a piece of parchment (seam-side down), and use a sharp blade to score the top. This gives your rustic bread that gorgeous artisan flourish—and helps control how it expands in the oven.
Step 6: Bake
Lower the dough (on parchment) into the preheated Dutch oven. Cover and bake for 30 minutes, creating a steamy environment for that shattering crust. Uncover and bake another 15–20 minutes to a burnished, deep golden brown. The best rustic loaves are bold and bronzed!
Step 7: Cool & Slice
Remove your masterpiece from the Dutch oven and let it cool on a wire rack for at least an hour. This is tougher than it sounds, but it’s vital for that chewy, open crumb. Now, slice, listen to that magnificent crackle, and take in the aroma—it’s why we love rustic bread baking.
How to Serve rustic
Garnishes
Sprinkle your loaf with a flourish of fresh rosemary and a touch of flaky salt just after baking. A brush of olive oil delivers a glossy shine and deepens the bread’s savory, rustic character. For special occasions, try a dusting of finely grated Parmesan for even more aroma and bite.
Side Dishes
This rustic bread elevates any meal but shines brightest alongside hearty stews, creamy soups, or a classic antipasto platter. Try it with an herby olive oil dip or a pat of salted European butter. A couple of slices transform a simple salad or a cozy bowl of soup into a soul-soothing dinner.
Creative Ways to Present
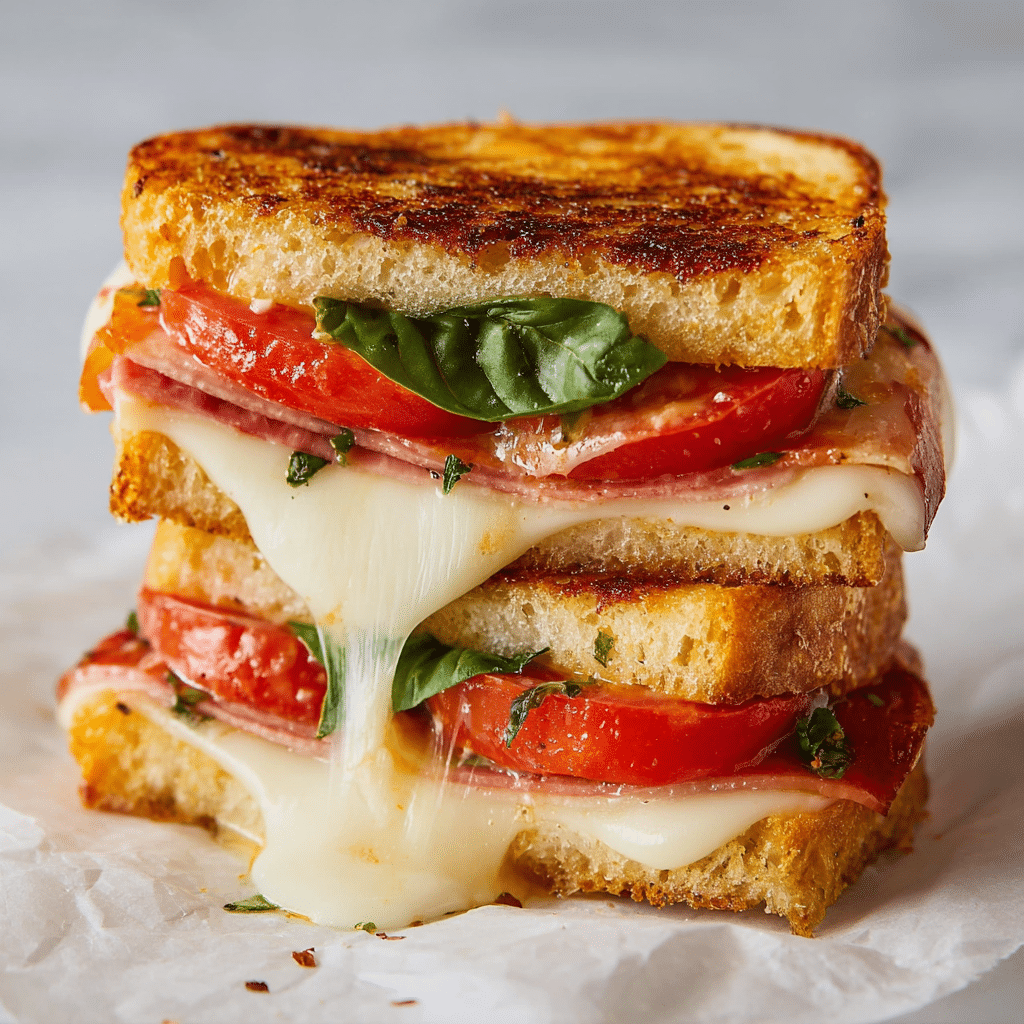
For gatherings, serve thick, rustic wedges with an assortment of cheeses, cured meats, and roasted veggies. Turn leftovers into the world’s best grilled cheese or rustic croutons for salad. You can even hollow out the loaf and fill it with warm, bubbling fondue for a centerpiece everyone will remember.
Make Ahead and Storage
Storing Leftovers
Wrap your rustic bread loosely in parchment or a clean kitchen towel and keep it at room temperature for up to two days. This preserves the crust while keeping the inside soft and chewy. Avoid airtight containers, which make the crust lose its irresistible bite.
Freezing
Slice the cooled bread, wrap the slices or whole loaf tightly in plastic wrap and foil, and freeze for up to three months. That way, you always have rustic bread on hand for last-minute meals or surprise guests. Simply toast slices from frozen or thaw the whole loaf at room temperature.
Reheating
To revive the signature rustic crust, preheat your oven to 350°F (175°C). If reheating a whole loaf, bake for 10–15 minutes right on the rack. For slices, a quick pop in the toaster works wonders, crisping up the edges and warming the center without drying it out.
FAQs
Can I substitute dried rosemary for fresh?
Yes! Use half the amount of dried rosemary if you don’t have fresh. The flavor will be slightly more concentrated, but it pairs beautifully with the roasted garlic in this rustic bread.
What if I don’t have a Dutch oven?
No worries—you can bake your rustic loaf on a preheated baking stone or heavy baking sheet. Cover with an inverted metal bowl for the first part of baking to trap steam and mimic a Dutch oven.
Can I make this rustic recipe gluten-free?
Absolutely! Use a gluten-free all-purpose flour blend designed for bread baking, and consider adding 1 teaspoon of xanthan gum for structure. The texture will be a little different but still delicious.
How long should I cold ferment for maximum flavor?
Cold fermenting for 24 to 48 hours gives this rustic loaf the deepest flavor and best texture. If you’re in a pinch, even a quick 1-hour chill will add complexity, but patience pays off here!
Why do I have to let the bread cool before slicing?
As tempting as it is to slice right in, the cooling stage allows the crumb to set and the flavors to settle. Cutting too soon can result in a gummy texture—patience ensures every slice is pure rustic perfection.
Final Thoughts
If you’ve ever wanted to master a show-stopping artisan loaf without any kneading or complicated steps, this rustic recipe is for you. There’s so much satisfaction in creating a gorgeous, flavorful bread that makes every meal memorable. Give it a try soon—you’ll fall in love with homemade rustic bread, slice after slice!
Printrustic Recipe
Easy Roasted Garlic Rosemary Artisan Bread is a crusty, chewy, and flavorful homemade loaf made with a no-knead, rustic recipe. The bread is infused with roasted garlic, fragrant rosemary, and a hint of oregano, creating a delightful aroma and taste.
- Prep Time: 20 minutes
- Cook Time: 50 minutes
- Total Time: 12 hours 50 minutes
- Yield: 1 loaf, 12 servings
- Category: Bread
- Method: Baking
- Cuisine: Artisan
- Diet: Vegetarian
Ingredients
For the Bread Dough:
- 1 whole head garlic
- 1 tablespoon extra-virgin olive oil (divided)
- Coarse sea salt & freshly ground black pepper
- 1½ cups water (room temperature, ~70°F / 21°C)
- 1 teaspoon active dry yeast
- 3 cups bread or all-purpose flour (plus more for dusting)
- ½ teaspoon dried oregano
- 1 teaspoon kosher or fine sea salt
- 2 teaspoons finely chopped fresh rosemary (plus more for topping)
- 1 head roasted garlic cloves (smashed)
Instructions
- Roast the Garlic – Preheat oven to 400°F (204°C). Cut the garlic head in half, drizzle with olive oil, salt, and pepper, and roast in foil for 40 minutes. Cool and remove cloves from skins.
- Mix the Dough – Dissolve yeast in room-temp water. Combine flour, salt, oregano, and rosemary. Add yeast water, roasted garlic, and oil. Mix until sticky.
- First Rise – Cover bowl with a towel and let rise at room temperature for 8–10 hours until doubled.
- Shape and Cold Ferment – Shape dough into a ball, place in a bowl, cover, and refrigerate for 1–24 hours.
- Preheat Oven & Score – Preheat oven with Dutch oven inside. Place dough on parchment paper, score the top.
- Bake – Bake in Dutch oven for 30 minutes covered, then 15–20 minutes uncovered until golden.
- Cool & Slice – Cool on wire rack for at least 1 hour before slicing.
Notes
- Overnight cold ferment enhances flavor and texture—don’t skip it!
Nutrition
- Serving Size: 1 slice
- Calories: 180 kcal
- Sugar: 0 g
- Sodium: 290 mg
- Fat: 0.5 g
- Saturated Fat: 3 g
- Unsaturated Fat: 0 g
- Trans Fat: 0 g
- Carbohydrates: 31 g
- Fiber: 1 g
- Protein: 5 g
- Cholesterol: 0 mg

