I am absolutely thrilled to share my Spooky Snack Board Recipe with you, a festive and fun way to bring Halloween spirit to any gathering or cozy night in. I love how this colorful and playful board comes together with little effort but makes a huge impact, combining all my favorite seasonal treats into one vibrant spread. It’s not just about the candy; the textures and whimsical Halloween-themed cookies and treats make it a standout centerpiece that’s impossible to resist.
Why You’ll Love This Spooky Snack Board Recipe
What I adore most about this snack board is the incredible blend of flavors and textures. You get the crunch of the cookies, the soft chewiness of Rice Krispie treats, and the fruity, sweet surprise of gummy worms and candy pumpkins. It’s like a mini Halloween party for your taste buds! The combination feels festive but also balanced so that every bite brings something different to enjoy.
Another reason I’m so passionate about this Spooky Snack Board Recipe is how easy and quick it comes together. I’ve thrown it together in just 20 minutes on many occasions where I wanted an impressive treat without tons of stress. It’s perfect for last-minute parties or for entertaining kids during the Halloween season. Plus, it looks wildly impressive on a table or coffee station, always inviting friends and family to dig in and enjoy the fun vibes.
Ingredients You’ll Need
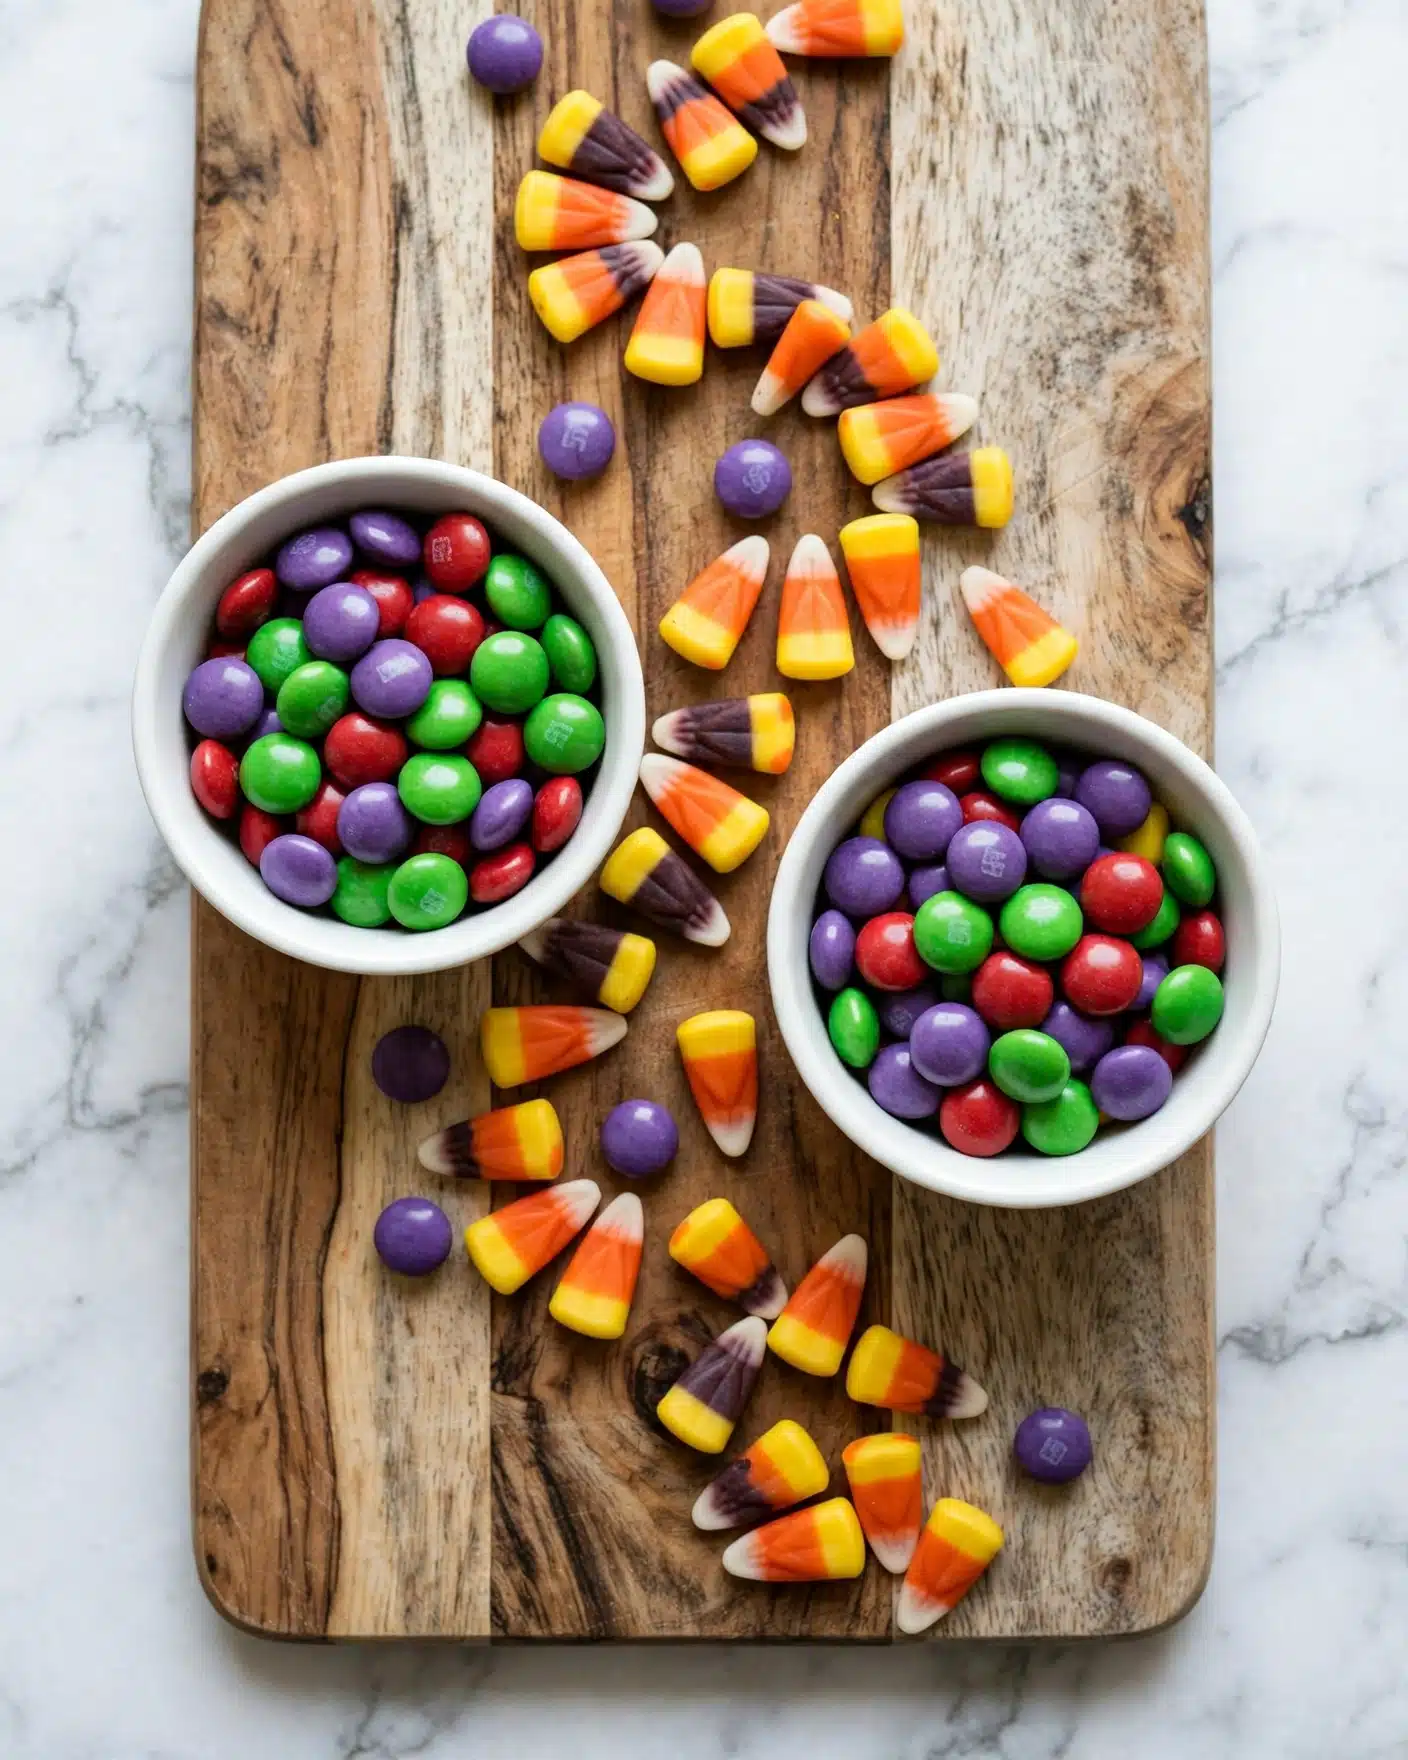
The ingredients for this board are super simple but essential to create that perfect spooky-themed display. Each element adds its own special texture, color, and iconic Halloween vibe that ties the whole board together beautifully.
- Brach’s Autumn Mix Candy: Bright and colorful candy pumpkins that bring authentic seasonal sweetness and a pop of orange to the board.
- Ghoul’s Mix M&Ms: These add a crunchy chocolate surprise and playful graphic colors on either side of the board.
- Nutter Butter Ghost Cookies: Soft, peanut butter-filled treats shaped like ghosts to add a whimsical, spooky feel.
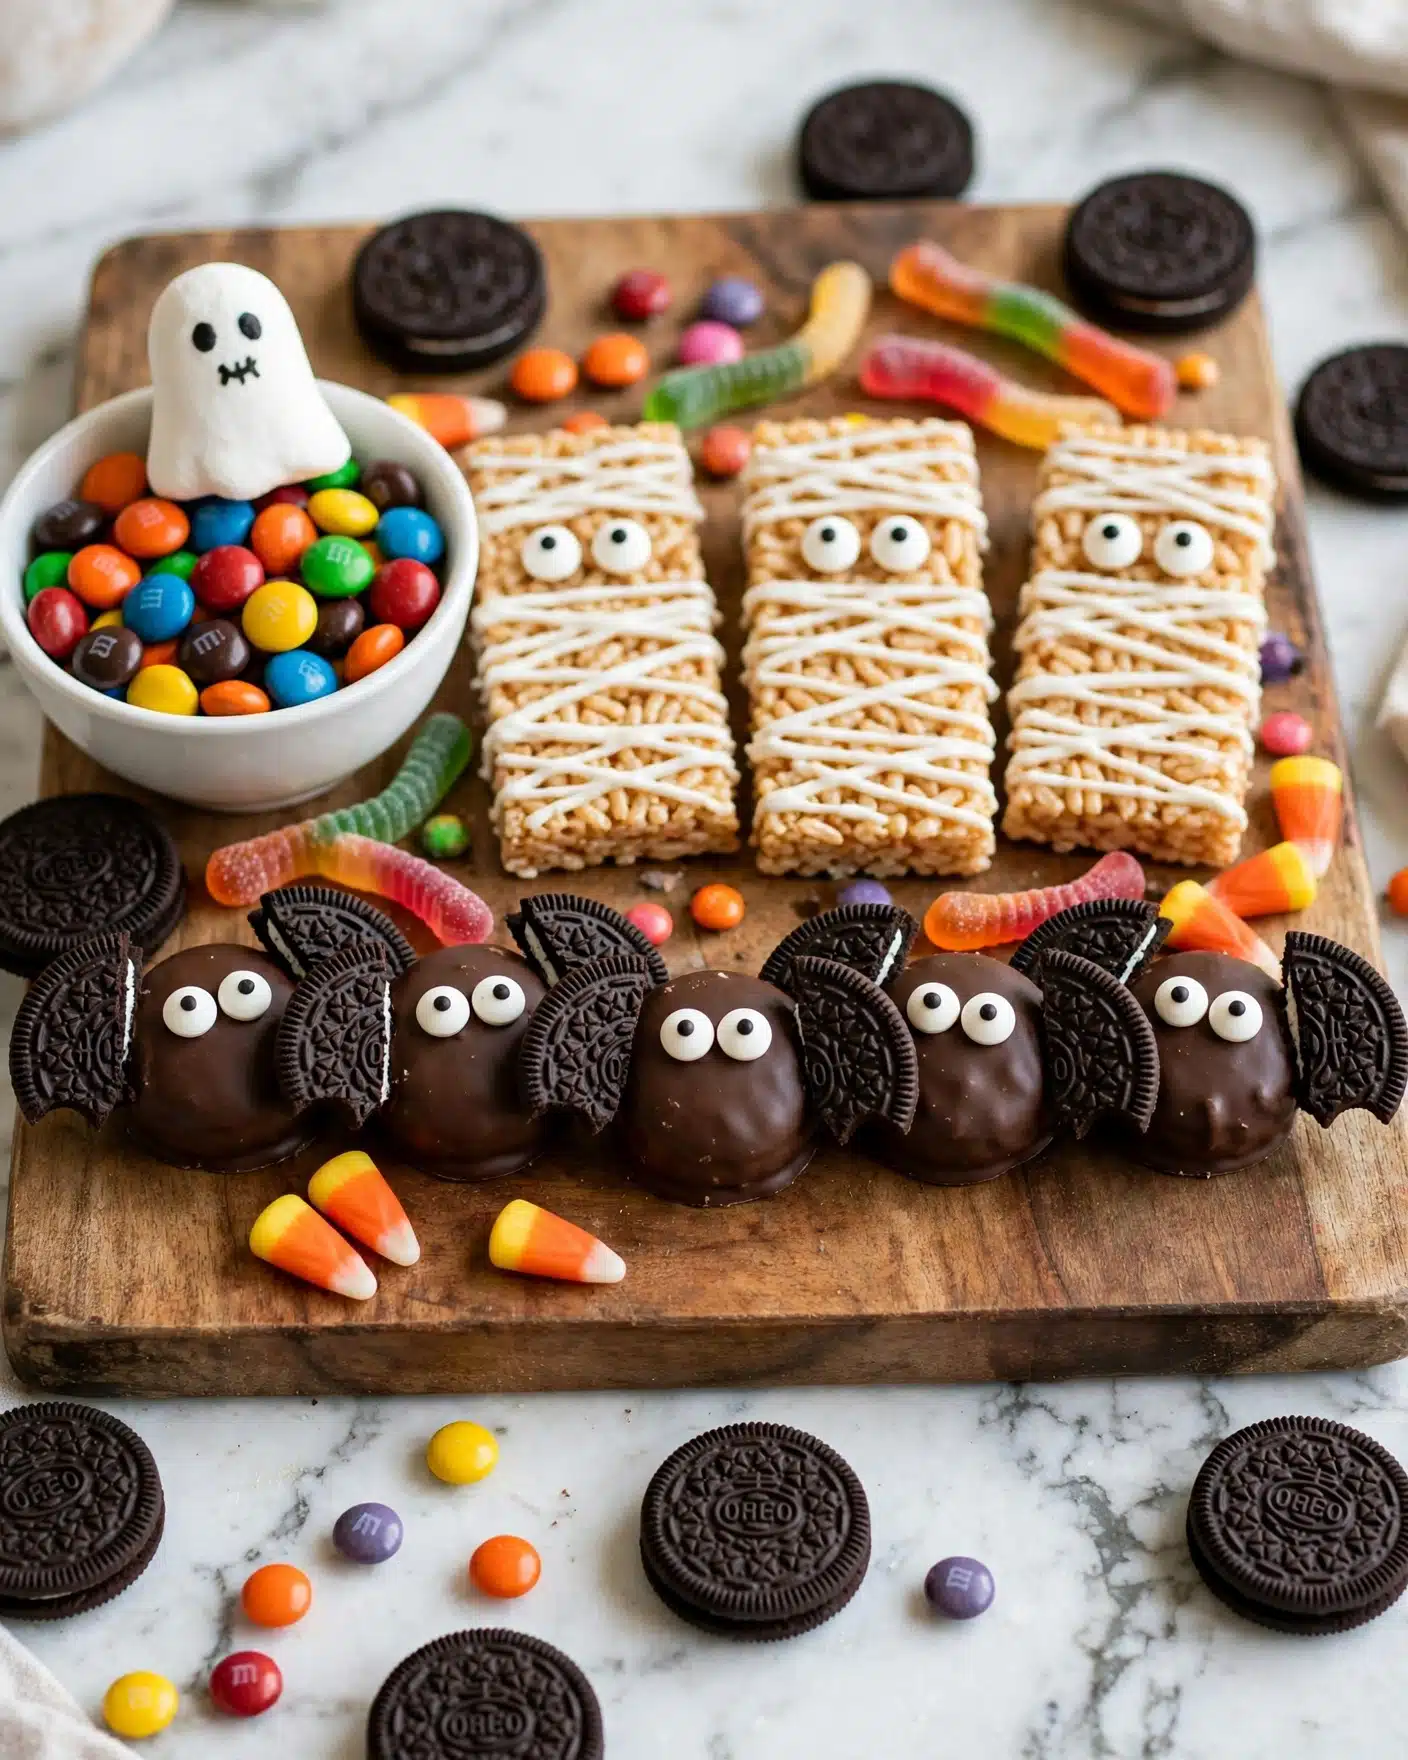
- Mummy Krispie Treats: Chewy and sweet, these nostalgic treats wrapped like mummies add texture and Halloween charm.
- Oreo Bat Cookies: Chocolatey and festive, these perfectly shaped Oreos lend an eerie but delicious bite.
- Gummy Worms: Fun and chewy, gummy worms bring that creepy-crawly vibe we all love at Halloween.
- Extra Oreos and Nutter Butters: These provide additional layers and height for a fuller, more visually exciting board.
- Halloween Peeps: Soft marshmallow ghosts to scatter or place strategically as an adorable finishing touch.
Directions
Step 1: Begin by arranging a neat line of Brach’s Autumn Mix Candy right down the center of your charcuterie board. This will be the anchor for the rest of the treats and create a vibrant focal point.
Step 2: Place the Ghoul’s Mix M&Ms into small bowls, then set these on either side of the autumn candy line. The bowls add height and make it easier to grab the M&Ms without mixing them into other snacks.
Step 3: At each end of the board, stack the Nutter Butter Ghost Cookies and Oreo Bat Cookies along with the extra Oreos and Nutter Butter Cookies. This clusters the larger shaped treats nicely and provides structure and variety.
Step 4: Add the mummy Krispie treats to the board, spacing them evenly. Then fill in the gaps around the board with gummy worms and candy pumpkins to add bursts of color and fun texture.
Step 5: Finally, place the Halloween Peeps on top of the M&M bowls or scatter them playfully around the board. This quirky detail finishes it off and adds that extra spooky charm.
Your Spooky Snack Board is now ready to serve and impress guests with its delightful mix of flavors and festivity!
Servings and Timing
This Spooky Snack Board Recipe makes enough to serve about 10 people, perfect for a small Halloween party or a fun family gathering. It takes roughly 20 minutes to prepare from start to finish, with no cook time needed, making it super convenient for last-minute entertaining. Since everything is ready to eat, there is no resting or cooling time required, so you can dig in or present it right away!
How to Serve This Spooky Snack Board Recipe
When I serve this Spooky Snack Board, I love to keep it as the centerpiece, letting guests pick and choose their favorite treats. It pairs wonderfully with a simple selection of autumnal drinks like spiced apple cider—whether hot or chilled—or even a fun Halloween-themed cocktail or mocktail. The variety of flavors on the board makes beverage pairings easy and super enjoyable.
Presentation is everything! I like using a large wooden or slate charcuterie board to really highlight the vibrant colors and shapes of the goodies. Garnishing with some fresh seasonal touches, like small pumpkins or autumn leaves around the edges of the board, amps up the festive mood. Keeping everything at room temperature helps the textures stay just right—no need to refrigerate before serving.
This board is perfect for a wide range of occasions: Halloween parties, classroom celebrations, casual family movie nights, or even a festive work gathering. Portion sizes can be flexible, but I usually recommend allowing about 3-4 pieces or handfuls per person to keep things festive but balanced, especially if there are other snacks or dishes served alongside.
Variations
One of the joys of this Spooky Snack Board Recipe is how versatile it can be. If peanut allergies are a concern, you can substitute the Nutter Butter Ghost Cookies for any nut-free Halloween-shaped cookies, or add in some pretzel sticks for a salty crunch. I’ve even swapped out the gummy worms for dried fruit or jelly beans for a slightly less messy option that still keeps the colorful vibe.
If you want to make a vegan or gluten-free version, look for gluten-free cookies and vegan marshmallow Peeps or skip those entirely and load up on naturally vegan treats like dried fruits, nuts, and dark chocolate pieces. Customizing the candy to suit your dietary needs has never been easier and still keeps the board looking festive and inviting.
For a flavor twist, sometimes I add a little savory element like cheese cubes shaped with Halloween-themed cutters, or small bowls of pumpkin-flavored dips to spread on crackers. You can even mix in some roasted spiced nuts for something a little unexpected. Feel free to experiment with different Halloween treats or use seasonal produce to make your own creative take on this classic snack board.
Storage and Reheating
Storing Leftovers
If you have any leftovers, I recommend storing them in an airtight container to keep everything fresh. Cookies and candy can lose their texture if exposed to air, so sealed glass or plastic containers with tight lids work best. Stored this way, most of the treats will stay good for 3 to 5 days at room temperature. Just be mindful that gummy worms and marshmallow Peeps may get a bit sticky or harden over time.
Freezing
Since this is primarily a candy and cookie board, I generally do not freeze the assembled board. However, if you want to save cookies or treats like Rice Krispie bars for later, you can freeze those individually wrapped for up to 2 months. Make sure to thaw them at room temperature before placing them back on your snack board for the best taste and texture.
Reheating
None of the treats on this Spooky Snack Board Recipe require reheating. In fact, warm heat can negatively affect the texture of the cookies and candy, causing them to melt or become soggy. If you do want to freshen up slightly soft cookies, placing them in a cool, dry spot for a little while usually helps restore some firmness.
FAQs
Can I use other candies instead of the recommended ones?
Absolutely! One of the best parts about the Spooky Snack Board Recipe is how flexible it is. Feel free to swap in any Halloween-themed candies or treats you love. Just try to balance colors and textures to keep the board visually appealing and fun to eat.
Is this board suitable for kids’ parties?
Definitely! This snack board is a huge hit with kids thanks to the playful gummy worms, ghost cookies, and colorful candies. Just be mindful of any allergy concerns and adjust the ingredients accordingly to keep it safe for youngsters.
How can I make this board last longer at a party?
I recommend placing smaller bowls or separate containers for candies like M&Ms and gummy worms to prevent the treats from getting stale quickly or mixed up. Keep the board away from direct sunlight or heat sources to avoid melting or spoilage.
Can I prepare this board in advance?
Yes! You can assemble most of it a few hours before serving, then add delicate items like Peeps right before guests arrive to keep them looking fresh. If you prepare it a day ahead, cover the board tightly with plastic wrap to preserve freshness.
What is the best size snack board to use?
I usually recommend a medium to large charcuterie board that offers enough space to separate the different candies and treats distinctly. This not only looks more inviting but also makes it easier for guests to pick their favorites without mixing flavors.
Conclusion
I truly hope you enjoy making and sharing this Spooky Snack Board Recipe as much as I do. It’s a festive, joyful way to celebrate Halloween that’s easy, visually stunning, and irresistibly delicious. Give it a try for your next party or cozy night in—you’ll delight everyone with this fun twist on seasonal snacking!
PrintSpooky Snack Board Recipe
Create a festive and fun Halloween snack board perfect for parties with a mix of seasonal candies, spooky cookies, and playful treats. This easy-to-assemble charcuterie-style board features a colorful array of autumn-themed sweets and treats, making it an ideal centerpiece for Halloween gatherings.
- Prep Time: 20 minutes
- Cook Time: 0 minutes
- Total Time: 20 minutes
- Yield: 10 servings
- Category: Appetizers/Party Foods
- Method: No-Cook
- Cuisine: American
Ingredients
Candies
- 1 ½–2 cups Brach’s autumn mix candy
- 1 cup Ghoul’s Mix M&Ms
- ½ – 1 cup Gummy worms
Cookies & Treats
- 10 Nutter Butter Ghost Cookies
- 5 Oreo Bat Cookies
- 5 Extra Oreo Cookies
- 4 Extra Nutter Butter Cookies
- 4 Mummy Krispie Treats
- 2 Halloween Peeps
Instructions
- Arrange Autumn Candy: Start by making a line of the autumn candy in the middle of the board to build around. This creates a vibrant central strip that anchors the snack board’s layout.
- Place M&Ms: Put the Ghoul’s Mix M&Ms in small bowls and place them on either side of the autumn candy line, adding color and texture contrast.
- Stack Cookies: At each end of the board, stack the bat and ghost cookies along with the extra Oreos and Nutter Butter cookies. This layering adds dimension and a spooky theme to the display.
- Add Mummy Rice Krispie Treats & Fill Ins: Place the mummy Krispie treats on the board and fill in the remaining spaces with candy pumpkins and gummy worms to add variety and fill gaps.
- Decorate with Peeps: Finally, add a ghost peep to each of the M&M bowls or scatter them around the board to complete the festive Halloween look. The board is now ready to serve!
Notes
- You may need more or less of these ingredients depending on the size of your snack board; feel free to adjust quantities as needed.
- Use small bowls to contain loose candies for easier serving and to keep the board tidy.
- Themed cookies and treats can be substituted based on availability or personal preferences.
- Consider adding some small serving utensils or tongs to make grabbing treats easier at a party.


