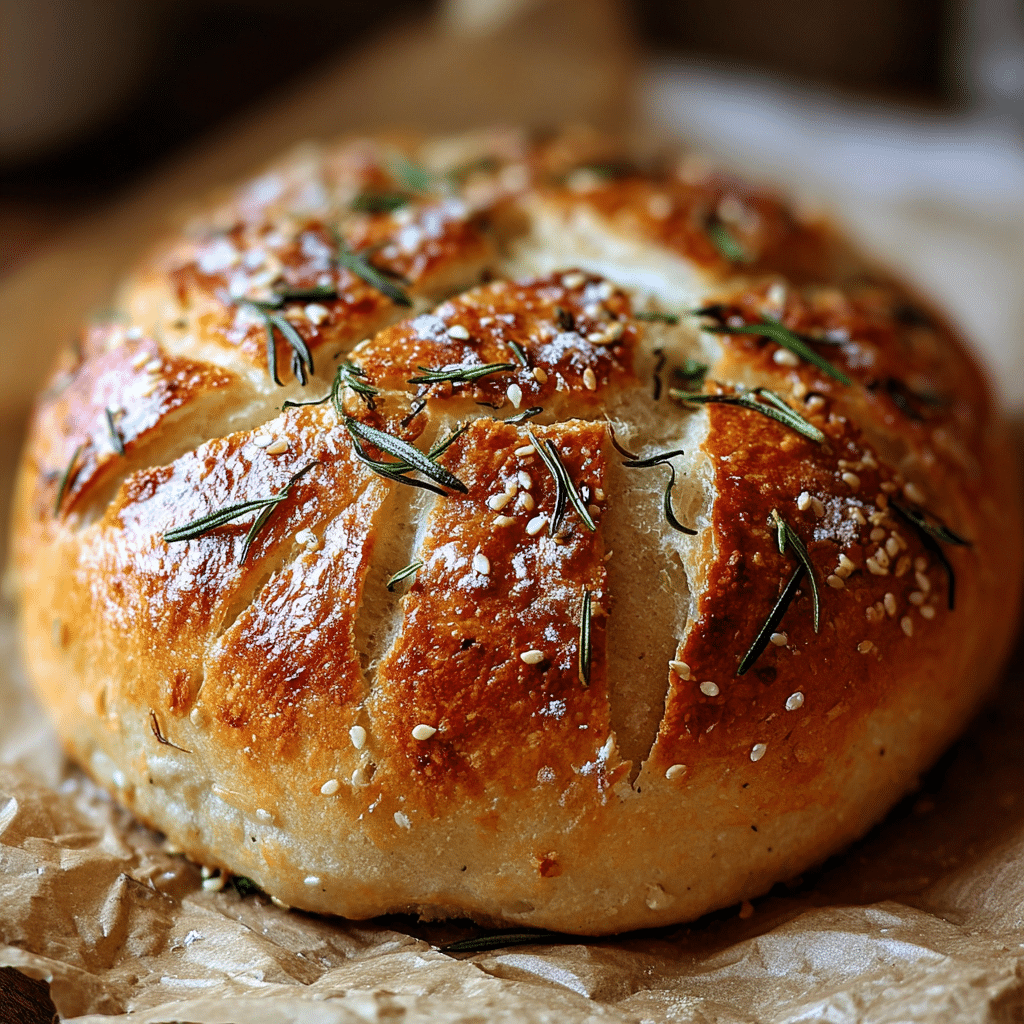
Sink your teeth into this golden, crackly loaf and you’ll see why rustic bread has a loyal following in every home baker’s kitchen. With roasted garlic and rosemary infusing every chewy bite, this easy roasted garlic rosemary artisan bread proves that the simplest ingredients can yield a stunning, rustic masterpiece. There’s something magical about transforming flour, yeast, and a little patience into a homemade loaf that feels downright celebratory—no kneading or fancy gadgets required.
Ingredients You’ll Need
One of the joys of making a rustic loaf is how a handful of straightforward ingredients come together to create something truly special. Each element plays a purposeful role—building flavor, creating the perfect crust, and delivering that irresistible aroma drifting through your kitchen.
- 1 whole head garlic: Roasted to bring out sweet, savory, and mellow notes that infuse the bread with depth.
- 1 tablespoon extra-virgin olive oil (divided): Helps roast the garlic and adds richness and moisture to the loaf.
- Coarse sea salt & freshly ground black pepper: Essential to season the garlic, bringing out its natural flavors.
- 1½ cups water (room temperature, ~70°F / 21°C): Just-right hydration for a hydrated, open crumb that’s classic in rustic breads.
- 1 teaspoon active dry yeast: Just a small amount drives a slow rise, developing subtle, complex flavors.
- 3 cups bread or all-purpose flour (plus more for dusting): The backbone of your rustic loaf—bread flour yields more chew, while all-purpose gives a bit more tenderness.
- ½ teaspoon dried oregano: A touch of herby warmth that pairs beautifully with rosemary.
- 1 teaspoon kosher or fine sea salt: Don’t skimp here—salt enhances the bread’s overall flavor.
- 2 teaspoons finely chopped fresh rosemary (plus more for topping): Brings a fragrant, woodsy note that takes rustic loaves over the top.
- 1 head roasted garlic cloves (smashed): Adds sweet, jammy bursts of garlicky goodness woven throughout each slice.
How to Make rustic
Step 1: Roast the Garlic
Preheat your oven to 400°F (204°C). Grab a whole head of garlic and slice it in half horizontally, exposing all those pretty little cloves. Drizzle each cut side with olive oil, sprinkle with a generous pinch of salt and some cracked black pepper, then wrap the halves up snugly in foil. Roast in the oven for about 40 minutes, until the cloves are buttery-soft, deeply golden, and so fragrant you’ll want to eat them straight from the skins. Let cool, then gently squeeze or peel the roasted cloves out—they’ll be the highlight of your rustic bread.
Step 2: Mix the Dough
In a small bowl, dissolve the active dry yeast into room-temperature water and let it sit for 10 to 15 minutes. Watch for a creamy, foamy layer to form—this shows the yeast is awake and ready! Meanwhile, grab a big mixing bowl and combine your flour, salt, oregano, and that lovely fresh rosemary. Now pour in the yeast-water mixture, roasted garlic cloves, and a drizzle of olive oil. Mix everything together with a spatula or wooden spoon—it’ll be sticky, but don’t worry, that’s perfect for a rustic artisan loaf.
Step 3: First Rise
Cover the bowl with a clean kitchen towel and let your dough rise at room temperature for 8 to 10 hours. This slow, patient rise is where the rustic magic happens: the dough doubles in size and develops a complex, slightly tangy flavor. It’s mostly hands-off but oh-so-worth it.
Step 4: Shape and Cold Ferment
Flour your countertop generously, then gently turn the dough out onto the surface. Shape it into a round ball with care—don’t press too hard; you want to keep those air bubbles for a beautiful, rustic texture. Pop the ball seam-side up into a well-floured proofing basket or bowl, cover, and refrigerate for anywhere from 1 hour up to 24 (or even 48!) for deeper flavor and an even more pronounced rustic profile.
Step 5: Preheat Oven & Score
Slip your Dutch oven into the oven and crank it up to 450°F (232°C) so it gets blazingly hot—this ensures an ultra-crisp crust. Take your dough from the fridge, tip it onto a piece of parchment paper seam-side down, and, for that signature rustic flair, score the top with a sharp blade to help the loaf expand while baking.
Step 6: Bake
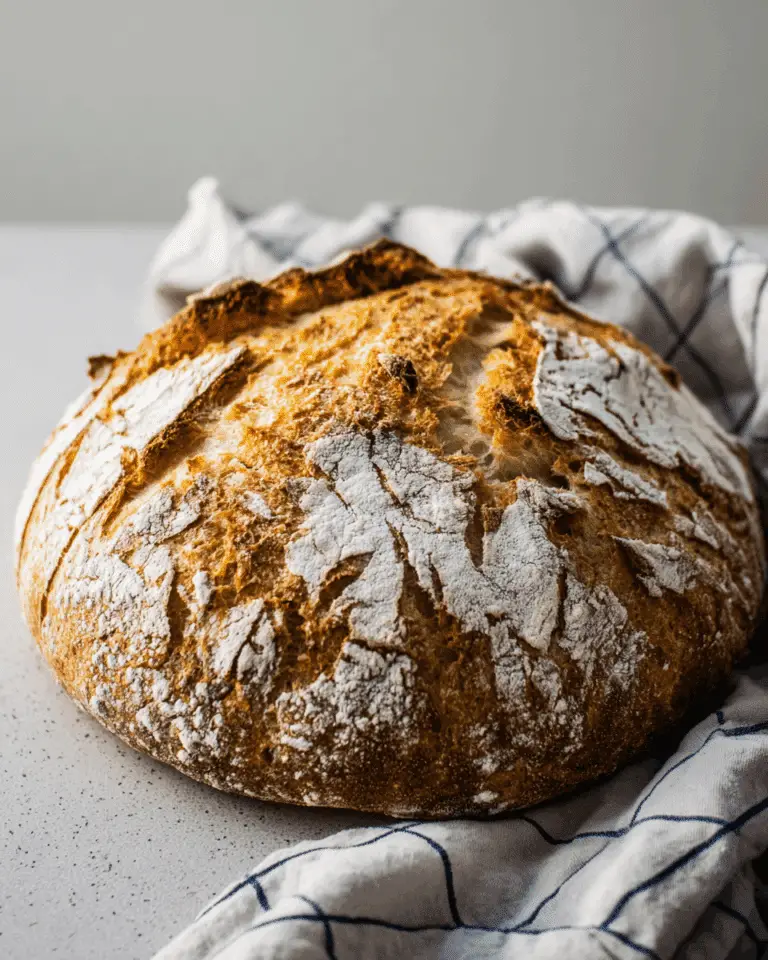
Lower the dough—still on parchment—into the preheated Dutch oven, cover tightly, and bake for 30 minutes. That steam will work wonders on your crust! Then remove the lid and bake for another 15 to 20 minutes. Expect to see a deep, golden color and to hear the bread singing (crackling) as it emerges. Rustic perfection.
Step 7: Cool & Slice
Lift your rustic loaf from the Dutch oven and let it cool on a wire rack for at least an hour (as hard as it might be to wait!). Cutting in too soon risks gumminess—this rest is key for that chewy, airy crumb. Once cooled, slice in and marvel at those pockets of roasted garlic and flecks of rosemary.
How to Serve rustic
Garnishes
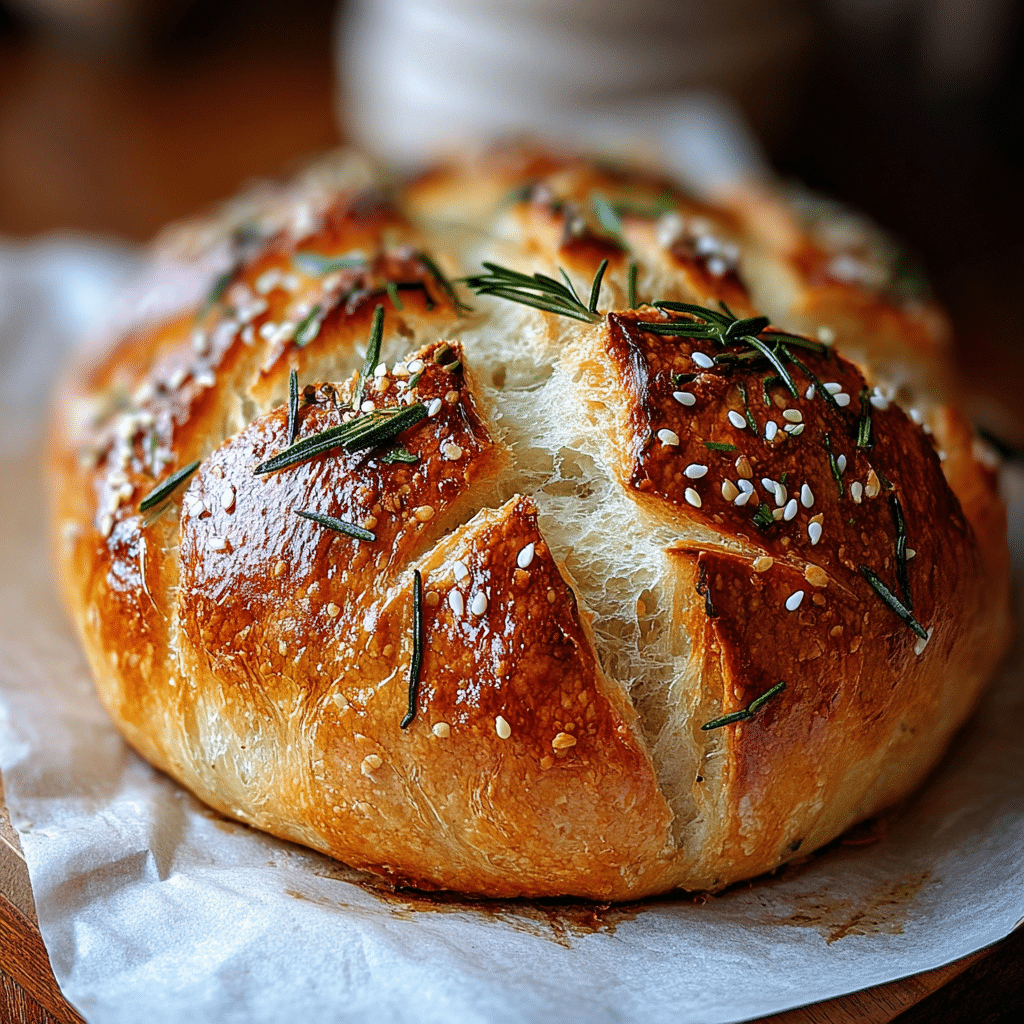
Give your rustic bread a finishing flourish by brushing the still-warm crust with a hint of olive oil and scattering extra rosemary leaves or a pinch of flaky sea salt over the top. For a special occasion, rub a peeled garlic clove over the crust to up the savory ante—each slice looks as inviting as it tastes.
Side Dishes
There are endless possibilities for serving this rustic artisan loaf. Tear off hunks to dunk in olive oil and balsamic, swipe with salted butter, or use the slices to cradle a fried egg. It’s a dreamy side to a steaming bowl of soup, hearty chili, or alongside fresh salads and cheese boards for a charming, rustic spread.
Creative Ways to Present
Show off the rustic beauty of this loaf by presenting it on a wooden cutting board, with a scattering of fresh rosemary sprigs and roasted garlic cloves nearby. Slice thickly and offer a dish of olive oil for dipping. Or, try hollowing out the center to use as a rustic soup bowl—the crust holds up beautifully for serving!
Make Ahead and Storage
Storing Leftovers
Your rustic bread will stay delicious for up to 3 days at room temperature. Simply wrap the cooled loaf in a clean kitchen towel or stash it in a brown paper bag to keep the crust crispy without turning too hard. Avoid plastic unless you prefer a softer crust.
Freezing
To freeze, slice your rustic loaf once it’s fully cooled and tuck slices between layers of parchment in a zip-top bag. This way, you can pull out just as much as you need, toast it up, and enjoy homemade goodness anytime the craving strikes.
Reheating
To refresh that signature rustic crust, spritz your slices lightly with water and warm them in a hot oven (350°F) for 5–8 minutes. Or pop frozen slices in a toaster—your kitchen will fill with that inviting, rosemary-garlic scent all over again.
FAQs
Can I use instant yeast instead of active dry yeast?
Absolutely! You can substitute instant yeast in equal measure. Just skip the blooming step with water—the instant yeast can go directly into your flour with the other dry ingredients for this rustic loaf.
How can I tell when the bread is done baking?
Tap the bottom of your rustic loaf; it should sound hollow when finished. For a more precise check, the internal temperature should register about 200–210°F (93–99°C) when measured with a digital thermometer.
Do I have to use a Dutch oven?
A Dutch oven creates that steamy, crackly crust every rustic bread baker dreams about, but you can get great results using a heavy oven-safe pot with a tight lid, or even try baking on a preheated pizza stone with a pan of water in the oven for extra steam.
Can I use all-purpose flour if I don’t have bread flour?
Definitely! All-purpose flour works nicely in this rustic recipe, yielding a lighter, slightly less chewy loaf. If you have some bread flour to mix in, even better, but don’t hesitate to use what you have.
Can I make rustic bread without refrigeration for the cold ferment?
While the cold ferment is what really brings out deep, rustic flavors and a chewier texture, if you’re pressed for time, you can let the dough rise a little longer at room temperature instead. You’ll still end up with a rustic loaf you’ll be proud of.
Final Thoughts
Whether you’re baking for friends or just treating yourself to some comfort, this rustic bread lets you play with simple ingredients and achieve artisan results in your own oven. I hope you’ll give this roasted garlic rosemary crusty loaf a try—the joy is in both the making and the sharing!
Printrustic Recipe
Easy Roasted Garlic Rosemary Artisan Bread is a flavorful, rustic homemade loaf that requires minimal effort for maximum taste. This no-knead recipe results in a crusty exterior and chewy interior, perfect for any occasion.
- Prep Time: 20 minutes
- Cook Time: 50 minutes
- Total Time: 12 hours 50 minutes
- Yield: 1 loaf (12 servings)
- Category: Bread
- Method: Baking
- Cuisine: Artisan
- Diet: Vegetarian
Ingredients
For the Bread Dough:
- 1 whole head garlic
- 1 tablespoon extra-virgin olive oil (divided)
- Coarse sea salt & freshly ground black pepper
- 1½ cups water (room temperature, ~70°F / 21°C)
- 1 teaspoon active dry yeast
- 3 cups bread or all-purpose flour (plus more for dusting)
- ½ teaspoon dried oregano
- 1 teaspoon kosher or fine sea salt
- 2 teaspoons finely chopped fresh rosemary (plus more for topping)
- 1 head roasted garlic cloves (smashed)
Instructions
- Roast the Garlic – Preheat oven to 400°F (204°C). Cut the garlic head in half, drizzle exposed cloves with olive oil, sprinkle with salt and pepper, and wrap in foil. Roast for 40 minutes, then cool and remove cloves from skins.
- Mix the Dough – In a small bowl, dissolve yeast in room-temp water and let sit for 10–15 minutes. In a large bowl, combine flour, salt, oregano, and rosemary. Add yeast water, roasted garlic, and olive oil. Mix with spatula until sticky.
- First Rise – Cover the bowl with a clean towel and let rise at room temperature for 8–10 hours, until doubled in size.
- Shape and Cold Ferment – Turn dough onto floured surface and gently shape into a ball. Place seam-side up in a floured bowl or basket, cover, and refrigerate 1–24 hours (up to 48 for deeper flavor).
- Preheat Oven & Score – Preheat oven to 450°F (232°C) with a Dutch oven inside. Remove dough from fridge, invert onto parchment paper (seam-side down), and score top with a sharp blade.
- Bake – Place dough with parchment into preheated Dutch oven. Cover and bake for 30 minutes. Uncover and bake another 15–20 minutes until golden brown.
- Cool & Slice – Remove from Dutch oven and cool on wire rack at least 1 hour before slicing.
Notes
- Overnight cold ferment enhances flavor and texture—don’t skip it!
Nutrition
- Serving Size: 1 slice (approx. 50g)
- Calories: 180 kcal
- Sugar: 0 g
- Sodium: 290 mg
- Fat: 0.5 g
- Saturated Fat: 0 g
- Unsaturated Fat: 0 g
- Trans Fat: 0 g
- Carbohydrates: 31 g
- Fiber: 1 g
- Protein: 5 g
- Cholesterol: 0 mg

