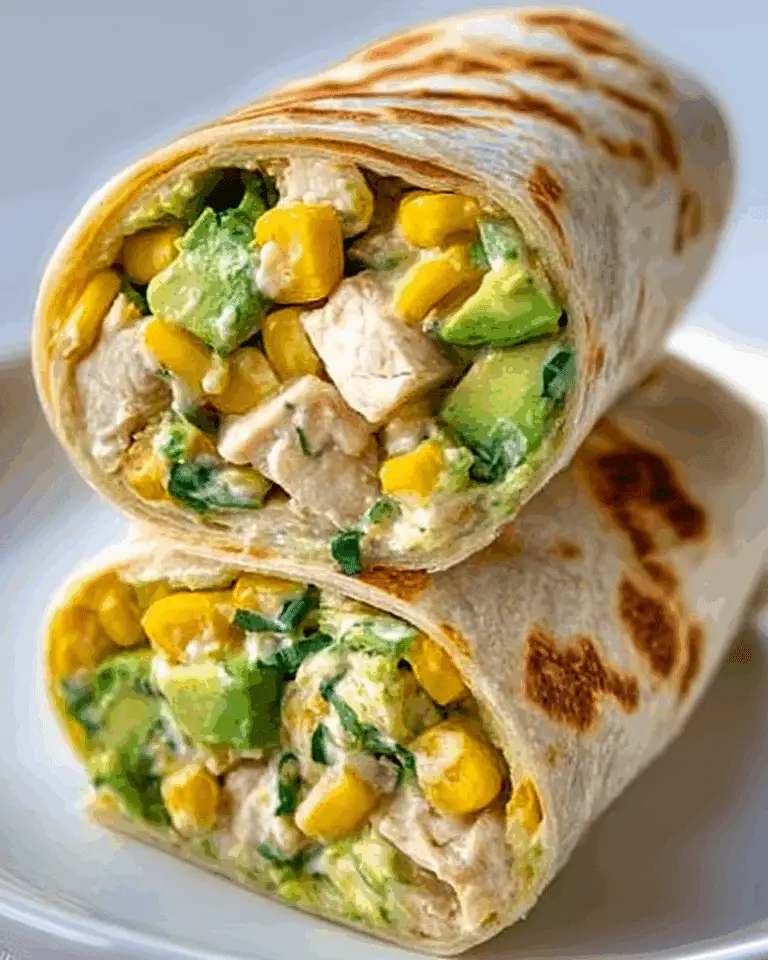
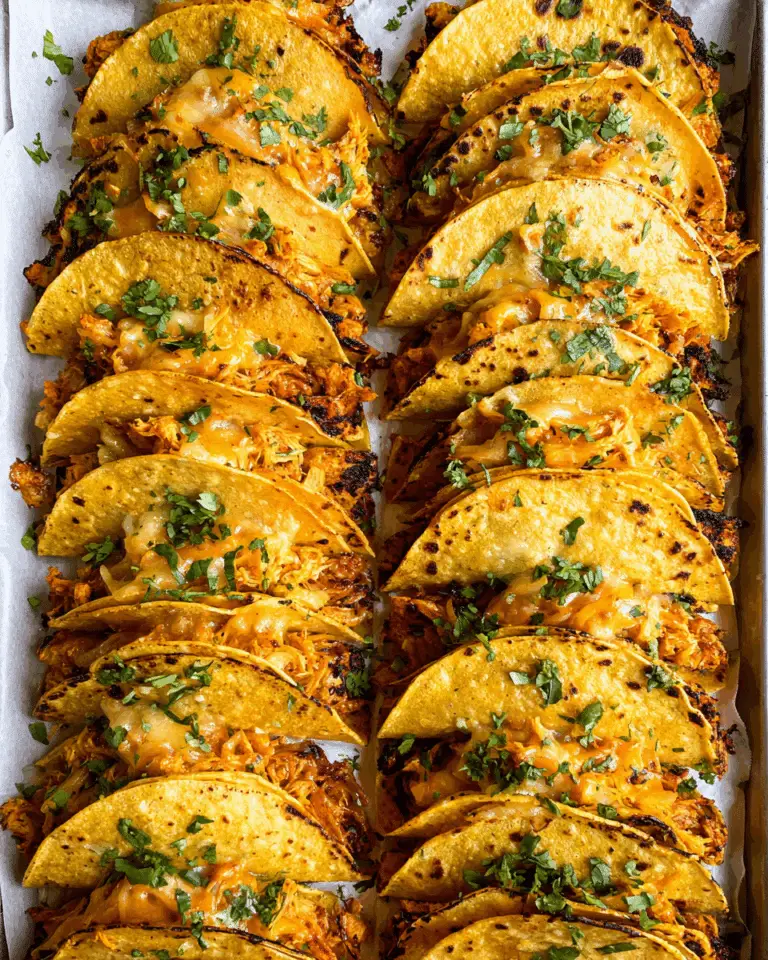
If you’re looking for a way to create crisp and delicious finger foods at home, these Samosa and Spring Rolls Wraps will become your new kitchen secret weapon. With just a handful of humble, everyday ingredients, you’ll be able to whip up tender, flexible wraps perfect for all kinds of savory stuffings. Whether you’re prepping for a party or just planning a comfort-food night, these easy homemade wraps open up a world of possibilities. Let’s dive in and discover how beautifully simple they are to make!
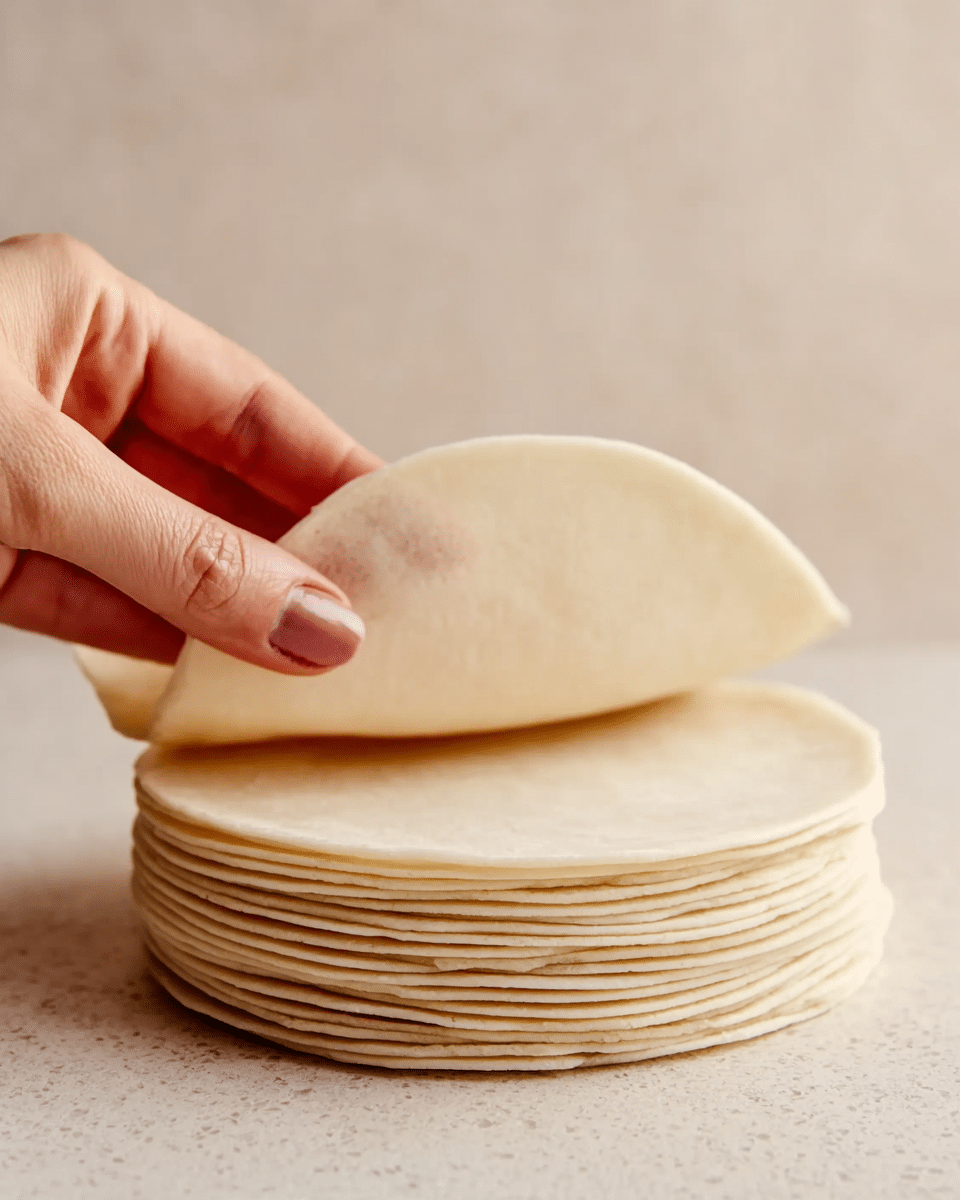
Ingredients You’ll Need
What I love most about Samosa and Spring Rolls Wraps is how a few pantry staples come together to create something so wonderfully versatile. Each ingredient plays a role in building the wraps’ delicate texture and mild flavor, providing a perfect base for any filling.
- All-purpose flour: Forms the backbone of the wraps, giving them the right structure and softness.
- Water: Loosens the batter to the ideal consistency for seamless spreading and translucent wraps.
- Salt: Just a touch is enough to enhance the natural flavors and keep the wraps from tasting bland.
- Sugar (optional): Adds a subtle hint of sweetness that balances savory or spicy fillings beautifully.
How to Make Samosa and Spring Rolls Wraps
Step 1: Prepare the Batter
Start by grabbing a good-sized mixing bowl. Whisk together the flour, salt, and sugar (if you like a hint of sweetness). Slowly pour in the water while stirring constantly. The secret is to add the water gradually so you don’t end up with lumps—keep stirring until the batter is silky smooth and just slightly thinner than pancake batter. This silky consistency makes it easy to spread into perfect circles in the pan!
Step 2: Heat the Pan
Place a non-stick pan over medium heat and let it warm up for a minute or so. Lightly brush the surface with a very small amount of oil—just enough to keep the wraps from sticking, but not so much that they fry. This little bit of oil helps your Samosa and Spring Rolls Wraps cook evenly and lift off the pan without a fuss.
Step 3: Spread and Cook the Wraps
Pour a small ladleful of batter onto the hot pan. Quickly swirl the pan around or use the back of a spoon to gently spread the batter in a thin, even circle. The goal is to create a wrap that’s not too thick and not too delicate—a happy medium that will hold your fillings. Let it cook for about 30 seconds to one minute, until the wrap looks dry on top and the edges start separating from the pan. No flipping needed! Gently wiggle the wrap loose and transfer it to a plate.
Step 4: Keep Wraps Soft and Repeat
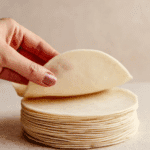
After each wrap is cooked, cover it right away with a damp kitchen cloth. This little step keeps your Samosa and Spring Rolls Wraps soft and pliable until you’re ready to fill and roll. Give the batter a stir before pouring out each new wrap to maintain that even texture. Keep going until you’ve used up all the batter—before you know it, you’ll have a neat stack ready for stuffing.
Step 5: Cool and Use
Let the wraps cool down to room temperature, still covered with the damp towel so they stay lovely and soft. Once cooled, they’re ready to be stuffed with your favorite samosa or spring roll fillings, from spiced potatoes to stir-fried veggies or even seasoned meats. These wraps are as eager to be customized as you are to fill them!
How to Serve Samosa and Spring Rolls Wraps
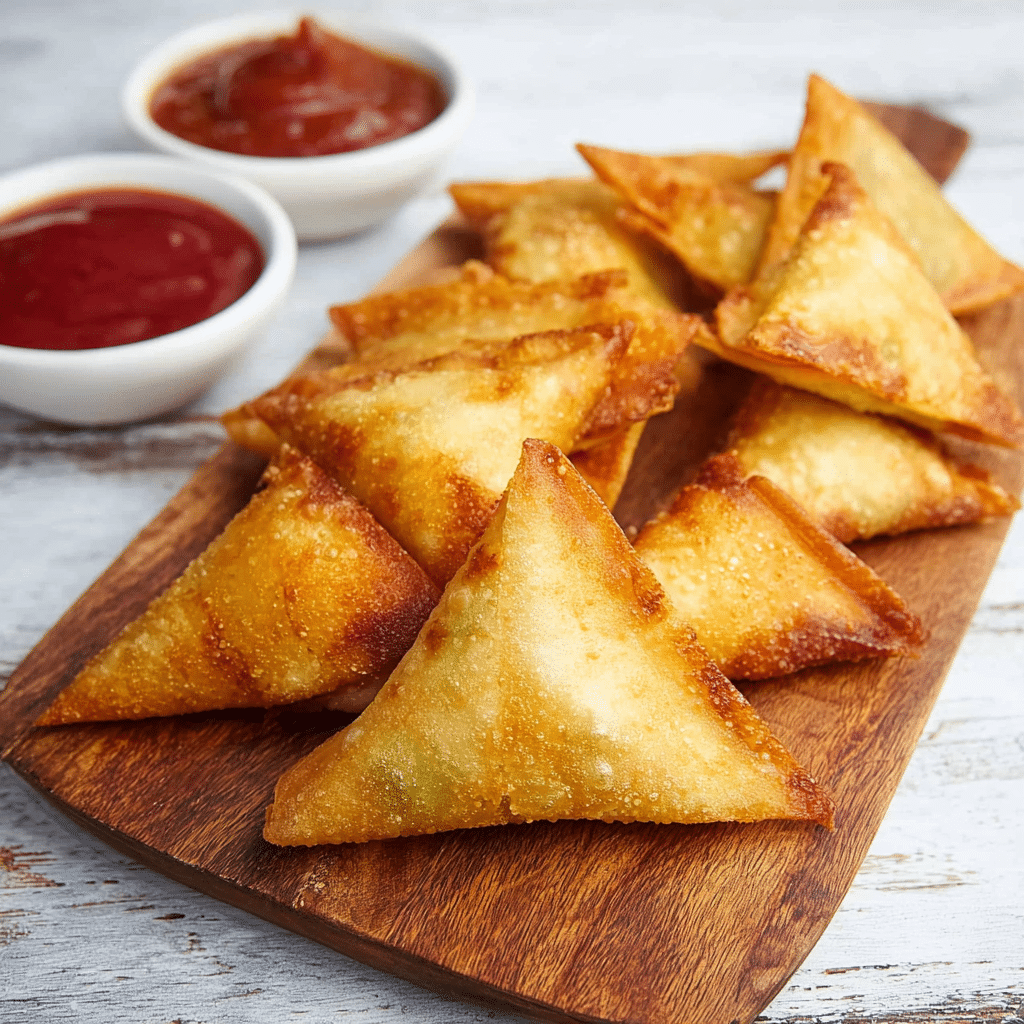
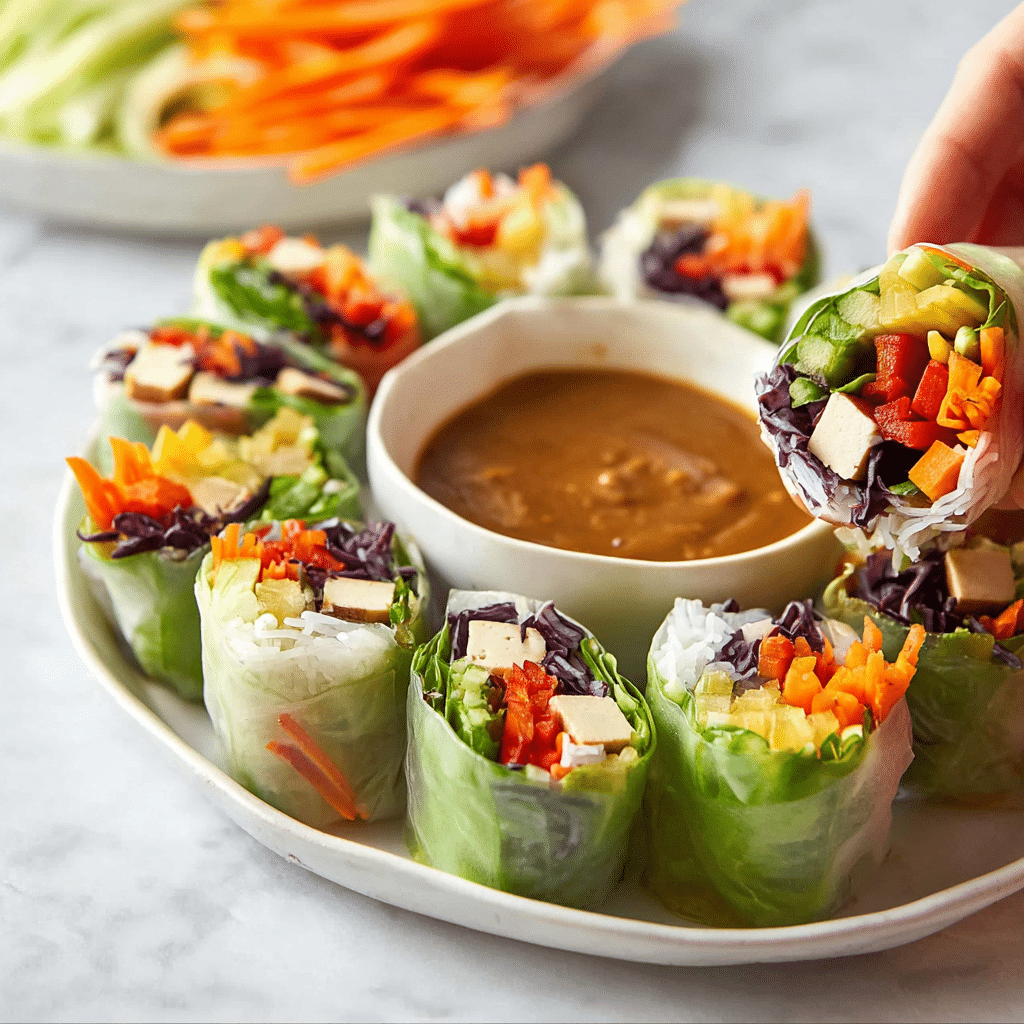
Garnishes
Jazzing up your Samosa and Spring Rolls Wraps can be as simple as sprinkling on some toasted sesame seeds, fresh cilantro, or finely chopped green onions before serving. A little dusting of chaat masala or a squeeze of fresh lime over the wraps adds irresistible zing, making every bite pop with flavor.
Side Dishes
Balance out your beautiful wraps with fresh, crunchy salads or classic dips. Think tangy mint chutney, sweet chili sauce, or a cooling cucumber yogurt raita on the side. These accompaniments bring out the best in Samosa and Spring Rolls Wraps, rounding out the meal and adding textures and flavors that everyone will love.
Creative Ways to Present
Stack your wraps in a fan shape, roll them up snug with your favorite fillings, or even cut them into bite-sized pinwheels for an eye-catching party platter. You can serve Samosa and Spring Rolls Wraps packed in parchment cones for a portable snack, or layer them with vibrant veggies in a rainbow arrangement—either way, they’re guaranteed to steal the show!
Make Ahead and Storage
Storing Leftovers
If you find yourself with extra Samosa and Spring Rolls Wraps, you’re in luck—they store beautifully. Simply stack them with parchment paper between each wrap and place them in an airtight container. Kept in the refrigerator, they’ll stay soft and fresh for up to three days, ready for snacking or entertaining in a flash.
Freezing
Want to really plan ahead? Freeze your wraps! Layer each wrap with parchment paper (this prevents sticking), then slip the stack into a freezer-safe zip-top bag. Stored this way, Samosa and Spring Rolls Wraps can last up to two months in the freezer. When a samosa or spring roll craving strikes, just thaw what you need.
Reheating
When you’re ready to enjoy, gently reheat wraps in a covered non-stick pan over low heat for a few seconds on each side. You don’t want to dry them out, so skip the microwave if possible, or use it for just a few seconds with a damp paper towel. They’ll be soft, pliable, and ready for rolling and filling once again!
FAQs
Can I make these wraps gluten-free?
Absolutely! Substitute a good quality gluten-free all-purpose flour blend for the regular flour. Just ensure your batter has the right thin consistency, and your Samosa and Spring Rolls Wraps will be just as flexible and tasty.
Why aren’t my wraps coming off the pan easily?
Make sure you’re using a non-stick pan and that the batter is spread quickly and evenly. Lightly greasing the pan before each wrap, and waiting until the edges lift on their own, makes a big difference. If they still stick, add a tiny bit more oil or lower the heat slightly to prevent burning.
How thin should the batter be for best results?
The batter should pour easily and spread quickly—imagine a slightly thinner than pancake batter. If it’s too thick, add a splash more water; too thin, and a pinch more flour will help. Finding this sweet spot ensures your Samosa and Spring Rolls Wraps turn out just right every time.
Can I use whole wheat flour instead?
You can swap all or part of the all-purpose flour for whole wheat flour for a slightly nuttier flavor and heartier texture. The wraps might turn out a little less delicate, but they’ll still be delicious and perfect for filling.
What kinds of fillings work best with these wraps?
The sky’s the limit! Classic samosa fillings like spiced potatoes and peas work beautifully, as do stir-fried vegetables, shredded chicken, or tofu for spring rolls. These wraps are wonderfully neutral, so don’t be afraid to experiment with both traditional and creative combinations.
Final Thoughts
If you’ve ever wanted to master your own Samosa and Spring Rolls Wraps at home, this recipe is as friendly and forgiving as they come. With just a few ingredients and a little practice, you’ll soon be filling, rolling, and sharing your delicious homemade creations with family and friends. Put your own twist on the fillings, and have fun with it—every batch is sure to bring you plenty of smiles (and seconds)!
PrintSamosa and Spring Rolls Wraps Recipe
Learn how to make versatile wraps that can be used for samosas or spring rolls with this simple recipe. These homemade wraps are easy to prepare and perfect for storing in the fridge or freezer for later use.
- Prep Time: 15 minutes
- Cook Time: 20 minutes
- Total Time: 35 minutes
- Yield: 10-12 wraps
- Category: Appetizer
- Method: Pan-frying
- Cuisine: Global
- Diet: Vegetarian
Ingredients
For the Wraps:
- 2 cups (250g) all-purpose flour
- 1½ cups (360ml) water
- ¼ teaspoon salt
- ¼ teaspoon sugar (optional)
Instructions
- Prepare the Batter: In a mixing bowl, combine the flour, salt, and sugar (if using). Gradually add the water while stirring until a smooth, lump-free batter forms. The batter should be slightly thinner than pancake batter for easy spreading.
- Cook the Wraps: Heat a non-stick pan over medium heat. Lightly grease the surface with a small amount of oil using a brush or paper towel. Pour a small amount of the batter onto the pan and quickly swirl or spread it into a thin, even circle. Cook for about 30 seconds to 1 minute until the wrap becomes dry and the edges start to lift. Do not flip. Gently lift the wrap off the pan and place it on a plate. Cover with a damp cloth to keep it soft.
- Repeat and Cool: Repeat the process with the remaining batter, stirring occasionally to maintain consistency. Allow the wraps to cool before using them to roll samosas or spring rolls.
Notes
- Store unused wraps between sheets of parchment paper.
- Refrigerate for up to 3 days or freeze for longer storage.
Nutrition
- Serving Size: 1 wrap
- Calories: 80
- Sugar: 1g
- Sodium: 50mg
- Fat: 0.5g
- Saturated Fat: 0g
- Unsaturated Fat: 0.5g
- Trans Fat: 0g
- Carbohydrates: 16g
- Fiber: 1g
- Protein: 2g
- Cholesterol: 0mg

