
I absolutely adore sharing this recipe with you because it truly is The Best Chocolate Brownies Recipe I have ever made. From the moment I tried it, I knew these brownies would become a staple in my kitchen. They have this incredible rich chocolate flavor with a perfect balance of gooey and fudgy texture that keeps me coming back for more. Whether you’re baking for a cozy night in or bringing a dessert to impress friends, these brownies deliver pure chocolate happiness every time.
Why You’ll Love This The Best Chocolate Brownies Recipe
What really makes this recipe stand out for me is the deep, intense chocolate flavor that comes from using both melted chocolate and cocoa powder. It’s such a comforting, luxurious taste that feels indulgent without being overwhelming. The little pockets of chopped chocolate chunks inside add a surprise texture that melts in your mouth and keeps the brownies exciting bite after bite.
Besides the flavor, I love how easy and straightforward the preparation is. You don’t need any fancy equipment or complicated techniques—just melt, mix, and bake. The whole process feels like a relaxing ritual, and the aroma while baking fills the kitchen with the most inviting scent. Plus, these brownies are perfect for any occasion, whether it’s a casual dessert after dinner, a special holiday treat, or even a sweet gift. I guarantee this recipe will quickly become your go-to brownie to impress family and friends effortlessly.
Ingredients You’ll Need
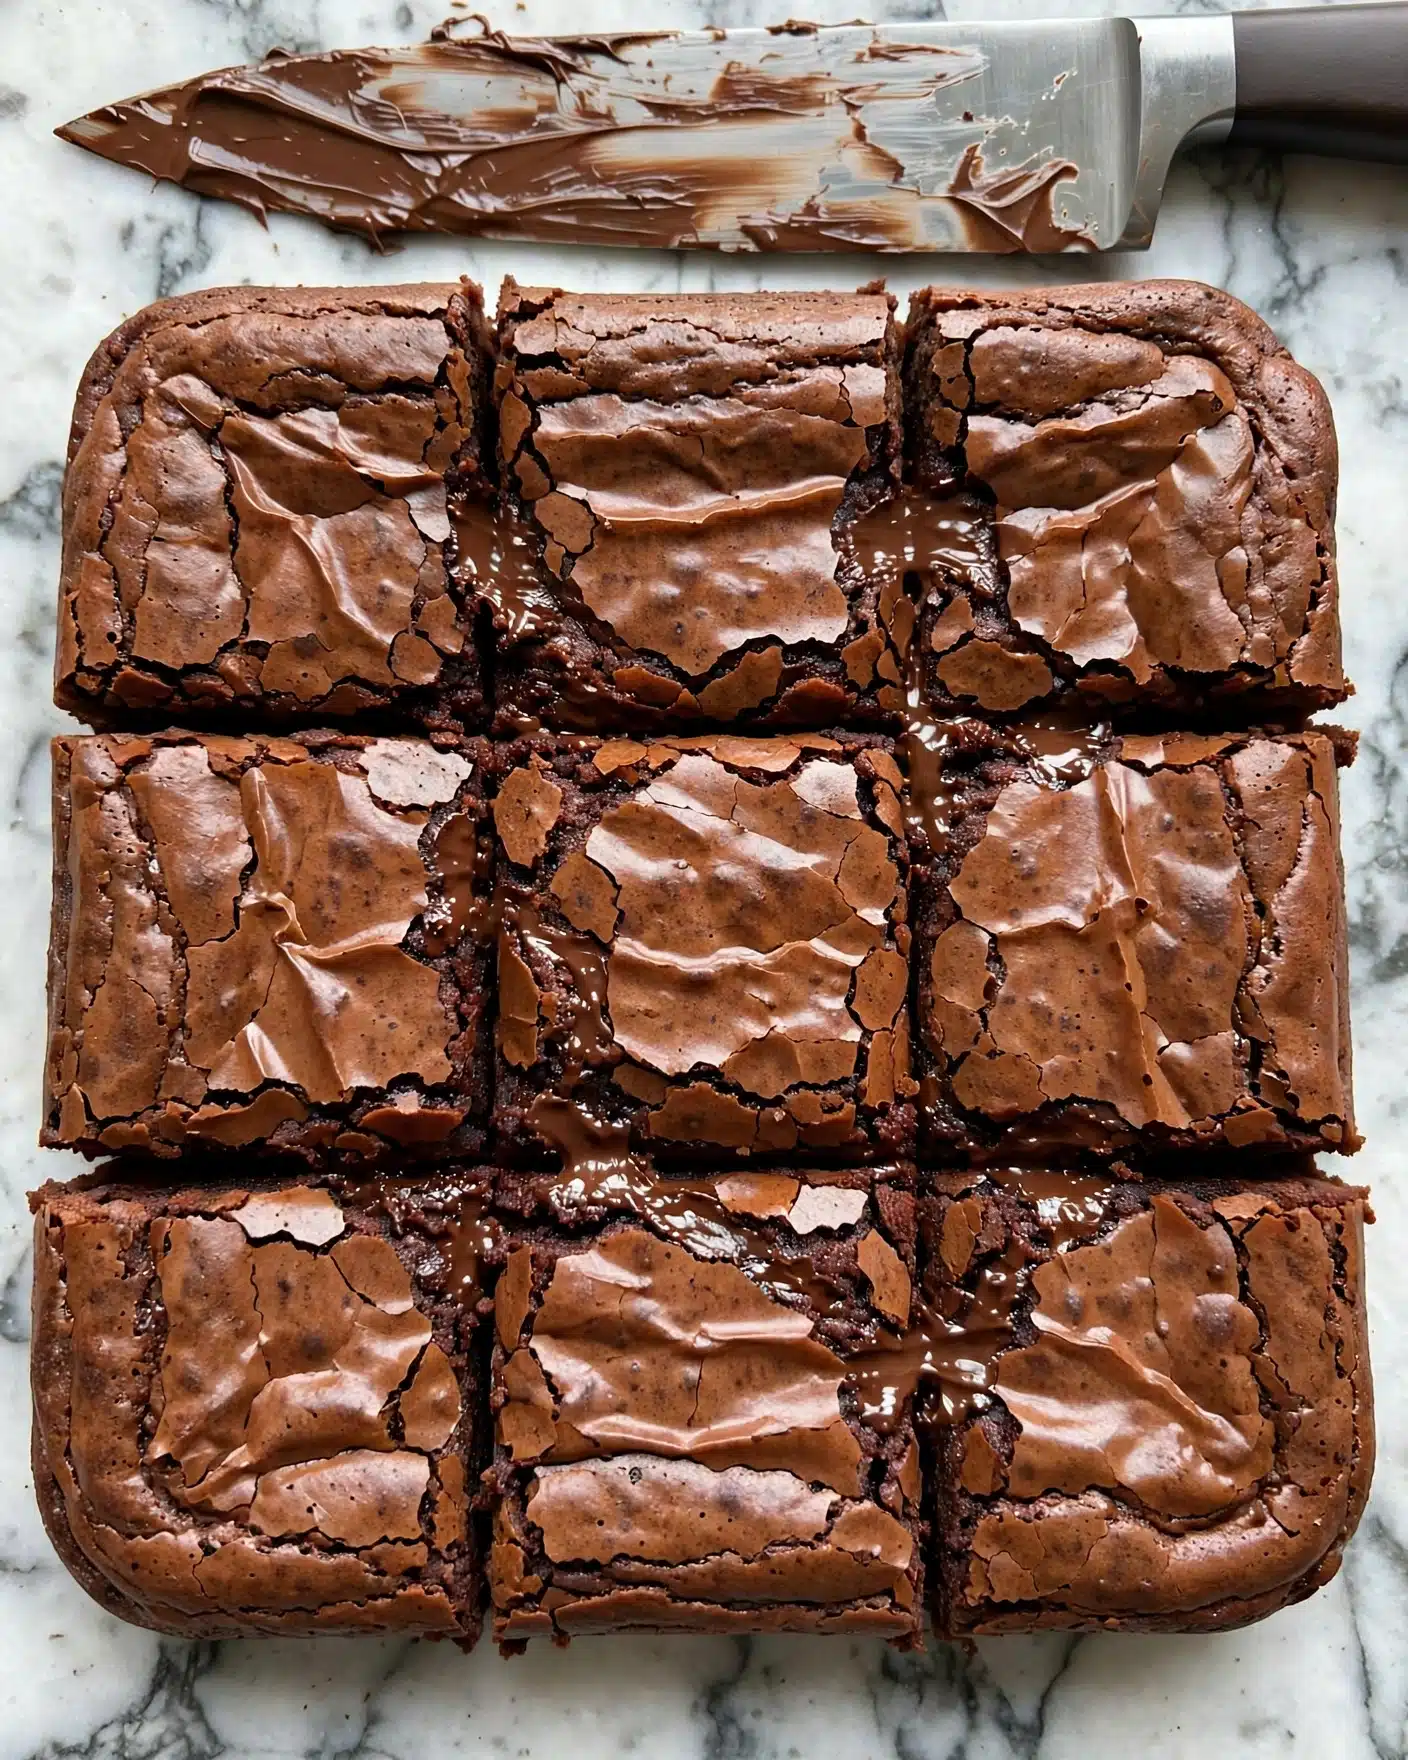
All you need for these brownies are simple, pantry-friendly ingredients that come together to create something extraordinary. Each component plays an essential role: the butter gives richness, the chocolate provides depth, and the brown sugar adds moisture and subtle caramel notes.
- 200g unsalted butter: Melts beautifully with chocolate to create that luscious base.
- 1 1/4 cups dark chocolate chips or melts/discs: Provides that rich, smooth chocolate flavor throughout.
- 1 cup loosely packed brown sugar: Adds a moist texture and a hint of caramel sweetness.
- 3 large eggs: Lightly beaten to bind everything together and give structure.
- 1 tsp vanilla extract: Enhances all the chocolate flavors with a warm, sweet note.
- 1/2 cup plain flour (all-purpose): Keeps the brownies tender but sturdy.
- 1/4 cup cocoa powder, sifted: Boosts the chocolate intensity and adds a beautiful dark color.
- Pinch of salt: Balances the sweetness and intensifies the chocolate taste.
- 180g dark chocolate chunks or chips (optional): For melty pockets inside the brownies that are pure magic.
Directions
Step 1: Preheat your oven to 180°C (350°F) or 160°C fan-forced. Prepare a 20cm (8-inch) square baking tin by greasing it well and lining it with parchment paper, making sure to leave an overhang for easy removal later.
Step 2: Place the butter and 1 1/4 cups of chocolate chips into a heatproof bowl. Microwave in 30-second bursts, stirring between each, until everything is melted and smooth—this usually takes me about 1 minute 30 seconds. Set aside to cool slightly.
Step 3: Stir the brown sugar and vanilla into the melted chocolate and butter mixture until fully combined. Then add the lightly beaten eggs and whisk everything together until the batter is glossy and silky.
Step 4: Sift together the flour, cocoa powder, and salt. Gradually fold the dry ingredients into the wet mixture, stirring gently until just combined and smooth. Be careful not to overmix to keep the brownies tender.
Step 5: Gently stir in the optional chopped dark chocolate or chocolate chips for those gooey, melty pockets inside.
Step 6: Pour the batter evenly into your prepared pan. Smooth the top lightly with a spatula.
Step 7: Bake for around 24 minutes if you like your brownies super gooey in the center, 28 minutes for my favorite fudgey but moist texture, or up to 32 minutes for a more cakey fudge-like brownie. Keep an eye on them and use a toothpick test: it should come out with a few moist crumbs but not wet batter.
Step 8: Let the brownies rest in the pan for about 10 minutes before carefully lifting them out using the parchment paper. Allow them to cool for at least 20 minutes before cutting—this helps them set perfectly.
Step 9: For the neatest slices, I love refrigerating the brownies for 30 minutes or even overnight. Just remember to serve them at room temperature to enjoy their fudgy perfection.
Servings and Timing
This recipe makes approximately 9 generous servings—ideal for sharing or enjoying yourself over a few days. Prep time is very manageable, about 10 minutes, since the melting and mixing go quickly. Baking takes roughly 24 to 32 minutes depending on your preferred texture, and you’ll want to allow an additional 20 to 30 minutes for cooling. Altogether, plan for about 35 to 45 minutes from start to finish for absolute brownie bliss.
How to Serve This The Best Chocolate Brownies Recipe
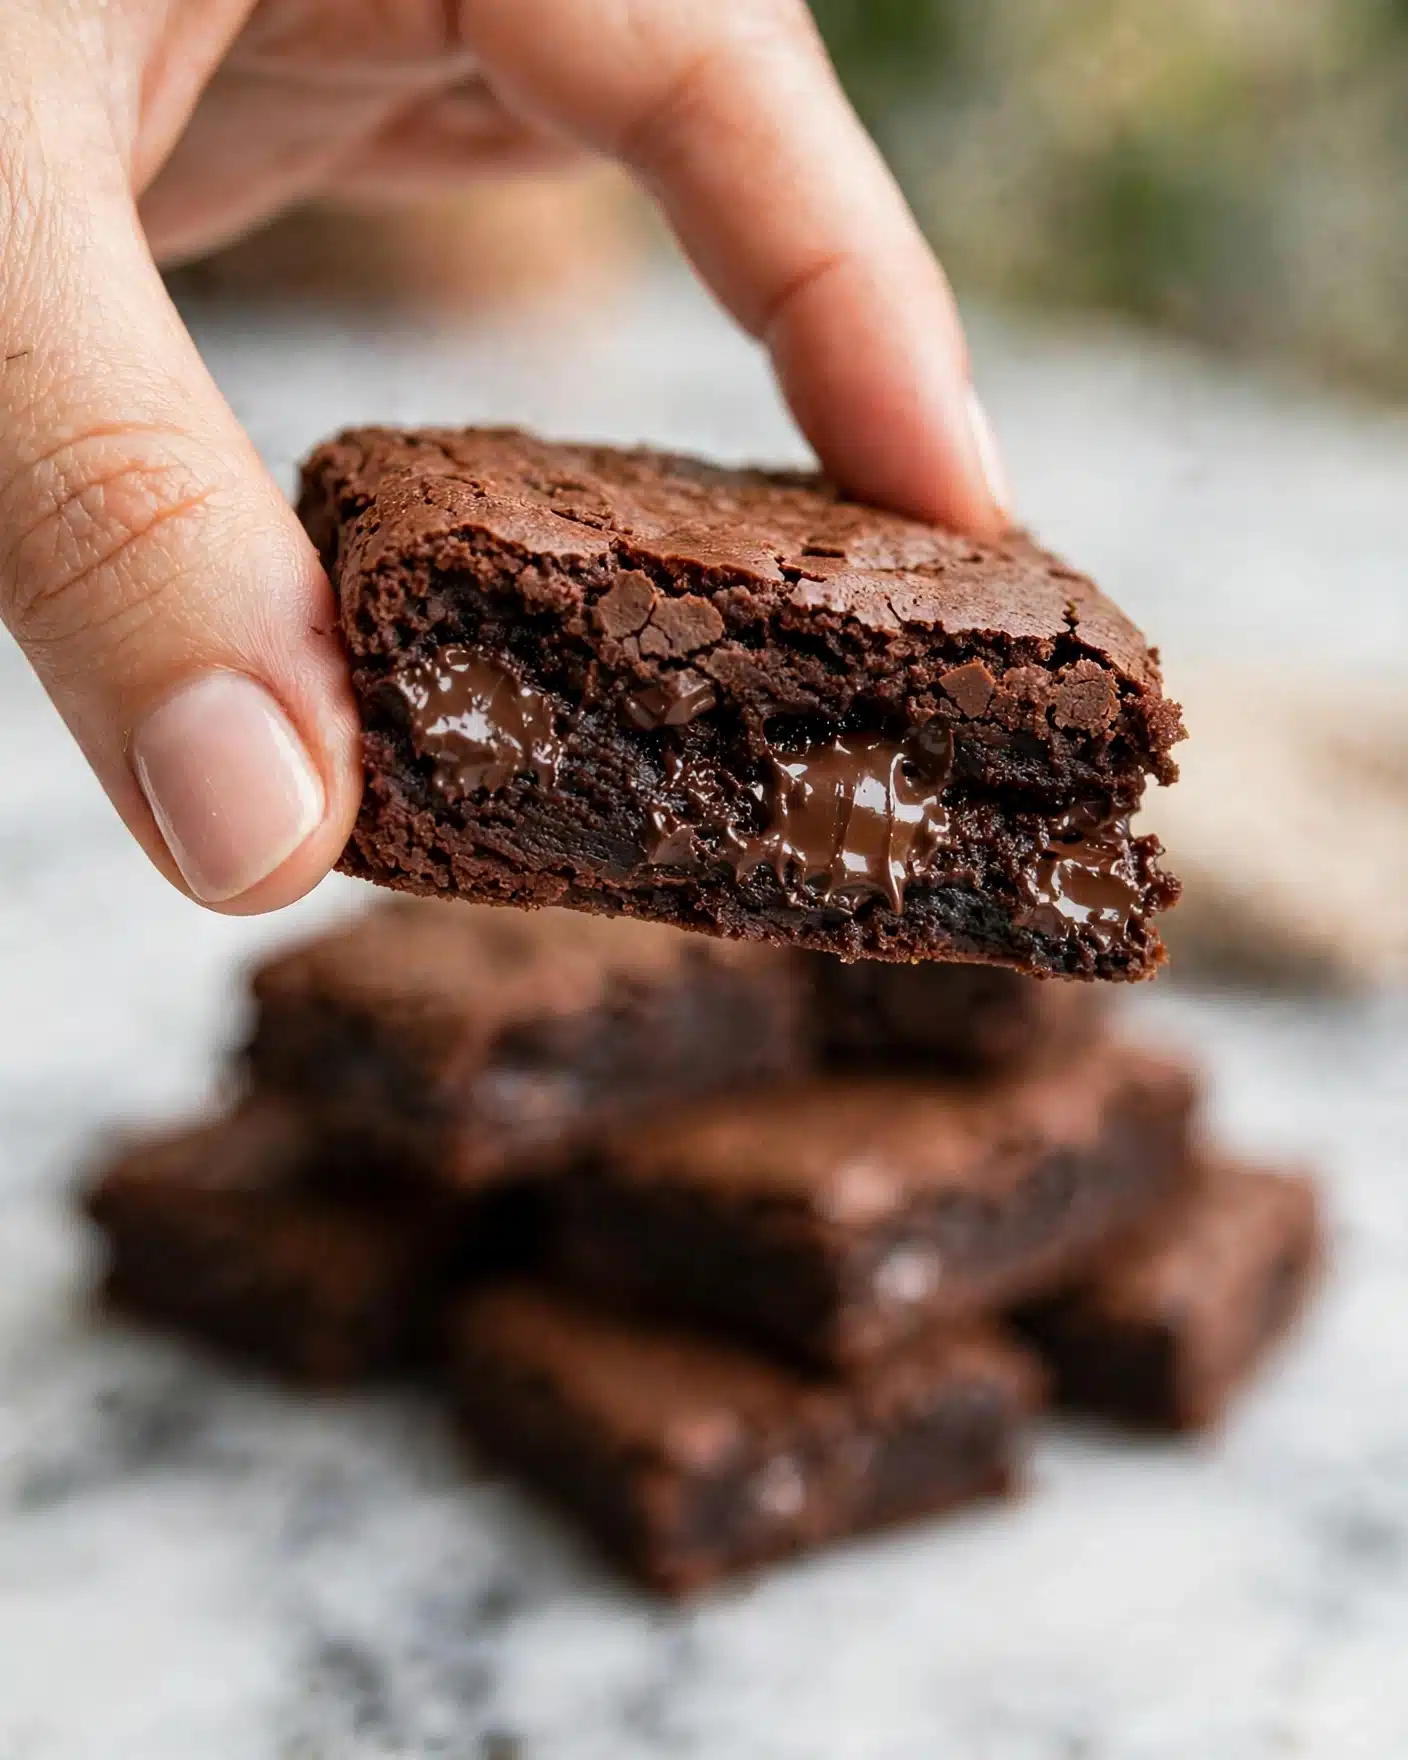
When I serve these brownies, I love letting them shine on their own because the chocolate is so rich and satisfying. However, to elevate the experience, try pairing them with a scoop of vanilla bean ice cream or a dollop of whipped cream for a classic contrast of hot and cold. Fresh berries like raspberries or strawberries add a lovely tart balance that brightens each bite.
For presentation, I like to garnish with a sprinkle of powdered sugar or a few chocolate shavings. Serving them on a simple white plate makes the dark chocolate color pop beautifully. If you want to impress guests, drizzle a little caramel or berry sauce over the top for an elegant touch.
Beverage-wise, these brownies pair wonderfully with a big mug of freshly brewed coffee or a glass of cold milk—both complement the intense chocolate notes perfectly. For something special, I sometimes enjoy them with a rich port wine or even a chocolate stout beer. They are ideal for any occasion from casual family dinners, holiday parties, to a cozy night in when you need a little chocolate comfort.
Variations
I love customizing this recipe depending on my mood or dietary needs. If you want to make a gluten-free version, simply swap the plain flour for a gluten-free flour blend—just be sure it contains xanthan gum for the right texture. For a vegan twist, substitute the butter with a plant-based alternative and use a flax or chia egg to replace the eggs.
If you prefer a different flavor profile, stirring in some chopped nuts like walnuts or pecans adds a fantastic crunch and earthy note. You can also experiment with different types of chocolate—using milk chocolate for a sweeter brownies, or dark 70% or higher cocoa content for an even more intense chocolate fix. Sometimes, I like to add a pinch of cinnamon or espresso powder to boost the richness and add a subtle complexity.
Lastly, if you’re in a hurry, you can make these brownies in muffin tins for individual portions and a faster bake time, usually around 18-20 minutes. It’s a fun way to change things up and serve brownies as grab-and-go treats.
Storage and Reheating
Storing Leftovers
Once cooled, I store leftover brownies in an airtight container at room temperature to keep them soft and fudgy. They usually stay perfect for about 3 to 4 days this way. If you prefer a slightly firmer texture, keeping them wrapped in parchment paper inside a container in the fridge works well for up to a week, though I recommend bringing them back to room temperature before eating.
Freezing
These brownies freeze wonderfully, which is great if you want to bake ahead or save some for later. I usually cut them into squares first, then wrap each piece tightly in plastic wrap and place them in a freezer-safe bag or container. They keep well frozen for up to 3 months. When you’re ready, thaw them at room temperature for a few hours or overnight in the fridge.
Reheating
To enjoy brownies warm, I gently reheat them in the microwave for about 10-15 seconds or in a low oven at 150°C (300°F) for 5–7 minutes—just enough to warm without drying them out. Avoid reheating too long or on high power to keep that lovely fudgy texture intact. For the best experience, serve shortly after warming while the chocolate bits inside are deliciously melty.
FAQs
Can I use milk chocolate instead of dark chocolate for this recipe?
Yes, absolutely! Milk chocolate will make your brownies sweeter and creamier. Just keep in mind the overall flavor won’t be as intense as with dark chocolate, but it’s a delicious variation, especially if you prefer a milder chocolate taste.
How do I know when the brownies are done baking?
I always use the toothpick test: insert a toothpick into the center, and if it comes out with a few moist crumbs clinging to it (but no wet batter), they’re perfectly baked. This means the brownies will be fudgy without being undercooked. Baking time can vary slightly depending on your oven, so start checking around 24 minutes.
Can I make this recipe gluten-free?
Yes! Simply substitute the plain flour with your favorite gluten-free all-purpose flour blend. Make sure the blend includes xanthan gum or another binder to achieve the right texture, and measure accurately to keep the balance of dry ingredients consistent.
Is it necessary to refrigerate the brownies before cutting them?
It’s not absolutely necessary, but refrigerating the brownies for 30 minutes or longer makes slicing much easier and results in clean, neat edges. Just remember to serve the brownies at room temperature afterward to bring out their fudgy softness.
Can I add nuts or other mix-ins to the batter?
Definitely! Adding chopped nuts like walnuts or pecans adds wonderful crunch and complements the chocolate perfectly. You can also fold in chocolate chips, dried fruit, or even a swirl of caramel for creative flavor twists that I love experimenting with.
Conclusion
I can honestly say that The Best Chocolate Brownies Recipe has become one of my absolute favorites to bake and share. It’s simple, reliable, and yields that perfect gooey, fudgy texture that every brownie lover dreams of. I hope you’ll enjoy making these as much as I do—they’re guaranteed to bring smiles and a little chocolate magic to your day!
PrintThe Best Chocolate Brownies Recipe
Delight in these rich, fudgy chocolate brownies featuring a perfect blend of dark chocolate, cocoa powder, and brown sugar. Baked to moist, indulgent perfection with options for gooey or fudge-cake-like textures, this classic recipe is easy to make and ideal for chocolate lovers seeking a decadent treat.
- Prep Time: 10 minutes
- Cook Time: 28 minutes
- Total Time: 38 minutes
- Yield: 9 servings
- Category: Dessert
- Method: Baking
- Cuisine: American
Ingredients
Chocolate and Butter
- 200g / 14 tbsp unsalted butter (1 3/4 US sticks)
- 1 1/4 cups dark chocolate chips or melts/discs (US: semi-sweet chocolate)
- 180g / 6oz dark chocolate chips, or block/bar chopped into chunks (optional)
Other Ingredients
- 1 cup loosely packed brown sugar
- 3 large eggs, lightly beaten (fridge cold or room temperature)
- 1 tsp vanilla extract
- 1/2 cup plain flour (all-purpose flour)
- 1/4 cup cocoa powder, sifted
- Pinch of salt
Instructions
- Preheat and Prepare Pan: Preheat the oven to 180°C/350°F (160°C fan-forced). Spray a 20cm/8″ square baking tin with oil or grease it with butter, then line it with baking paper or parchment paper with an overhang for easy removal.
- Melt Chocolate and Butter: Place the butter and chocolate chips in a heatproof bowl and microwave in 30-second bursts, stirring frequently, until fully melted and smooth. This usually takes about 1 minute and 30 seconds.
- Add Sugar and Eggs: Stir the brown sugar and vanilla extract into the melted chocolate mixture, then add the lightly beaten eggs and mix thoroughly until the batter is smooth and molten.
- Mix Dry Ingredients: Add the sifted plain flour, cocoa powder, and a pinch of salt to the wet mixture. Stir gently until the batter is smooth and combined.
- Optional Chocolate Chunks: Fold in the chopped dark chocolate chunks if using, distributing them evenly throughout the batter.
- Bake the Brownies: Pour the batter into the prepared pan. Bake for 24 minutes for a really gooey center, 28 minutes for fudgey but moist brownies (recommended), or 32 minutes for a moist fudge-cake-like texture.
- Cool and Slice: Rest the brownies in the pan for 10 minutes before lifting them out carefully using the paper overhang. Let cool for at least 20 minutes before cutting.
- Optional Chill for Neat Slices: For cleaner brownie slices, refrigerate the brownies for 30 minutes or overnight. Allow them to come to room temperature before serving for fudgy perfection.
Notes
- Use semi-sweet dark chocolate for the rich chocolate flavor.
- Sifting cocoa powder ensures a smooth batter without lumps.
- Lining the baking tin with parchment paper makes removing the brownies easier and reduces sticking.
- Adjust bake time for desired texture—shorter for gooey, longer for more cake-like.
- Refrigerating brownies helps in cutting precise slices but always serve at room temperature for best texture.


