
I am absolutely thrilled to share my favorite festive treat with you today—I call it my Spiderweb Brownies Recipe. It’s a fun and delicious twist on classic brownies, transformed with the spooky charm of marshmallow spiderwebs and playful spider sprinkles. I love how this recipe brings a touch of whimsy and excitement to any occasion, especially around Halloween, making dessert time feel extra special and creative.
Why You’ll Love This Spiderweb Brownies Recipe
What truly makes this Spiderweb Brownies Recipe stand out for me is the perfect harmony of rich, fudgy brownies paired with the soft, dreamy texture of melted marshmallows stretched into spiderweb shapes. The slight chewiness of the brownies contrasts beautifully with the delicate marshmallow “web,” and those tiny spider sprinkles add just the right dose of festive fun. I promise, the flavor is as delightful as it looks!
Another reason I adore this recipe is how simple and quick it is to make, even if you’re not an experienced baker. Using a brownie mix as the base means you skip a lot of fuss, yet the results taste homemade and impressive. This recipe is ideal for parties, Halloween gatherings, or just a cozy night in when you want to treat yourself and guests to something unique and delicious. I always find that it sparks conversation and smiles at the table!
Ingredients You’ll Need
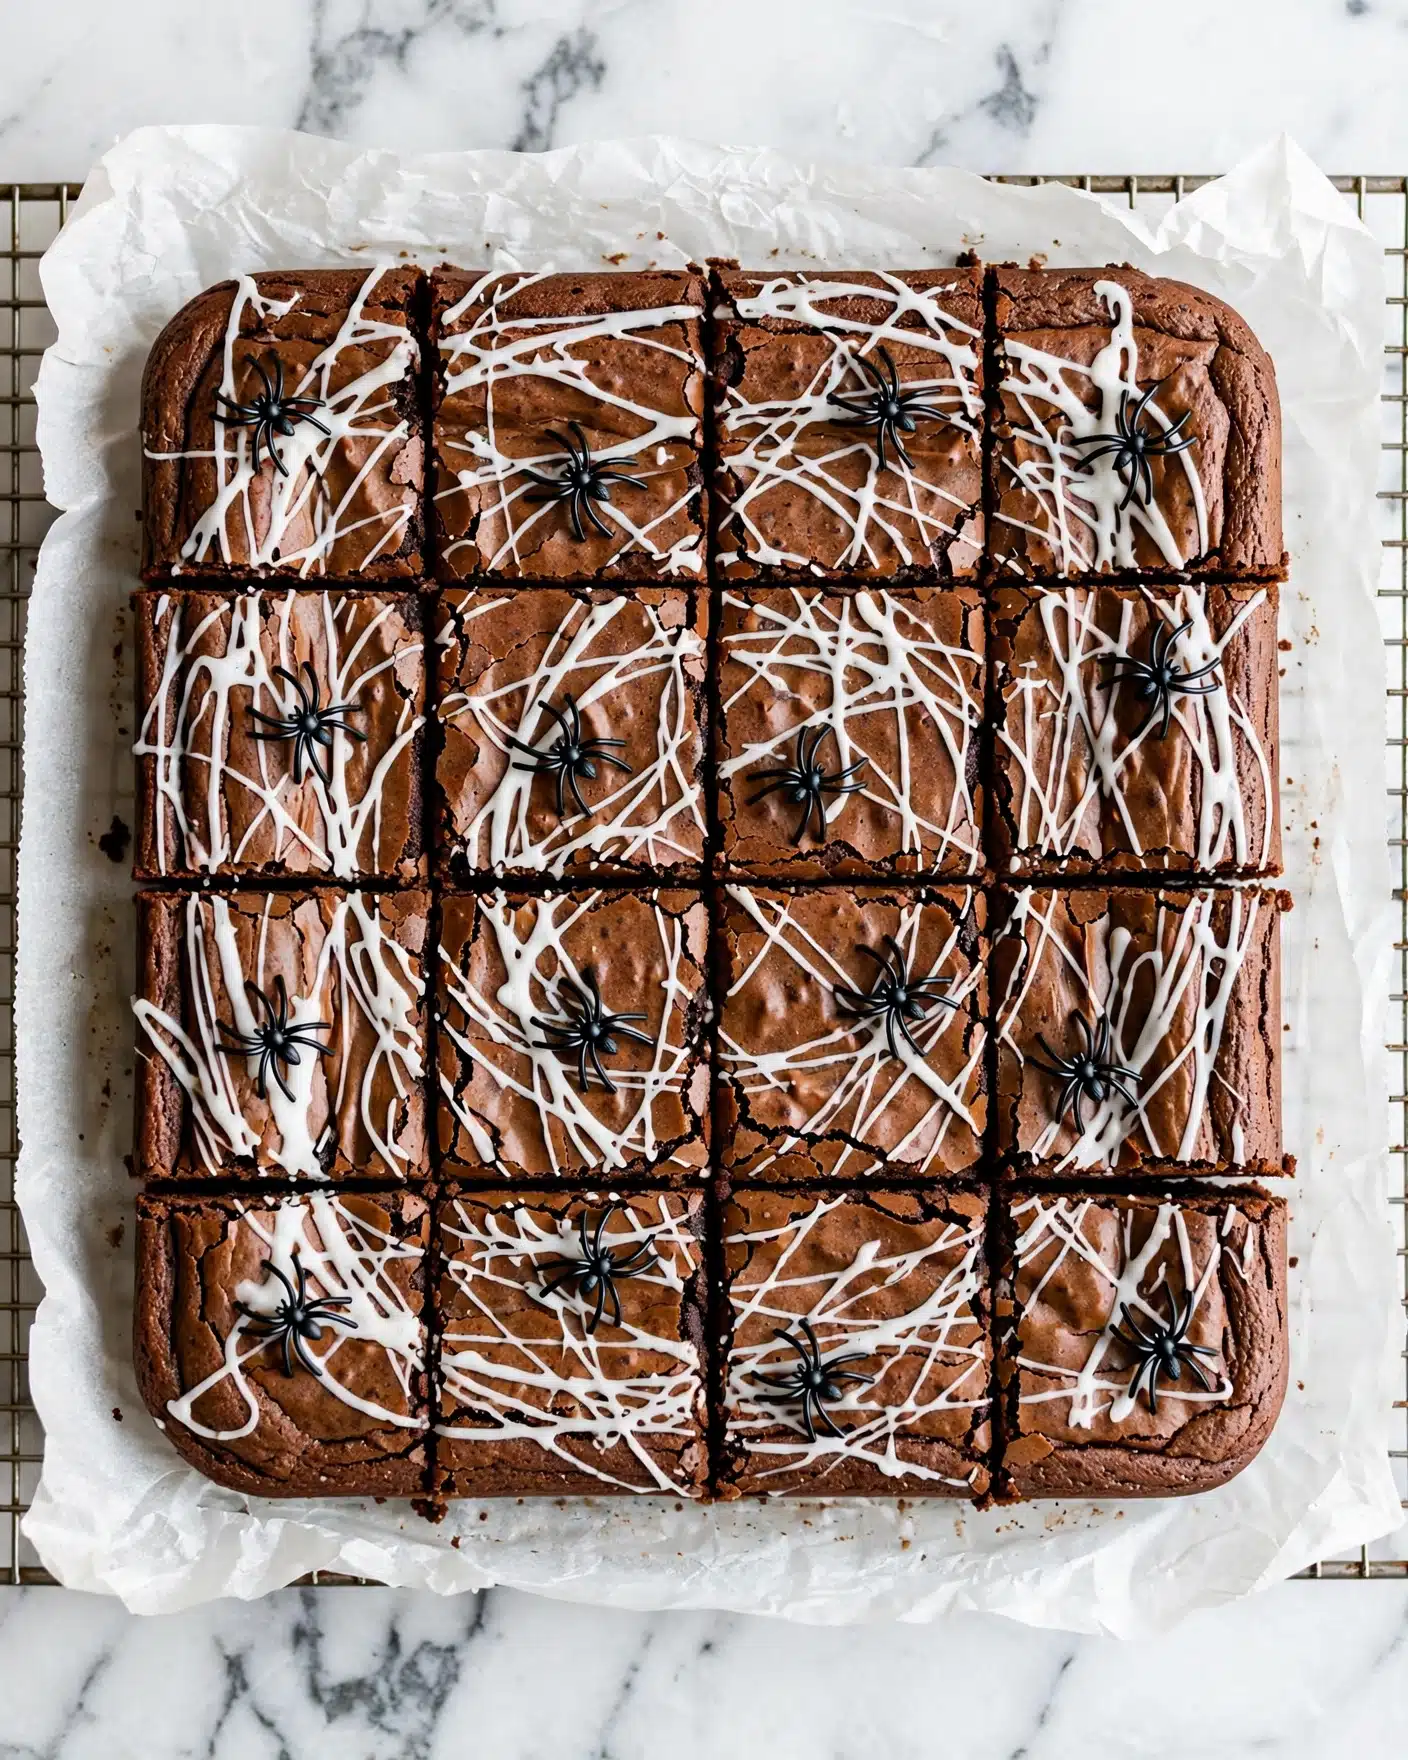
All you need are a few simple but key ingredients that come together beautifully to create this dessert’s unique texture and flavor. Each ingredient brings something important—whether it’s the rich chocolate base, the sweet marshmallow web, or the playful finishing touch that makes it pop visually.
- Brownie mix: This is the base of the recipe, providing that guaranteed fudgy, chocolatey goodness with minimal effort.
- Marshmallows: Essential for creating the stretchy web effect that makes these brownies so visually striking and fun to eat.
- Spider sprinkles: These whimsical decorations bring that spooky, festive vibe that completes the spiderweb look perfectly.
Directions
Step 1: Preheat your oven to 350°F and prepare an 8 x 8-inch pan by lining it with parchment paper. Make sure to cover all sides of the pan so you can easily lift out the brownies once they’re baked.
Step 2: Prepare your brownie mix according to the package instructions. Pour the batter into the prepared pan, using a rubber spatula to spread it evenly across the bottom. Bake until a knife inserted in the center comes out mostly clean—this usually takes about 25 to 30 minutes but start checking around 22 minutes to avoid overbaking.
Step 3: Allow the brownies to cool completely in the pan once out of the oven. This step is super important because the marshmallow webs won’t stick properly if the brownies are still warm.
Step 4: Place the marshmallows in a microwave-safe bowl and heat them on high in 20-second increments, stirring in between, until completely melted and smooth. Let the marshmallows cool for about a minute until they become tacky but still stretchable.
Step 5: Using your fingers, pick up portions of the marshmallow and gently pull and stretch them into long strings. Then drape and press these strings over the surface of the cooled brownies, layering and weaving to mimic a spiderweb pattern. Be patient and creative here—it’s a fun step!
Step 6: Once your marshmallow spiderweb is complete, sprinkle the spider sprinkles evenly over the top. This adds a delightful pop of color and playful detail that makes these brownies irresistible.
Step 7: Let the marshmallow webs set for a few minutes before slicing and serving. Enjoy the magical, spooky treat you’ve created!
Servings and Timing
This recipe makes about 16 delicious servings, perfect for sharing with friends or family. The prep time is roughly 10 minutes, with a baking time around 25 to 30 minutes. Cooling the brownies completely will take another 20 to 30 minutes, and creating the marshmallow web takes about 10 minutes. In total, you’re looking at around 45 minutes to an hour from start to finish, depending on how intricate you get with your webs.
How to Serve This Spiderweb Brownies Recipe
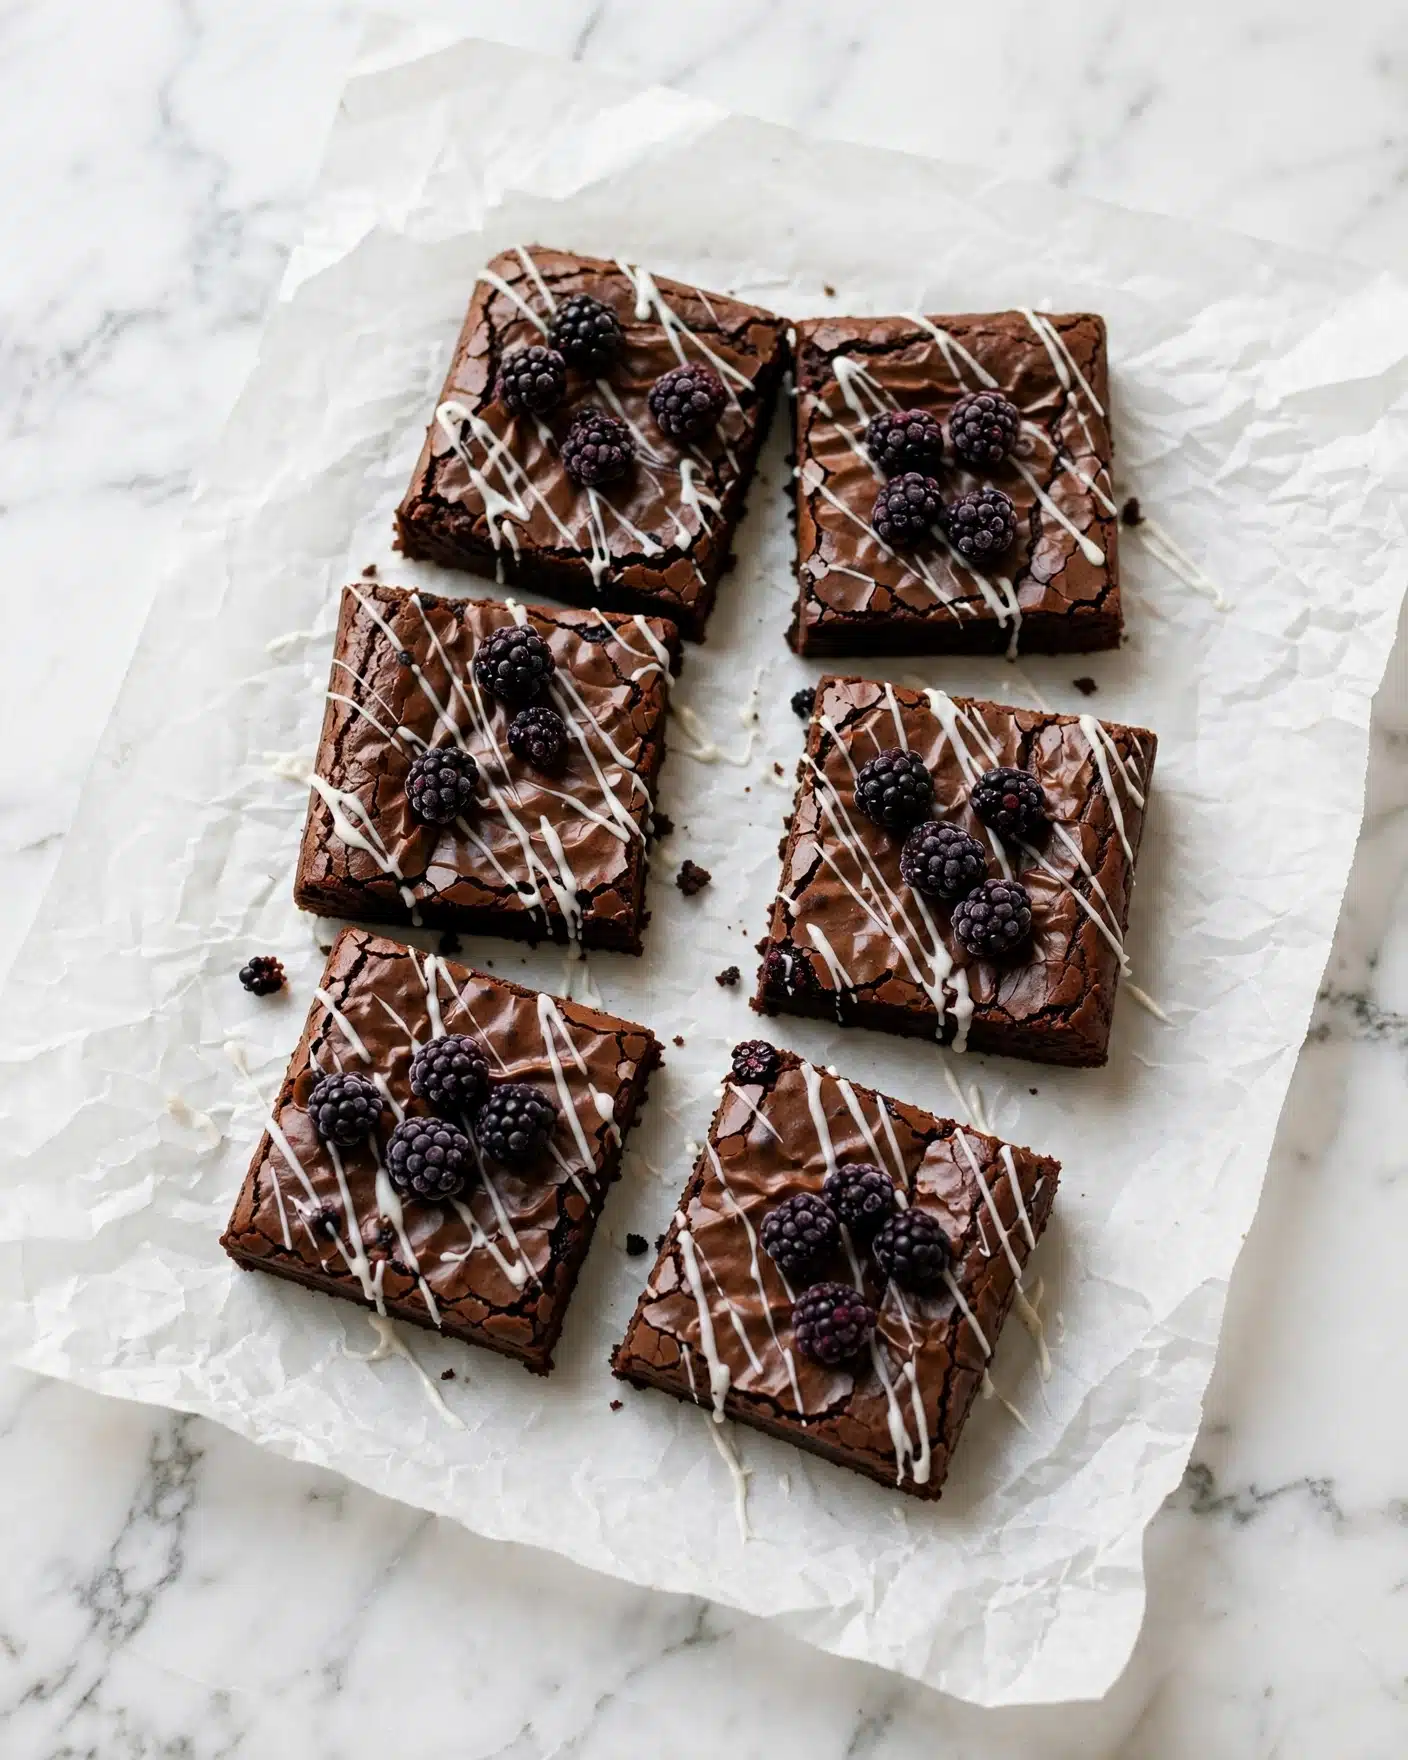
When I serve these Spiderweb Brownies, I love keeping things simple so the brownies remain the star. They are fantastic on their own, but pairing them with a scoop of vanilla ice cream adds a lovely contrast of warm, gooey marshmallow and cool creaminess. For a more decadent bite, a drizzle of chocolate or caramel sauce over the top delights my guests every time.
Presentation-wise, I like to cut the brownies into small squares or even fun-shaped pieces using cookie cutters to make the serving even more festive. A dusting of powdered sugar or a few extra spider sprinkles on the plate can elevate the look. As for drinks, a glass of cold milk is classic, but a rich coffee or even a spiced mulled wine pairs beautifully to balance the sweetness.
These brownies are perfect for Halloween parties, family gatherings, or to surprise your kids with a fun after-school treat. I recommend serving them at room temperature so the marshmallow web is soft yet intact, making each bite delightfully tender and satisfying.
Variations
One of my favorite things about this Spiderweb Brownies Recipe is how easy it is to customize. If you want to make it gluten-free, just pick a gluten-free brownie mix and double-check your sprinkles. For a vegan twist, you can find dairy-free brownie mixes and substitute marshmallows with vegan marshmallow alternatives, which melt and stretch nicely with a little extra care.
Flavor-wise, I sometimes mix in a teaspoon of espresso powder into the brownie batter—it intensifies the chocolate flavor without making the brownies taste like coffee. For a nutty crunch, chopped walnuts or pecans work beautifully mixed into the batter. You can also experiment with different types of sprinkles or candy bits on top to switch up the theme, not just spiders but pumpkins or ghosts depending on the occasion.
If you’re feeling adventurous, you could even make these brownies in cupcake form and create mini spiderwebs atop each one. Baking times and volumes will need adjusting, but the results are adorable and perfect for party platters.
Storage and Reheating
Storing Leftovers
I usually store any leftover Spiderweb Brownies in an airtight container at room temperature for up to 3 days. Keeping them covered is important to prevent the marshmallow webs from drying out. If your kitchen is warm, storing them in a cool spot or the refrigerator can help preserve the texture, but it might make the marshmallows a little firmer.
Freezing
You can freeze these brownies, but I recommend skipping the marshmallow webs before freezing. Bake and cool the brownies, cut them into squares, and place them in a single layer on a baking sheet to freeze initially. Once frozen, transfer to a freezer-safe container or bag for up to 3 months. When you want to serve, thaw completely and add fresh marshmallow webs on top for the best texture and look.
Reheating
To enjoy leftovers, I find reheating the brownies gently in the microwave for about 10-15 seconds revives their fudginess, but avoid overheating which can make the marshmallow webs tough or sticky. If you removed the webs before freezing, you can add fresh melted marshmallow strands after warming for that freshly made feel.
FAQs
Can I make the spiderwebs ahead of time?
I recommend making the marshmallow spiderwebs just before serving because they can harden or get sticky if left overnight. If you want to prep in advance, try cooling the brownies and keeping them covered, then quickly create the webs right before guests arrive.
What if I don’t have spider sprinkles?
No worries at all! You can use any colored sprinkles, edible glitter, or even tiny candy pieces you have on hand. The spider sprinkles just add a fun thematic touch, but the brownies will be equally tasty without them.
Can I use homemade brownies instead of a mix?
Absolutely! If you have a favorite homemade brownie recipe, go for it. Just make sure the brownies are completely cool before adding the marshmallow webs. Using homemade brownies might mean adjusting baking times, but the results will be deliciously personal.
Why do the marshmallow webs have to be made on cooled brownies?
Warm brownies can cause the marshmallows to melt too much and lose their “web” shape. Cooling allows the marshmallows to stretch and set nicely on the surface without slipping or running.
Is this recipe kid-friendly to make together?
Definitely yes! Kids love stretching the marshmallows into webs and decorating with sprinkles. I usually supervise the melting part in the microwave, but the decorating step is a fun hands-on activity that brings everyone together in the kitchen.
Conclusion
If you’re looking for a recipe that combines ease, fun, and a wonderful mix of textures and flavors, I can’t recommend my Spiderweb Brownies Recipe enough. It’s a showstopper that brings a festive, playful touch to any dessert table and is sure to delight both kids and adults alike. Give it a try and watch everyone’s faces light up with every spiderwebbed bite!
PrintSpiderweb Brownies Recipe
Spiderweb Brownies are a spooky and fun dessert perfect for Halloween or themed parties. These easy-to-make brownies are baked from a brownie mix, then decorated with stretchy melted marshmallow spiderwebs and festive spider sprinkles for a creepy yet delicious treat.
- Prep Time: 10 minutes
- Cook Time: 30 minutes
- Total Time: 40 minutes
- Yield: 16 servings
- Category: Dessert
- Method: Baking
- Cuisine: American
Ingredients
Brownie Base
- 1 brownie mix, prepared according to directions
Decoration
- 1/2 cup marshmallows
- 2 tablespoons spider sprinkles
Instructions
- Prepare the pan: Preheat your oven to 350°F (175°C) and line an 8 x 8-inch baking pan with parchment paper on all sides to make removal easy.
- Make the brownies: Follow the directions on the brownie mix box to prepare the batter. Pour it into the prepared pan and spread evenly using a rubber spatula. Bake until a knife inserted in the center comes out mostly clean. Allow the brownies to cool completely in the pan.
- Melt marshmallows: Place the marshmallows in a microwave-safe bowl and microwave until fully melted, about 20-30 seconds. Let the melted marshmallow sit for a minute until it becomes tacky but still malleable.
- Create spiderwebs: Using your fingers, pick up some melted marshmallow and stretch it into long, thin strings to mimic spiderweb strands. Carefully lay these strings over the cooled brownies, pressing gently to adhere. Continue until the surface is covered with spiderweb patterns.
- Add finishing touches: Sprinkle the spider sprinkles evenly over the marshmallow spiderwebs to complete the spooky decoration. Cut into 16 squares and serve.
Notes
- Ensure brownies are fully cooled before adding marshmallow webs to prevent melting and sliding.
- Use regular-sized marshmallows for best melting and stretching results.
- If marshmallows harden too quickly, microwave briefly again to soften.
- You can substitute pre-made spiderweb candies for marshmallows if desired.
- Store leftover brownies in an airtight container at room temperature for up to 3 days.


