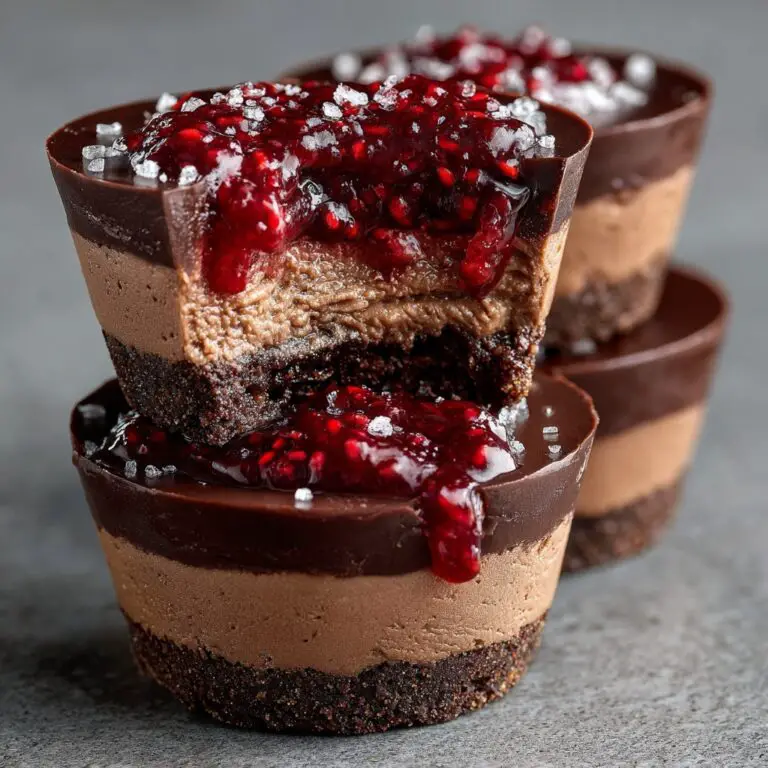
I absolutely adore this Rich Chocolate Cheesecake Recipe because it hits all the right notes for a comforting, indulgent dessert. From the crisp Oreo crust to the luscious, velvety chocolate cream cheese filling, every bite feels like a little celebration. I always look forward to making it for special occasions or when I just want to treat myself, and the best part is how approachable it is despite tasting so decadent.
Why You’ll Love This Rich Chocolate Cheesecake Recipe
What makes this Rich Chocolate Cheesecake Recipe truly special to me is its incredible flavor profile. The deep, intense cocoa combined with smooth cream cheese creates a perfect balance of richness without being overly sweet. The Oreo crust adds a delightful crunch that contrasts beautifully with the creamy filling. Every element plays off each other, making it a dessert I never get tired of.
Another thing I love about this recipe is how surprisingly easy it is to prepare. With straightforward steps and familiar ingredients, it feels manageable, even if you’re not usually confident with desserts. Plus, I find it perfect for so many occasions—whether it’s a festive holiday party, a casual dinner with friends, or just an indulgent weekend treat. It always stands out and gets rave reviews, which makes sharing it even more rewarding.
Ingredients You’ll Need
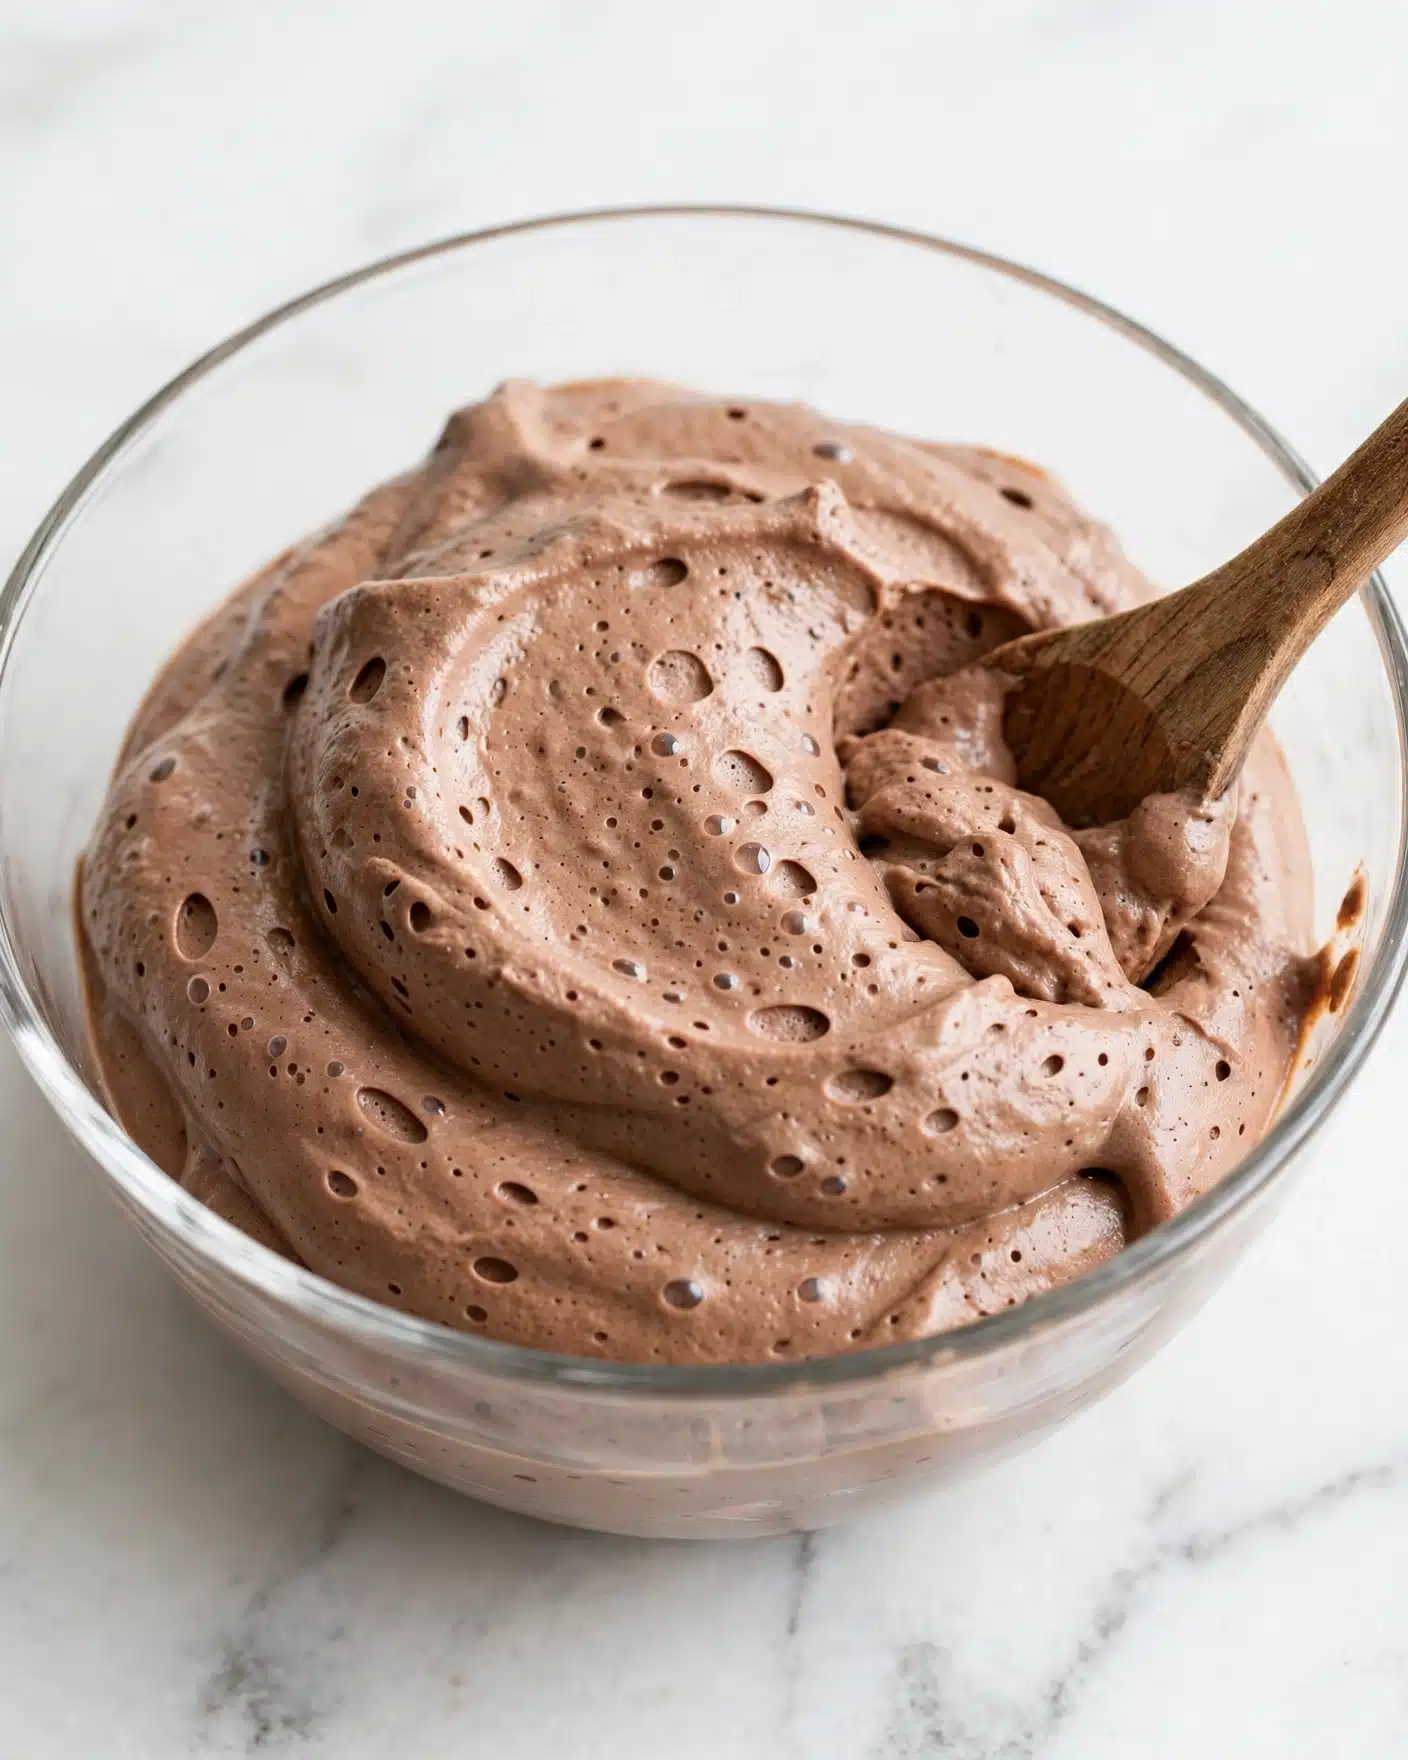
The ingredients for this cheesecake are refreshingly simple, but each plays an essential role in delivering that luxurious texture and unforgettable chocolate flavor. Using quality chocolate and fresh cream cheese makes all the difference in the final taste, while the Oreos build a sturdy, flavorful base that holds everything together.
- 140g / 4.9oz Oreo cookies: This forms the crunchy and flavorful crust; make sure to blitz them finely for a uniform base.
- 50g / 3 tbsp unsalted butter, melted: Butter binds the crust crumbs nicely and adds richness.
- 200g / 6.5 oz 70% cocoa chocolate, finely chopped: The backbone of the filling, providing deep chocolate intensity.
- 2 tbsp cocoa powder: For an extra chocolate boost and to help enhance the color.
- 2 1/2 tbsp boiling hot water: Used to bloom the cocoa powder, unlocking its full flavor.
- 1 cup thickened cream / heavy cream (cold): Whipped to stiff peaks, this adds lightness and body to the filling.
- 500g / 1 lb cream cheese, softened: The creamy base of the cheesecake, essential for smooth texture.
- 1 cup caster sugar: Sweetens the filling evenly without graininess.
- 1 tsp vanilla extract: Adds warmth and depth to the chocolate flavor.
- 1/2 cup thickened cream / heavy cream: Incorporated into the filling for richness.
- 75 g / 2.7 oz 70% cocoa chocolate, finely chopped: Used again for the ganache topping for a glossy, decadent finish.
- 1 cup thickened cream / heavy cream (cold): For whipping into decorative swirls on top.
- 1 tbsp caster sugar: Lightly sweetens the whipped cream garnish.
- 1/4 tsp vanilla extract: Boosts the whipped cream’s flavor.
- Milk chocolate bar or leftover dark chocolate: For shaving on top as an elegant garnish.
Directions
Step 1: Start by preparing your pan. Flip the base of a 20cm / 8″ springform pan upside down and lightly butter it. Press a square piece of baking paper onto the base, then clip the sides on so the paper extends beyond the rim for easy removal later.
Step 2: Butter and line the pan sides with baking paper, extending about 1 cm above the edges. This ensures your cheesecake won’t stick and helps with lifting it out cleanly.
Step 3: Blitz the Oreos (broken into chunks) in a food processor until fine crumbs form. Add the melted butter and pulse just until the crumbs clump together. This will be a firm but pliable base.
Step 4: Press the cookie crumb mixture evenly into the bottom of your prepared pan using the flat bottom of a glass or measuring cup. Set aside.
Step 5: Melt 200g of chopped 70% chocolate in the microwave in 20-second bursts, stirring in between until smooth. Let it cool for 5 minutes to lukewarm so it won’t deflate your whipped cream later.
Step 6: Whisk the cocoa powder with boiling water until fully smooth and set aside to let the chocolate flavor bloom.
Step 7: In a large mixing bowl, whip the 1 cup of cold cream on high speed until firm peaks form—you want it stiff enough to hold shape.
Step 8: In a separate large bowl, beat the cream cheese and sugar on high for about 2 minutes until fluffy and creamy, then add vanilla extract and beat to combine.
Step 9: Slowly beat in the melted chocolate and bloomed cocoa mixture into the cream cheese, scraping down the sides as needed to keep everything smooth and even.
Step 10: Fold one-third of the whipped cream into the chocolate mixture with a beater until just combined, then gently add the remaining cream and continue mixing until streaks disappear (but don’t overbeat).
Step 11: Pour the cheesecake filling onto the Oreo base in your pan and smooth the top with a spatula.
Step 12: Refrigerate the cheesecake for at least 2 hours to help it firm up a bit before adding the ganache.
Step 13: To make the ganache, heat 1/2 cup cream until hot but not boiling, pour over the finely chopped 75g of chocolate, and let it sit for 5 minutes. Stir gently until glossy and smooth, then pour over the cheesecake and spread evenly.
Step 14: Return the cheesecake to the fridge for 6 hours or ideally overnight so it fully sets and flavors meld perfectly.
Step 15: When ready to serve, release the springform sides and use the baking paper to gently transfer the cheesecake onto a serving plate. Remove the paper from sides and underneath carefully.
Step 16: Whip the remaining cream with sugar and vanilla until softly whipped and pipe decorative swirls around the edges. Sprinkle with shaved chocolate for a beautiful finishing touch.
Step 17: Slice and serve chilled, optionally with an extra dollop of whipped cream on the side.
Servings and Timing
This recipe yields about 12 generous servings of rich, decadent cheesecake—perfect for a crowd or for savoring over several days. Prep time is around 20 minutes, including assembling the crust and mixing the filling. The cheesecake itself needs at least 2 hours initially to chill before adding ganache, and then another 6 hours or overnight to fully set. So, total time from start to finish is roughly 8 hours, mostly hands-off refrigeration, making it very easy to prepare in advance for any upcoming event.
How to Serve This Rich Chocolate Cheesecake Recipe
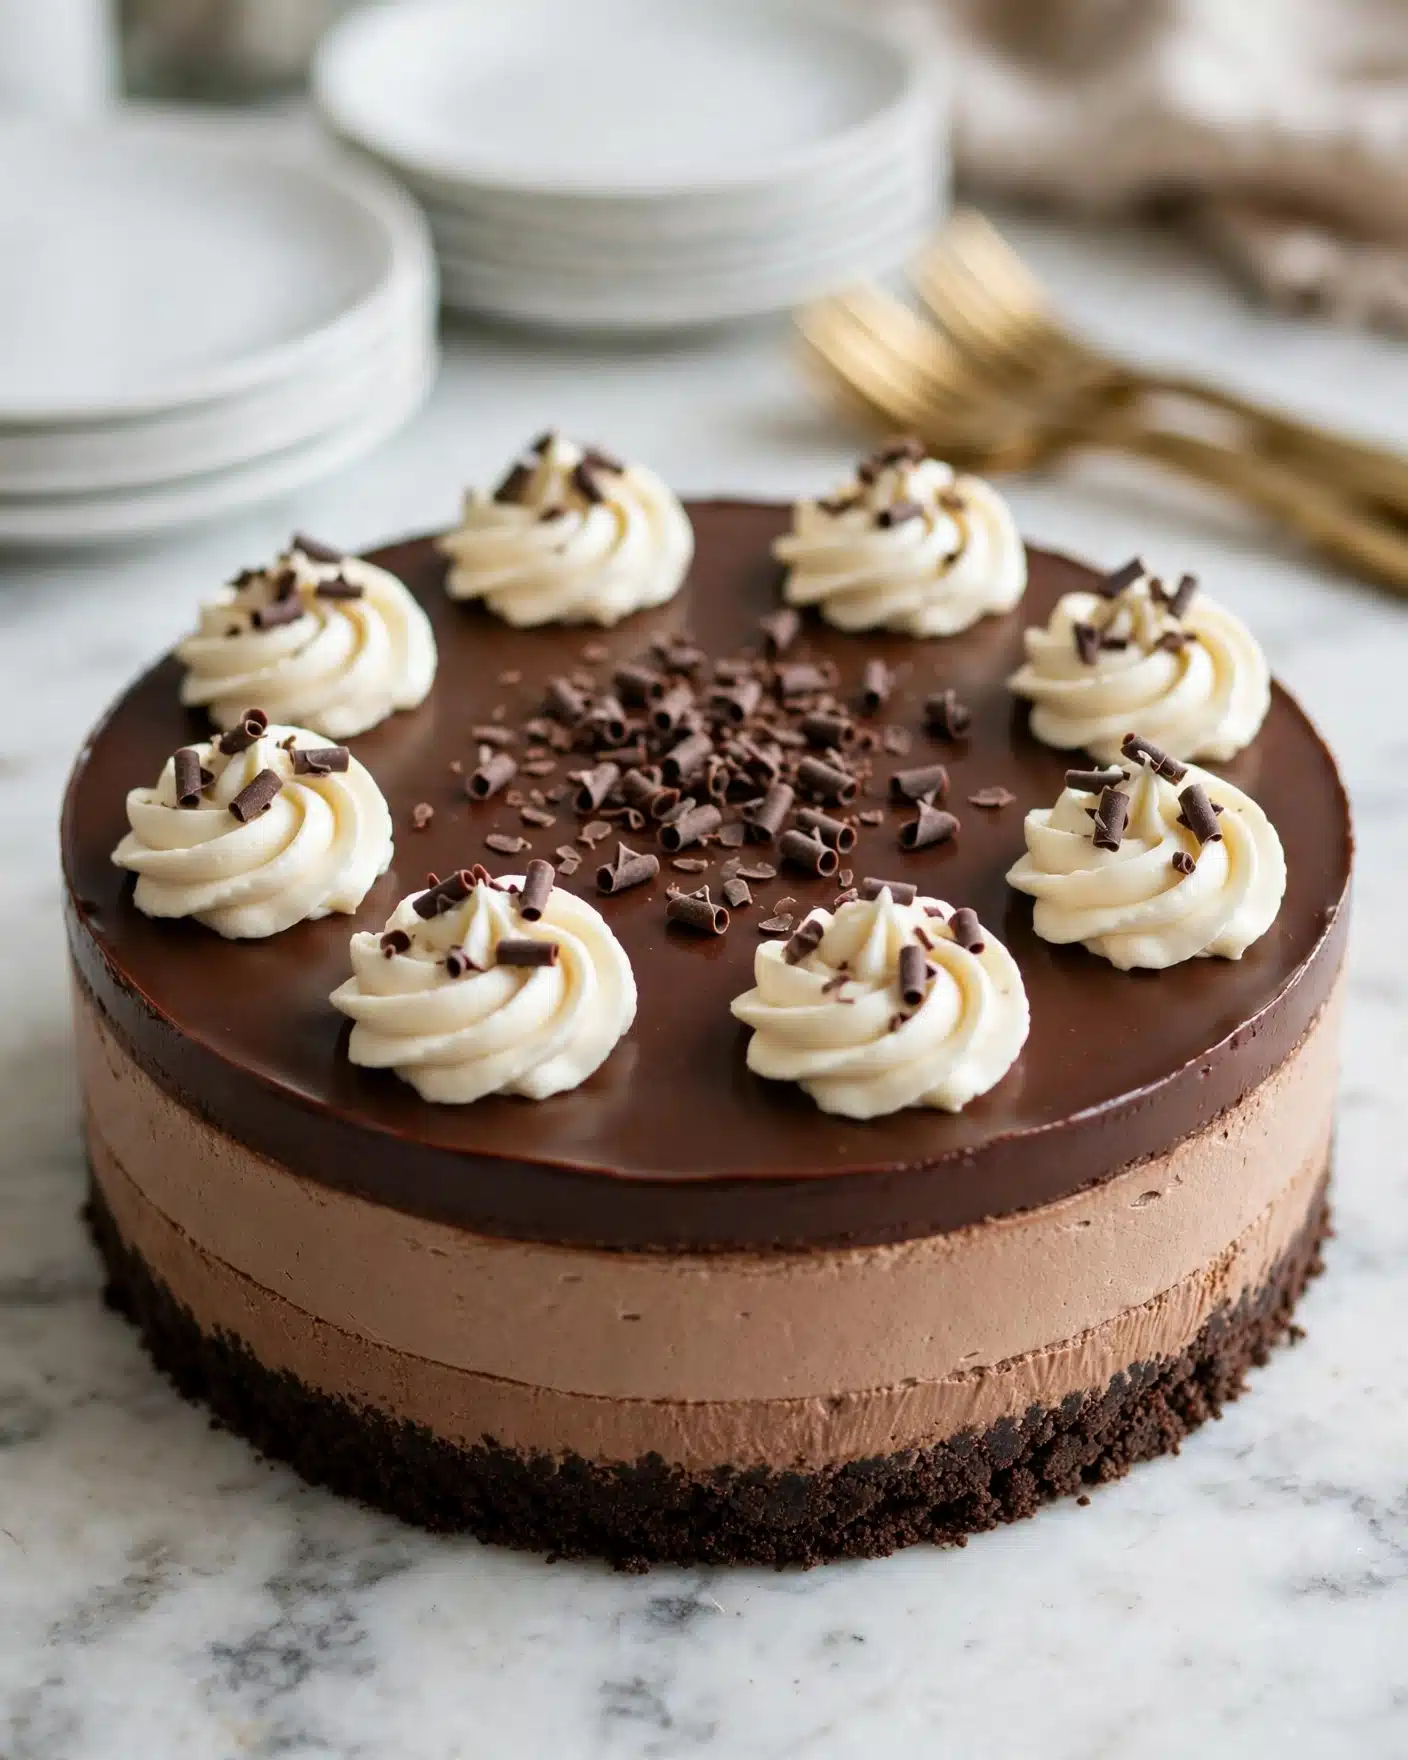
I love serving this cheesecake chilled straight from the fridge because it holds its beautiful shape and the flavors shine best. A scoop or dollop of freshly whipped cream on the side always elevates every bite and balances the intensity. For breakfast or brunch gatherings, I sometimes add fresh berries like raspberries or strawberries for a burst of bright acidity that cuts through the richness wonderfully.
Presentation-wise, piping whipped cream and sprinkling delicate chocolate shavings on top never fails to impress guests. You can even add a few mint leaves or edible flowers for a pop of color. When slicing, I aim for moderate-sized wedges around one inch wide to keep the portions just perfect—not too overwhelming but satisfying.
For beverages, I find a glass of full-bodied red wine like Zinfandel or a rich Port pairs beautifully with the creamy chocolate flavors. If you prefer non-alcoholic options, a strong coffee or a chic hot chocolate complements the dessert delightfully, especially if serving during cooler months. This cheesecake shines on special occasions like birthdays, holidays, or intimate dinner parties but also makes any regular weekend feel memorably indulgent.
Variations
One of the things I enjoy about this Rich Chocolate Cheesecake Recipe is how effortlessly you can tweak it to fit different tastes or dietary needs. For example, swapping the Oreo crust for a gluten-free cookie base works beautifully for gluten-sensitive friends. Or, if you want a lighter crust, crushed graham crackers with a bit of cinnamon bring a lovely warmth.
If you’re after a vegan option, I recommend using dairy-free cream cheese alternatives and coconut cream whipped to stiff peaks. Dark chocolate should be checked for dairy content, but there are plenty of vegan-certified brands that work perfectly. You can also experiment with flavor twists—adding a tablespoon of espresso powder to the chocolate mix amps up the richness, or swirling in raspberry puree before chilling gives a lovely fruity contrast.
In terms of cooking methods, while this recipe doesn’t bake and relies on refrigeration, you could turn it into a baked chocolate cheesecake by reducing the heavy cream and adding eggs, then baking in a water bath. However, the no-bake method keeps it delightfully creamy and smooth, which is my personal favorite.
Storage and Reheating
Storing Leftovers
I always store leftover cheesecake in an airtight container or cover the springform pan tightly with plastic wrap to prevent it from drying out or picking up fridge odors. It keeps beautifully in the refrigerator for up to 4 to 5 days. Just remember to handle it gently when transferring portions to avoid cracking the delicate surface.
Freezing
This cheesecake freezes well if you wrap it tightly in plastic wrap and then a layer of foil or place it inside a freezer-safe box. I suggest freezing individual slices separated by parchment paper for easy thawing. It stays good for up to 2 months frozen. To thaw, leave it in the fridge overnight rather than at room temperature to retain its creamy texture without becoming too soft.
Reheating
Since this is a no-bake cheesecake, I don’t recommend reheating it as it’s meant to be enjoyed cold. If you prefer it a little less chilled, you can let slices sit at room temperature for 10 to 15 minutes so the flavors open up and the texture softens slightly. Avoid microwaving as it will ruin the smoothness and cause separation.
FAQs
Can I use a different type of cookie for the crust?
Absolutely! While I love Oreos for their chocolatey crunch, you can substitute with graham crackers, digestive biscuits, or even gingersnaps for a spiced version. Just make sure to finely crush them and adjust the butter slightly if the texture feels too dry or wet.
What can I do if my cheesecake cracks?
Cracking is less common in no-bake cheesecakes like this one, but if it happens, it’s usually because the filling was overmixed or the cheesecake was stored incorrectly. To minimize this, mix gently when folding in whipped cream and chill the cheesecake covered so it doesn’t dry out.
Can I make this cheesecake ahead of time?
Yes! This recipe is perfect for making a day or two ahead. In fact, letting it chill overnight enhances the flavors and texture. Just be sure to add the whipped cream topping right before serving for the best presentation.
Is it possible to make this cheesecake without a springform pan?
You can use a regular cake pan lined with parchment paper for easier removal. Alternatively, tart pans with removable bottoms work well too. Just be mindful that the height and size may vary, which can slightly affect setting time.
How do I know when the whipped cream is ready?
You want your whipped cream to reach stiff peaks—meaning when you lift the whisk, the cream holds a firm peak without folding over. It’s key for the fluffy, airy texture inside the cheesecake and for decorating the top with nice, stable swirls.
Conclusion
I genuinely hope you give this Rich Chocolate Cheesecake Recipe a try because it’s become such a beloved classic in my kitchen. It’s a wonderful blend of ease, elegance, and indulgent chocolate flavor that never fails to impress. Whether it’s a special celebration or a cozy night in, this cheesecake is a delicious way to make any moment feel extraordinary.
PrintRich Chocolate Cheesecake Recipe
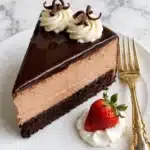
This rich chocolate cheesecake features a smooth, creamy filling made with cream cheese, dark chocolate, and a cocoa bloom for enhanced flavor, set atop a crunchy Oreo cookie crust. Finished with a luscious chocolate ganache and optional whipped cream decorations, this no-bake cheesecake is a decadent dessert perfect for chocolate lovers.
- Prep Time: 20 minutes
- Cook Time: 10 minutes
- Total Time: 8 hours 30 minutes
- Yield: 12 servings
- Category: Dessert
- Method: No-Cook
- Cuisine: Western
Ingredients
Oreo Biscuit Base
- 140g / 4.9oz Oreo cookies (about 14 Oreos, 1 standard sleeve)
- 50g / 3 tbsp unsalted butter, melted
Cheesecake Filling
- 200g / 6.5oz 70% cocoa chocolate, finely chopped
- 2 tbsp cocoa powder
- 2 1/2 tbsp boiling hot water
- 1 cup thickened cream / heavy cream (fridge cold)
- 500g / 1 lb cream cheese, softened
- 1 cup caster sugar / superfine sugar
- 1 tsp vanilla extract
- 1/2 cup thickened cream / heavy cream (35-40% fat)
Ganache
- 75g / 2.7oz 70% cocoa chocolate, finely chopped
- 1 cup thickened cream / heavy cream (fridge cold)
Decoration
- 1 tbsp caster sugar / superfine sugar
- 1/4 tsp vanilla extract
- Any milk chocolate bar or leftover 70%/dark chocolate, shaved
Instructions
- Prepare pan base: Flip the base of a 20cm (8″) springform pan upside down. Lightly butter the pan base and press a square sheet of baking paper onto it. Clip the pan sides onto the base, allowing excess paper to stick out for easier removal later.
- Line pan sides: Butter and line the pan sides with baking paper extending about 1cm (0.4″) above the rim.
- Make Oreo biscuit base: Roughly break Oreos with your hands and blitz in a food processor until fine crumbs. Add melted butter and blitz again until combined.
- Press base into pan: Transfer crumb mixture evenly into the prepared pan base and firmly press down using the underside of a flat-bottomed cup or similar tool.
- Melt chocolate: Place chopped chocolate in a heatproof bowl. Microwave in 20-second increments, stirring in between, until melted and smooth. Let cool for 5 minutes until lukewarm but still fluid.
- Bloom cocoa powder: Whisk cocoa powder with boiling hot water until smooth to bloom the flavor. Set aside.
- Whip cream: Using cold cream, whip until stiff peaks form (2-3 minutes on high speed). Aim for peaks that hold shape firmly.
- Whip cream cheese and sugar: In a large bowl, beat cream cheese and caster sugar for 2 minutes on high until fluffy and smooth.
- Add vanilla extract: Mix in vanilla extract until combined.
- Incorporate chocolate and cocoa: Add melted chocolate and bloomed cocoa powder mixture to the cream cheese batter. Beat to combine, scraping sides as needed.
- Fold in whipped cream: Fold one-third of whipped cream into the chocolate mixture using the beaters just until combined, then add the rest of the whipped cream and mix until no streaks remain.
- Assemble cheesecake: Pour the chocolate cheesecake filling onto the Oreo crust and smooth the surface.
- Chill initial set: Refrigerate the cheesecake for at least 2 hours.
- Prepare ganache: Heat cream until hot but not boiling. Pour over finely chopped chocolate and let sit for 5 minutes. Stir gently until smooth and glossy, then tap the bowl to release air bubbles.
- Apply ganache: Pour ganache over the partially set cheesecake and spread evenly by rotating the pan.
- Final chill: Refrigerate the cheesecake for at least 6 more hours to fully set.
- Decorate cheesecake: Release the pan sides and use the baking paper to slide the cheesecake off the base onto a serving platter. Peel off the paper from the sides and base.
- Whip decoration cream: Beat cold cream, caster sugar, and vanilla extract on high for 2 minutes until softly whipped. Pipe swirls around the cheesecake’s border.
- Add chocolate shavings: Sprinkle shaved milk or dark chocolate over the whipped cream decorations.
- Serve: Slice the cheesecake and serve chilled. Optionally add extra whipped cream on the side.
Notes
- Note 1: Oreo cookies are used as the base for a crunchy texture and chocolate flavor.
- Note 2: Using high-quality 70% cocoa chocolate ensures a deep, rich chocolate taste.
- Note 3: Use softened cream cheese in block form for best texture.
- Note 4: Caster sugar dissolves easily in the batter for smooth sweetness.
- Note 5: Full-fat heavy cream is essential to create a rich, creamy filling.
- Note 6: The lined pan with excess paper helps remove the cheesecake cleanly without damage.
- Note 7: Chilling times are important to let the cheesecake set firmly before serving.
- Note 8: For make-ahead whipped cream stabilizing techniques, consider adding gelatin or cream stabilizer as described in related recipes.