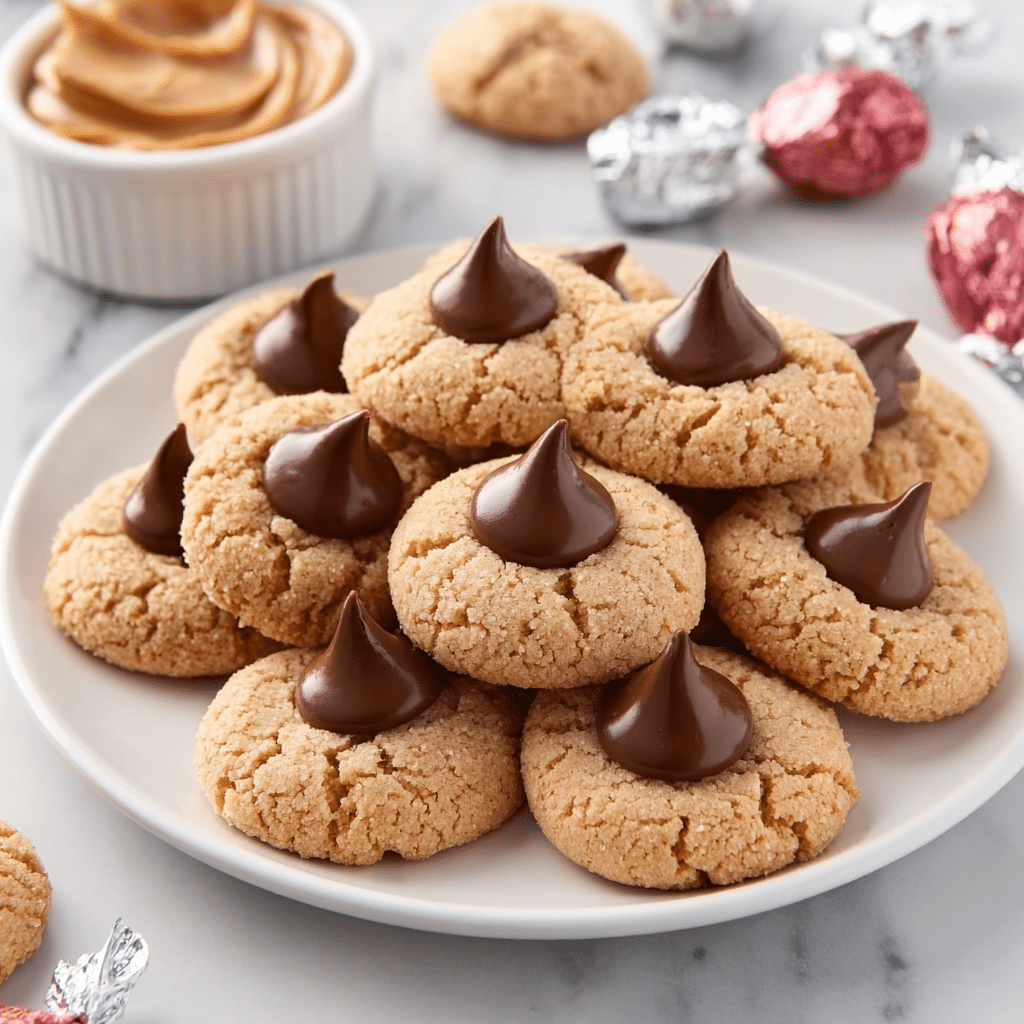
If you’re searching for cookie perfection, your quest ends here with these irresistible Peanut Butter Blossoms. These classic treats bring together the famously soft and chewy peanut butter cookie with the magic of a rich, melt-in-your-mouth Hershey Kiss at the center. Each bite is pure nostalgia, blending salty-sweet flavors and contrasting textures you’ll keep coming back for—whether you make them for festive holidays, lunchbox treats, or just because. Get ready to meet your new favorite cookie!
Ingredients You’ll Need
Here’s the beauty of Peanut Butter Blossoms: their simple ingredients create layers of nutty, buttery flavor with minimal fuss. Each element plays its own important part, so don’t skip or swap where it counts for the perfect taste and just-right, crinkly finish!
- All-purpose flour: This creates the sturdy yet tender structure of the cookie, so your blossoms hold up under each Hershey Kiss.
- Baking soda: A touch lifts the cookies while keeping them chewy in the center.
- Salt: Just a bit to offset the sweetness, balancing the peanut butter’s richness.
- Creamy peanut butter (JIF preferred): The star of the show, bringing deep, nutty flavor and signature softness.
- Unsalted butter (very soft, room temp): Adds that unmistakable richness and helps the cookies spread just the right amount.
- Granulated sugar: Used two ways—for sweetness in the dough and for that sparkly sugar coating every good blossom deserves.
- Light brown sugar (packed): Adds a hit of caramel-like depth and helps cookies stay soft longer.
- Large egg (room temp): Binds everything together and contributes to that pillowy crumb.
- Vanilla extract: Rounds out the flavors with a touch of dreamy warmth.
- Hershey’s Kiss candies (unwrapped and frozen): The iconic chocolate topper, frozen to help it keep its classic shape atop each blossom.
How to Make Peanut Butter Blossoms
Step 1: Whisk Your Dry Ingredients
Start by grabbing a medium mixing bowl and add your all-purpose flour, baking soda, and salt. Whisk these together so they’re evenly distributed. This small step keeps your Peanut Butter Blossoms perfectly soft and consistent throughout.
Step 2: Cream the Butters and Sugars
In a large mixing bowl, combine the creamy peanut butter, very soft unsalted butter, ⅓ cup of granulated sugar, and your packed brown sugar. With a handheld mixer on medium speed, blend until the mixture looks fluffy and totally smooth—this creates the dreamy texture every peanut butter blossom needs.
Step 3: Beat in the Egg and Vanilla
Add the room temperature egg and vanilla extract straight into the creamy mixture. Beat on medium again, ensuring everything is well incorporated. The dough should look silky—this means your blossoms will bake up tender and perfectly chewy.
Step 4: Combine Wet and Dry
Sprinkle your whisked dry ingredients into the bowl with your moist peanut butter mixture. Switch to low speed and mix just until everything’s combined; don’t overdo it, so your cookies stay soft. Scrape down the sides and bottom of the bowl for a thoroughly even dough.
Step 5: Chill the Dough
Cover the bowl tightly with plastic wrap and let the dough chill for at least 1 hour (longer is fine, even up to 2 days). This chilling step is crucial for those classic Peanut Butter Blossoms cracks and soft centers.
Step 6: Shape and Sugar the Cookies
Once chilled, line two large baking sheets with parchment. Pour ½ cup granulated sugar into a small bowl. Using a 1 ½-tablespoon cookie scoop, portion out the dough, rolling each bit between your palms for a super smooth ball. Roll each dough ball in the sugar for that signature sparkly finish and arrange on the prepared baking sheets.
Step 7: Keep Dough Chilled While Preheating
To help the cookies hold their shape, pop the trays of dough balls in the fridge as your oven heats to 350 F. Chilled dough means blossoms that puff up and crackle, never flatten.
Step 8: Bake to Golden Perfection
Working in batches, bake 9–12 cookies at a time, spaced 2 inches apart, for 10–12 minutes. Look for pale golden edges and those beautiful sugar-cracked tops—don’t wait for too much color!
Step 9: Top with Hershey Kisses
Right after baking, gently press a frozen Hershey’s Kiss into the center of each cookie. Freezing the Kisses keeps them perfectly shaped—melty in the middle, firm up top. Let the cookies rest on the sheet for 5 minutes before transferring to a wire rack.
Step 10: Cool and Enjoy!
Let all your Peanut Butter Blossoms finish cooling completely on wire racks. The chocolate will set up just right, and your cookies will reach peak chewy texture. Repeat baking and topping until all your cookies are ready!
How to Serve Peanut Butter Blossoms
Garnishes
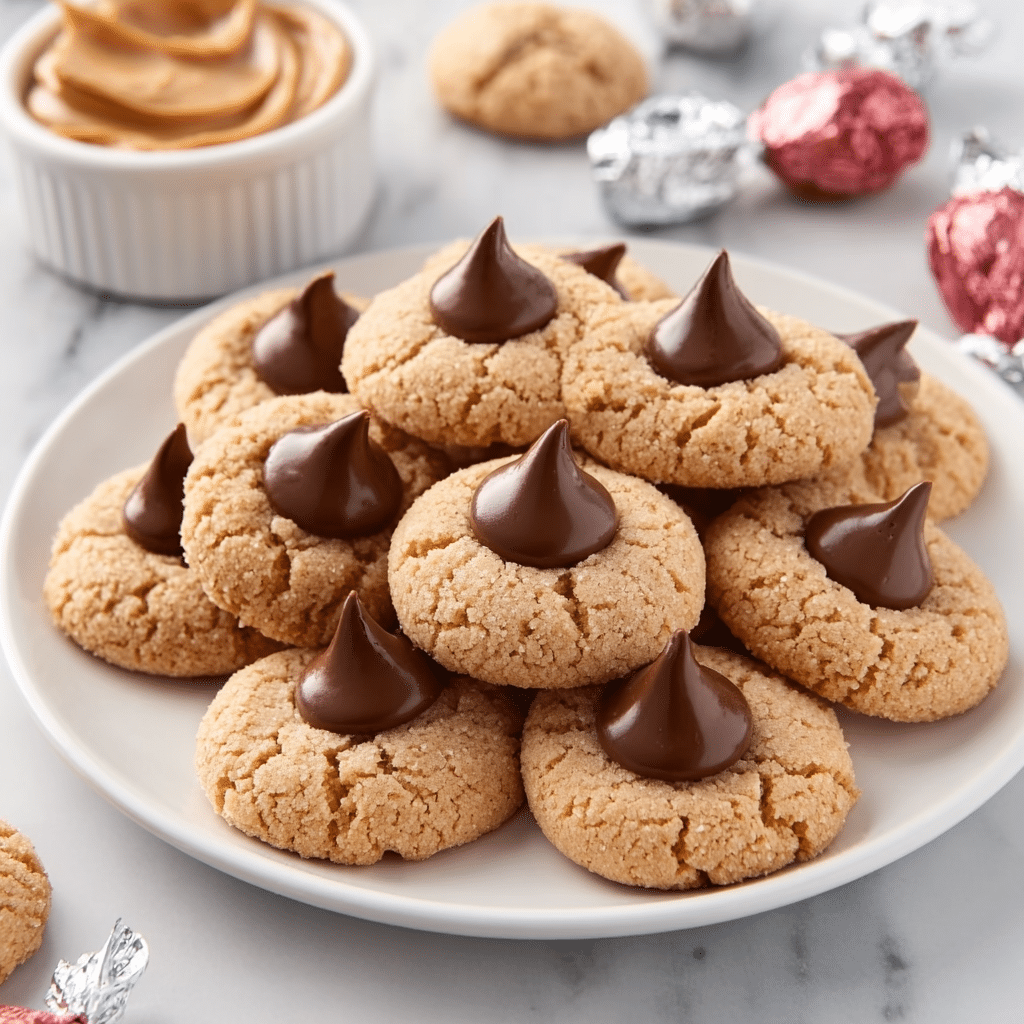
While Peanut Butter Blossoms glitter beautifully thanks to their sugar coating, you can dress them up with a festive rainbow sprinkle around the edges, a tiny extra pinch of flaky salt, or even a drizzle of melted chocolate for special occasions.
Side Dishes
These cookies are wonderful alongside a cold glass of milk, cup of coffee, or even hot cocoa for pure comfort. For a dessert platter, pair Peanut Butter Blossoms with simple vanilla shortbread or double-chocolate cookies for a fun mix of textures.
Creative Ways to Present
Stack Peanut Butter Blossoms in glass jars tied with ribbon for the ultimate hostess gift or holiday favor. Arrange them in concentric circles on a large platter, or pop each one into a mini cupcake liner for bakery-level charm at parties.
Make Ahead and Storage
Storing Leftovers
Keep your extra Peanut Butter Blossoms fresh by storing them in an airtight container at room temperature for up to 5 days. Their soft texture lasts longer thanks to the brown sugar and peanut butter, so you’ll have chewy cookies all week.
Freezing
You can freeze both unbaked dough balls (without rolling in sugar) and finished cookies. Place dough balls on a tray to freeze, then transfer to freezer bags; bake directly from frozen, adding a minute or two to the bake time. Baked Peanut Butter Blossoms can also be frozen in airtight containers, stacked between parchment layers.
Reheating
To revive that just-baked feel, warm leftover Peanut Butter Blossoms in a 300 F oven for 2–3 minutes or pop them in the microwave for 10 seconds. The chocolate gets a little melty and the cookies soften up all over again!
FAQs
Why do you freeze the Hershey Kisses for Peanut Butter Blossoms?
Freezing the Kisses keeps them from melting too much when pressed onto fresh-from-the-oven cookies. This way, the chocolate keeps its iconic shape and offers the best mix of soft and firm with every bite.
Can I use natural peanut butter instead of regular?
It’s best to stick with classic, shelf-stable creamy peanut butter like JIF for Peanut Butter Blossoms. Natural versions can be oily or dry, which can throw off the texture and consistency of your cookies.
What if I don’t have a cookie scoop?
No cookie scoop? No worries! Just use a tablespoon measure and roll the dough into balls by hand. Try to keep them even so all cookies bake at the same rate and look picture-perfect.
How can I keep my Peanut Butter Blossoms extra soft?
Properly measure your flour, don’t overmix your dough, and use both brown and granulated sugars. Be sure not to overbake—pull the cookies when the edges are just set, and cool them on the baking sheet before moving.
Can I make these gluten-free?
Absolutely! Swap in your favorite all-purpose gluten-free flour blend, making sure it contains xanthan gum for structure. Check your Hershey Kisses to ensure they’re gluten-free, too.
Final Thoughts
Once you bake your first batch of Peanut Butter Blossoms, you’ll see why they’re everyone’s favorite cookie tin addition and family tradition. Each sugar-crackled, chocolate-topped treat vanishes fast, so be sure to make extras—you’ll want these irresistible bites on hand all year long! Give them a try and watch your kitchen fill with smiles.
PrintPeanut Butter Blossoms Recipe
Soft and delicious peanut butter blossoms topped with a Hershey’s Kiss are a classic treat perfect for any occasion.
- Prep Time: 15 minutes
- Cook Time: 10 minutes
- Total Time: 1 hour 25 minutes
- Yield: 28 cookies
- Category: Dessert
- Method: Baking
- Cuisine: American
- Diet: Vegetarian
Ingredients
Dry Ingredients:
- 1 ½ cups all-purpose flour
- ¾ teaspoon baking soda
- ½ teaspoon salt
Wet Ingredients:
- ¾ cup creamy peanut butter (JIF brand used)
- ½ cup unsalted butter, very soft (room temperature)
- ⅓ cup + ½ cup granulated sugar (⅓ cup for the cookie dough and ½ cup for rolling the cookie dough balls)
- ⅓ cup light brown sugar, packed
- 1 large egg (room temperature)
- 2 teaspoons vanilla extract
Additional:
- 28 Hershey’s Kiss candies, unwrapped and frozen
Instructions
- Prepare Dry Ingredients: In a medium bowl, whisk together flour, baking soda, and salt. Set aside.
- Mix Wet Ingredients: In a large bowl, beat peanut butter, butter, sugars until smooth. Add egg and vanilla, beat until combined.
- Combine and Chill: Mix in dry ingredients. Chill dough for at least 1 hour.
- Preheat and Roll: Preheat oven. Roll dough into balls, coat in sugar, place on baking sheets.
- Bake and Finish: Bake, then press a Hershey’s Kiss into each cookie. Cool and enjoy!
Notes
- Ensure butter is softened and egg is at room temperature for best results.
- You can freeze the unwrapped Hershey’s Kisses for easier handling.
- Monitor baking closely as oven temperatures may vary.
Nutrition
- Serving Size: 1 cookie
- Calories: 130 kcal
- Sugar: 6g
- Sodium: 108mg
- Fat: 8g
- Saturated Fat: 4g
- Unsaturated Fat: 4g
- Trans Fat: 0.1g
- Carbohydrates: 12g
- Fiber: 1g
- Protein: 3g
- Cholesterol: 16mg


