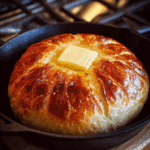
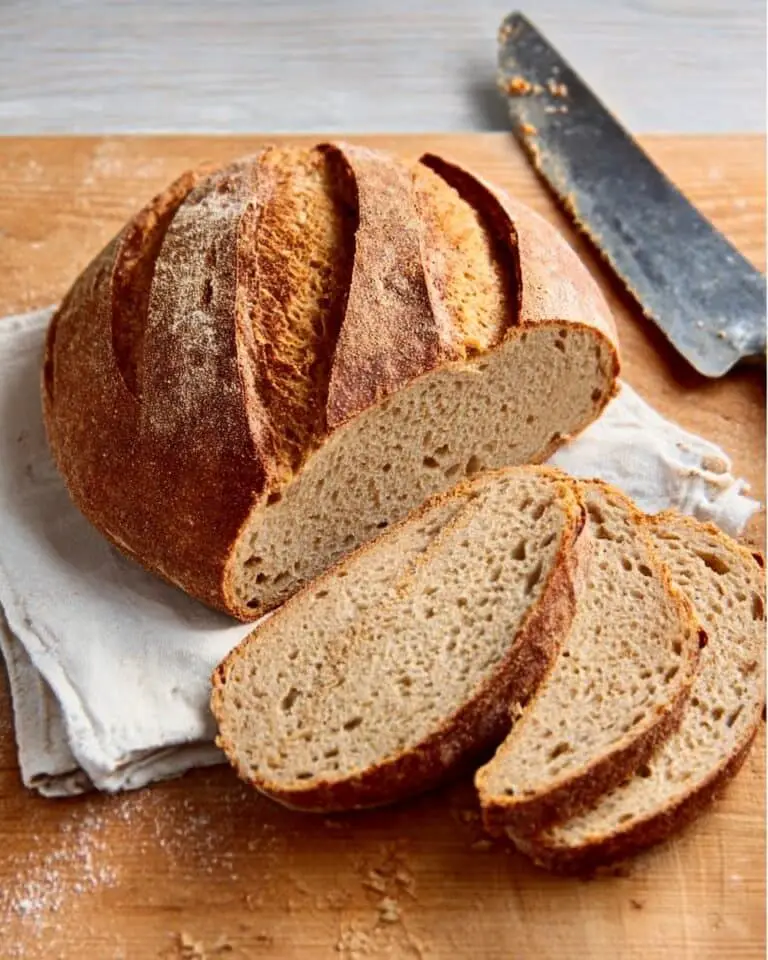
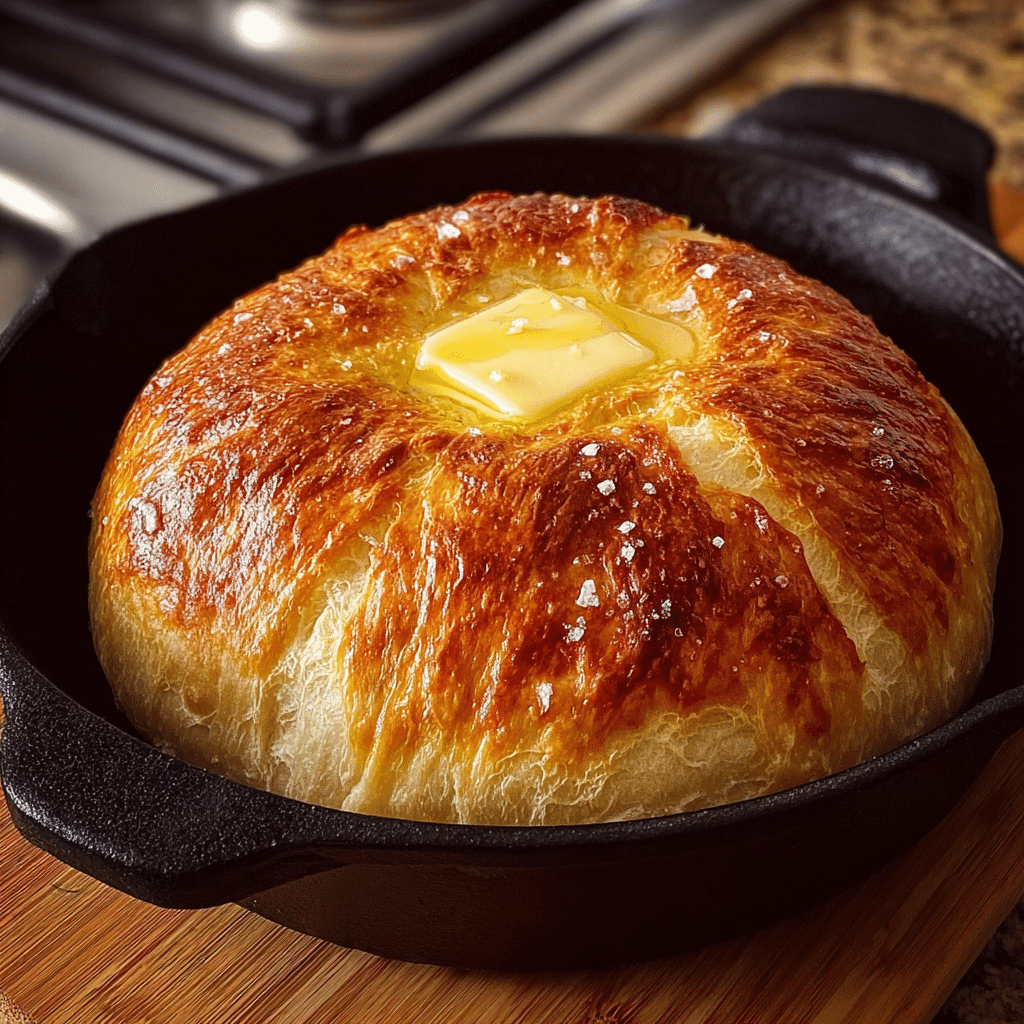
If you’ve ever found yourself craving fresh, pillowy bread but don’t have an oven (or simply don’t want to heat up your kitchen), NO-OVEN STOVETOP BREAD is about to become your new go-to recipe. This quick and satisfying bread comes together entirely on the stovetop, using simple pantry staples. Each bite boasts a softly golden crust with an oh-so-tender interior, proving that you don’t need fancy equipment for truly comforting results. Get ready to experience the delicious magic of homemade bread—no oven required!
Ingredients You’ll Need
One of the true joys of NO-OVEN STOVETOP BREAD is just how approachable the ingredient list is. Every element has a real purpose: together, they create amazing flavor, texture, and that irresistible home-baked aroma. Here’s a closer look at what you’ll need and why:
- All-purpose flour: The backbone of your bread, giving it structure while keeping it soft and tender.
- Baking powder: This provides the loft and lightness, letting your bread rise without any yeast.
- Salt: Don’t skip this—it sharpens all the other flavors and keeps your bread from tasting flat.
- Milk (or water): For moisture and tenderness. Milk adds a slight richness, while water keeps things simple and vegan-friendly.
- Oil or melted butter: Just a touch for a lovely crumb and a hint of richness—choose your fat based on your mood and what you have on hand.
- Butter for topping (optional): Melting butter over warm bread is the ultimate finishing touch and boosts flavor beautifully.
How to Make NO-OVEN STOVETOP BREAD
Step 1: Mix the Dry Ingredients
Start by grabbing a medium mixing bowl and combining your flour, baking powder, and salt. Give them a good mix to ensure even distribution—this helps your NO-OVEN STOVETOP BREAD rise evenly and taste perfectly seasoned in every bite.
Step 2: Add Wet Ingredients and Form the Dough
Pour in the milk (or water) and oil (or melted butter), and stir everything together. You’ll soon see it become thick and shaggy. Switch to using your hands to gently knead the mixture until a soft, cohesive dough forms. No need for heavy-duty kneading—just bring it together until smooth.
Step 3: Preheat Your Skillet
Set a non-stick skillet over medium-low heat, giving it a minute or so to warm up. This gentle heat ensures your NO-OVEN STOVETOP BREAD cooks through without burning the outside. If you like, you can brush the skillet with a little oil or butter to prevent sticking and add extra flavor.
Step 4: Shape and Cook the Bread
Place your dough directly into the warm skillet and use your hands or a spatula to flatten it to about 3/4-inch thick. Cover the pan with a tight-fitting lid. Let it cook for about 10 minutes—keep an eye out for a golden bottom and a slight rise in the dough.
Step 5: Flip and Finish Cooking
With a spatula, gently flip your bread. Cover and cook for another 7 to 10 minutes, until the other side is beautifully golden and the bread is cooked through. The aroma at this stage is a sure sign you’re almost there!
Step 6: Butter and Serve
Once off the heat, while the bread is still warm, brush it generously with butter if you like. Slice or tear, and prepare yourself for a warm, comforting bite of NO-OVEN STOVETOP BREAD perfection.
How to Serve NO-OVEN STOVETOP BREAD
Garnishes
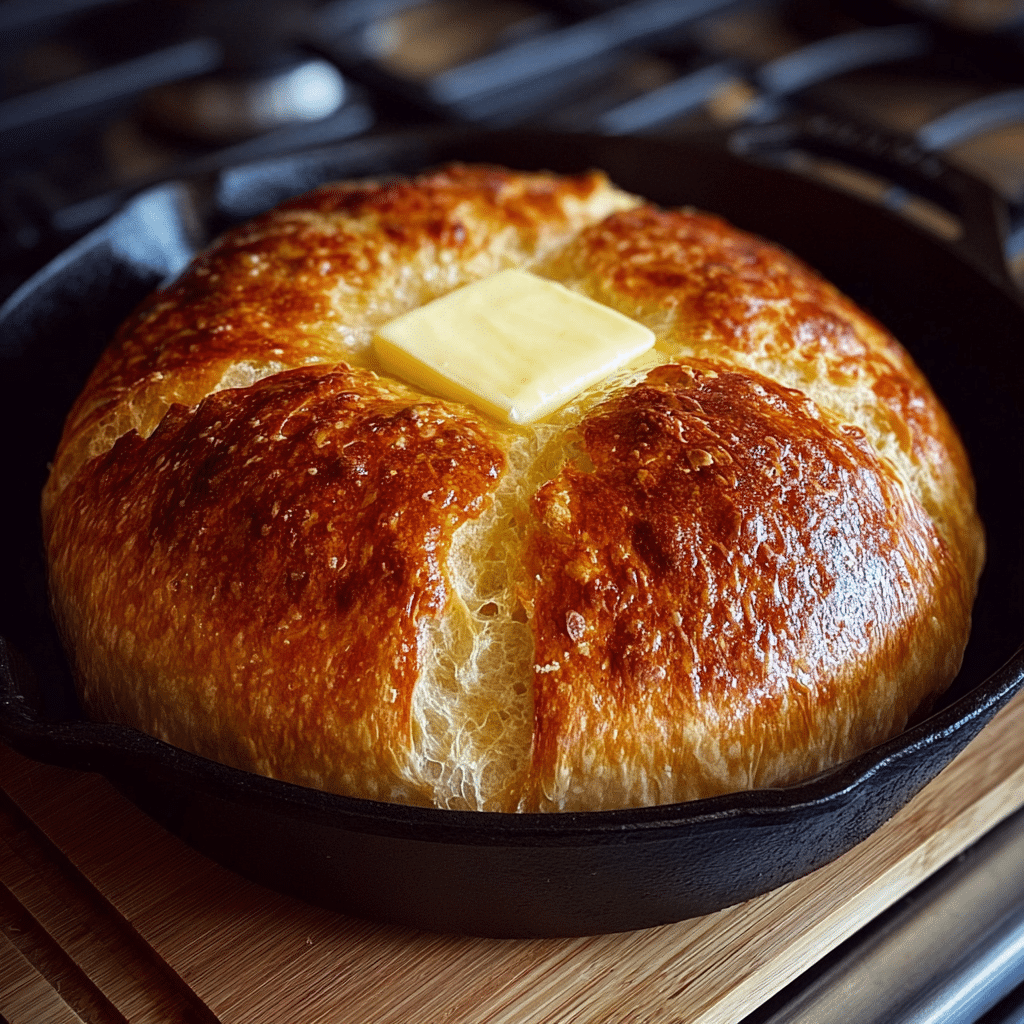
This bread is a delicious blank canvas! For a classic touch, a swipe of soft butter is unbeatable. You could also sprinkle on some fresh herbs, flaky sea salt, or even a dusting of garlic powder for a savory twist. For something on the sweeter side, try a drizzle of honey or a sprinkle of cinnamon sugar while the bread is still warm.
Side Dishes
NO-OVEN STOVETOP BREAD is almost outrageously versatile. Serve it alongside a steaming bowl of soup, with a vibrant salad, or use it to scoop up curries and stews. It’s even perfect alongside scrambled eggs or as a base for avocado toast at breakfast—seriously, there’s not much this bread doesn’t complement.
Creative Ways to Present
For a fun presentation, cut your bread into wedges and serve in a warm basket lined with a napkin. Alternatively, slice it horizontally and use as the base for a rustic sandwich or flatbread pizza. You can even cut it into strips for dipping in hummus, olive oil, or your favorite spreads. Its rounded, golden look makes it a real showstopper on any casual table.
Make Ahead and Storage
Storing Leftovers
Have leftovers? Simply let the NO-OVEN STOVETOP BREAD cool completely. Wrap it in foil or plastic wrap and keep it on the counter for up to two days, or in the fridge for up to five. The texture holds up beautifully, so you can reach for a ready slice any time hunger strikes!
Freezing
This bread freezes really well. Slice it into portions, wrap each piece in parchment and slip them all into a freezer-safe bag. Your NO-OVEN STOVETOP BREAD will keep its flavor and texture for about two months—just thaw at room temperature whenever you need a homemade bread fix.
Reheating
Leftover NO-OVEN STOVETOP BREAD is best revived by warming for a few seconds in the microwave or a low oven. For a crispier exterior, a quick sear in a skillet adds back that just-baked magic. Enjoy it warm for maximum deliciousness!
FAQs
Can I use whole wheat flour instead of all-purpose?
Absolutely! Whole wheat flour brings a nuttier flavor and heartier texture to your NO-OVEN STOVETOP BREAD. Just note it may need a splash more liquid and will be a bit denser, but still very tasty.
Is there a dairy-free version?
Yes! Using water instead of milk and oil instead of butter makes this recipe completely vegan and dairy free, without sacrificing taste or texture.
How do I know when the bread is cooked through?
Check that both sides are golden brown and the bread feels springy when pressed in the center—it shouldn’t feel doughy. If you have a kitchen thermometer, the center should hit around 200°F, but usually, the visual cues are enough!
Can I add herbs, cheese, or spices to the dough?
Definitely! This is a fantastic base recipe, and you can mix in chopped fresh herbs, grated cheese, or your favorite spices for added flavor. Just stir them in with the dry ingredients from the start.
What if I don’t have a lid for my skillet?
No worries—you can use a baking sheet or foil as a makeshift cover. The key is to trap enough heat and moisture so your NO-OVEN STOVETOP BREAD cooks evenly all the way through.
Final Thoughts
Baking bread at home doesn’t have to mean hours or fancy appliances—this NO-OVEN STOVETOP BREAD proves it! Whether you’re brand new to bread-making or just want an easy, soul-satisfying treat, give this recipe a try. You might just find it becomes your new staple for every meal!
PrintNO-OVEN STOVETOP BREAD Recipe
Learn how to make delicious no-oven stovetop bread that’s easy to prepare and requires simple ingredients. This quick bread is perfect for when you want freshly baked bread without using an oven.
- Prep Time: 10 minutes
- Cook Time: 20 minutes
- Total Time: 30 minutes
- Yield: 1 loaf
- Category: Bread
- Method: Stovetop
- Cuisine: Any
- Diet: Vegetarian
Ingredients
Dry Ingredients:
- 1 cup all-purpose flour
- 1 teaspoon baking powder
- 1/4 teaspoon salt
Wet Ingredients:
- 1/3 cup milk (or water)
- 1 tablespoon oil or melted butter
For Topping:
- Butter (optional)
Instructions
- Mix Dry Ingredients: In a bowl, combine flour, baking powder, and salt.
- Add Wet Ingredients: Pour in the milk and oil, then mix until a soft dough forms.
- Cook on Skillet: Heat a non-stick skillet over medium-low heat. Place the dough in the skillet, slightly flatten it, cover, and cook for about 10 minutes until the bottom is golden brown.
- Flip and Finish Cooking: Flip the bread and cook for an additional 7-10 minutes until fully cooked and golden.
- Optional Topping: Top with butter while the bread is still warm, if desired.
Nutrition
- Serving Size: 1 slice
- Calories: 150
- Sugar: 2g
- Sodium: 200mg
- Fat: 5g
- Saturated Fat: 2g
- Unsaturated Fat: 3g
- Trans Fat: 0g
- Carbohydrates: 22g
- Fiber: 1g
- Protein: 3g
- Cholesterol: 10mg

