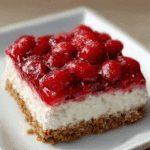
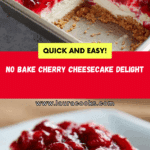
If there’s any dessert that feels like pure nostalgia with a splash of modern convenience, it’s No Bake Cherry Cheesecake. There’s something about that velvety cream cheese filling layered over a buttery graham cracker crust and topped with glistening cherries that turns a simple treat into a celebration. Whether it’s the middle of summer or you just don’t want to fuss with the oven, this creamy, tart, and sweet dessert brings joy and color to every gathering, family dinner, or random Tuesday. Trust me—once you try this, you’ll be finding reasons to make it again and again.
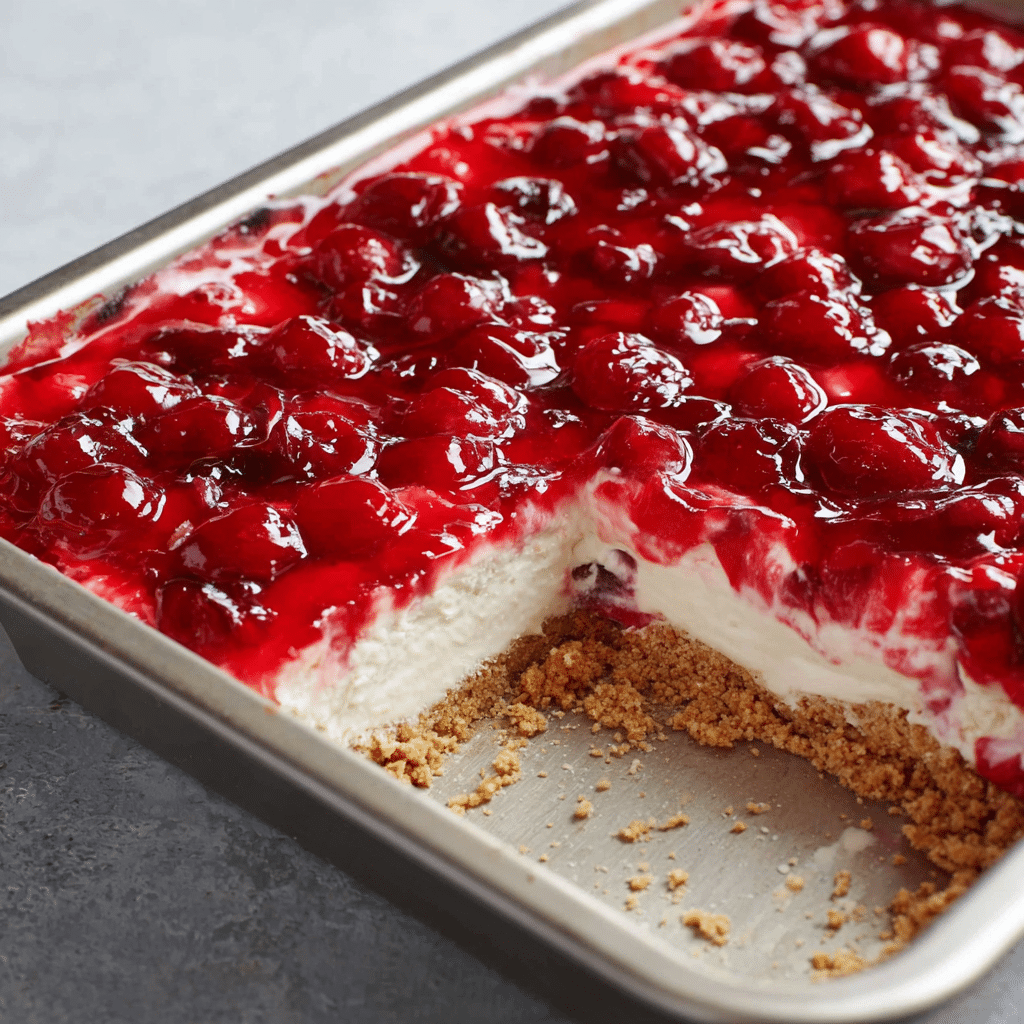
Ingredients You’ll Need
This No Bake Cherry Cheesecake proves that magic can truly happen with a handful of pantry and fridge staples. Each ingredient plays a special part, from the crunchy crust to the dreamy topping—so let’s take a closer look at what you’ll need and why it matters.
- Graham cracker sheets: These set the stage for a classic, crunchy, golden base that soaks up all the butter and gives that signature cheesecake bite.
- Melted butter: Butter binds the graham crackers and brings richness to every forkful—don’t skip or skimp!
- Sugar: Just a little is mixed with the crust to balance out any tang and tie the flavors together.
- Cream cheese: The star of the show—softened cream cheese creates a luscious, smooth, slightly tangy filling. Room temperature is key for easy mixing!
- Cool Whip: This gives the cheesecake its fluffy, cloudlike texture and makes the recipe totally fuss-free.
- Powdered sugar: This sweetens the filling and dissolves instantly, so there’s never a hint of grit.
- Lemon juice: Just a splash wakes up all the flavors and adds a fresh pop to each bite.
- Cherry pie filling: This vibrant topping is what makes No Bake Cherry Cheesecake a true classic—ruby-red, sweet, and slightly tart, it seals the deal!
How to Make No Bake Cherry Cheesecake
Step 1: Prep the Graham Cracker Crust
Start by crushing the graham cracker sheets into fine crumbs—either pulse them in a food processor or pop them in a zip-top bag and crush with a rolling pin. Pour the crumbs into a bowl and stir in the sugar and melted butter. Mix until all the crumbs are evenly moistened, then press firmly into the bottom of a 9-inch springform pan (or an 8×8 baking dish if you don’t have one). Take a moment to pack it tightly, which ensures your crust holds together when sliced. Pop it in the fridge while you prepare the filling to let the buttery base firm up.
Step 2: Whip Up the Cream Cheese Filling
In a large mixing bowl, beat the softened cream cheese until completely smooth and creamy. Add the powdered sugar and lemon juice, then mix again until everything’s velvety and lump-free. Gently fold in the Cool Whip, being careful not to deflate the fluffiness. This is the step where you want to take your time—the smoother and airier your filling, the more every creamy bite will melt in your mouth!
Step 3: Layer and Chill
Once your crust is chilled and your filling is perfectly blended, spread the cream cheese mixture evenly over the graham cracker base. Use a spatula to smooth out the top—don’t worry if it’s not perfect, it will be covered in cherries soon! Cover the pan with plastic wrap and refrigerate for at least 4 hours, or overnight if you’ve got the time. This helps the cheesecake set up firm and slice cleanly.
Step 4: Top with Cherry Pie Filling
When you’re ready to serve, carefully spoon the cherry pie filling over the top, spreading it out so every slice gets that gorgeous cherry goodness. The combination of tart cherries and creamy cheesecake is simply irresistible, and this finishing touch transforms it from basic dessert to wow-worthy.
How to Serve No Bake Cherry Cheesecake
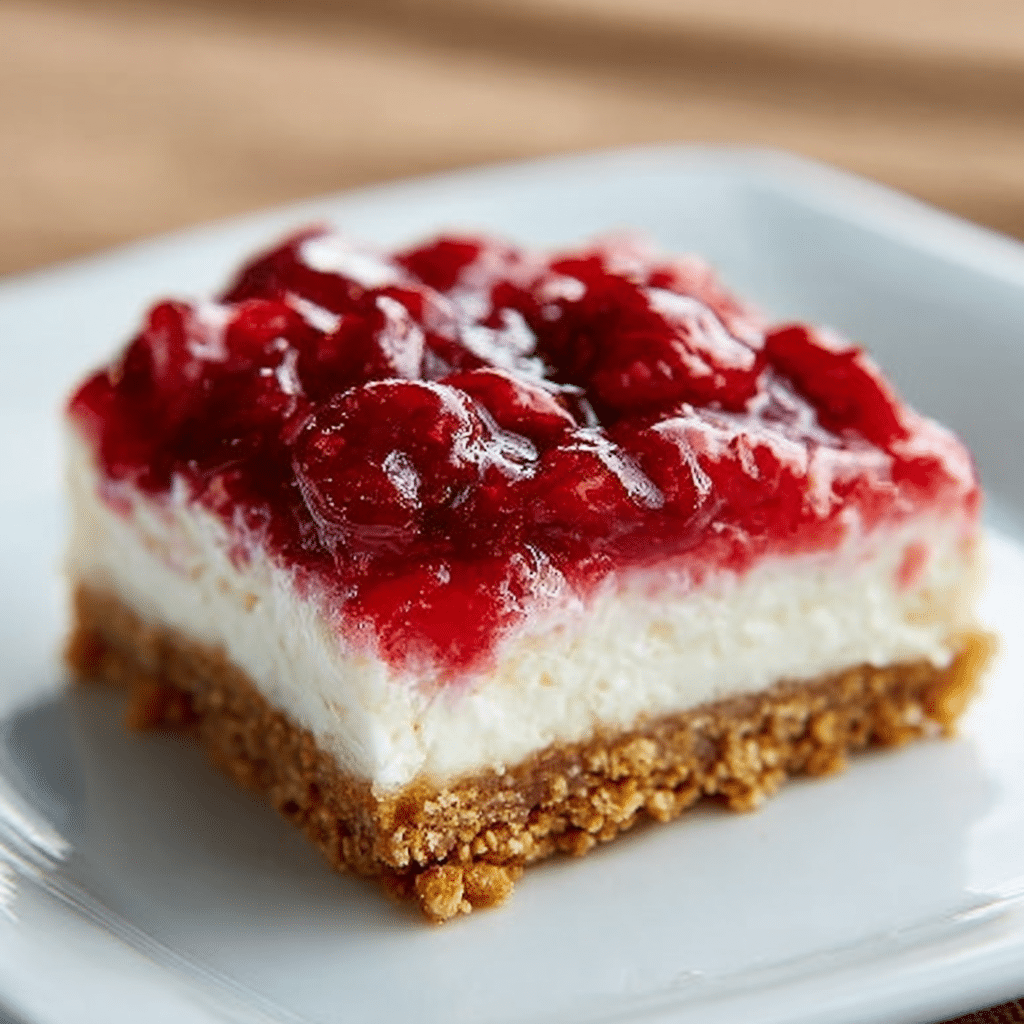
Garnishes
For that swoon-worthy presentation, sprinkle the top with a little extra graham cracker crumb, a dusting of powdered sugar, or even a bit of lemon zest. If you’re feeling fancy, a sprig of mint or a swirl of whipped cream alongside those bright cherries can add a fresh pop. Sometimes, it’s those small touches that take No Bake Cherry Cheesecake over the top!
Side Dishes
No Bake Cherry Cheesecake is rich and satisfying all on its own, but it pairs beautifully with a simple cup of coffee, unsweetened iced tea, or a handful of fresh berries on the side. If you want to balance the sweetness, offer a plate of crisp, salty crackers or a fresh fruit salad to round out the dessert spread.
Creative Ways to Present
Make this no-bake wonder feel extra special by serving it in individual mason jars, champagne coupes, or little dessert glasses—perfect for a party or picnic. You can also layer the components parfait-style for a playful twist! However you present No Bake Cherry Cheesecake, it always manages to steal the show.
Make Ahead and Storage
Storing Leftovers
To keep your cheesecake tasting fresh, cover the pan tightly with plastic wrap or transfer slices to an airtight container and refrigerate. The cheesecake will stay dreamy and delicious for up to 4 days—if it lasts that long!
Freezing
No Bake Cherry Cheesecake can be frozen for longer storage, but for best texture, freeze it before adding the cherry topping. Wrap the chilled, un-topped cheesecake tightly in plastic wrap and foil, and freeze up to 1 month. Thaw overnight in the fridge, then add cherries before serving.
Reheating
This dessert is best served cold, so there’s no need to reheat! Just let it soften slightly at room temperature for about 15 minutes if it’s been in the fridge or freezer, and it’ll be perfectly creamy and ready to enjoy.
FAQs
Can I use homemade whipped cream instead of Cool Whip?
Yes! If you prefer to make your own, whip about 1 cup of heavy cream with a couple tablespoons of powdered sugar until stiff peaks form, then fold it into the cream cheese mixture for an equally fluffy filling.
Can I use a different fruit topping?
Absolutely! No Bake Cherry Cheesecake shines with all sorts of fruit toppings, from blueberry or strawberry pie filling to fresh sliced peaches or raspberries. The versatility is part of this dessert’s charm.
Is it possible to make this gluten free?
Sure thing—just swap in gluten-free graham crackers for the crust. Every other ingredient in No Bake Cherry Cheesecake is naturally gluten-free, so it’s an easy swap for parties or dietary needs.
Why does my cheesecake filling seem too soft?
Make sure your cream cheese is fully softened but not melted, and give the cheesecake plenty of chilling time to set. Folding in the Cool Whip gently also keeps the filling fluffy without going soupy.
Can I prepare No Bake Cherry Cheesecake ahead of time?
This recipe is perfect for making ahead! In fact, making it a day in advance gives the crust and filling time to set and the flavors to meld, so it’s even better the next day.
Final Thoughts
I absolutely love how No Bake Cherry Cheesecake can make any occasion a little sweeter without turning on the oven. It’s creamy, nostalgic, and so incredibly easy, there’s no excuse not to try it at least once—though I’m willing to bet you’ll want to make it again and again. Give it a whirl, share it with friends, and let this classic become your own kitchen staple!
PrintNo Bake Cherry Cheesecake Recipe
Indulge in the creamy, luscious goodness of this No Bake Cherry Cheesecake. A perfect dessert for any occasion, this recipe is quick and easy to make, with a delightful balance of sweet cherry topping and rich cheesecake filling.
- Prep Time: 20 minutes
- Cook Time: 0 minutes
- Total Time: 4 hours 20 minutes
- Yield: 8 servings
- Category: Dessert
- Method: No-Bake
- Cuisine: American
- Diet: Vegetarian
Ingredients
Graham Cracker Crust:
- 9 graham cracker sheets, crushed
- 1/2 cup melted butter
- 1 tablespoon sugar
Cheesecake Filling:
- 16 ounces cream cheese, softened
- 8 ounces Cool Whip
- 1 cup powdered sugar
- 1 teaspoon lemon juice
Topping:
- 21 ounces cherry pie filling
Instructions
- Prepare the Graham Cracker Crust: In a bowl, mix crushed graham cracker sheets, melted butter, and sugar until combined. Press the mixture into the bottom of a springform pan.
- Make the Cheesecake Filling: In a separate bowl, beat cream cheese until smooth. Add Cool Whip, powdered sugar, and lemon juice, and mix until creamy and well combined.
- Assemble the Cheesecake: Pour the cheesecake filling over the prepared crust and smooth the top with a spatula. Refrigerate for at least 4 hours or until set.
- Add the Topping: Once the cheesecake is set, spread the cherry pie filling over the top. Chill for an additional hour before serving.
Notes
- You can customize the topping with your favorite fruit pie filling.
- For a richer crust, you can add a dash of cinnamon to the graham cracker mixture.
Nutrition
- Serving Size: 1 slice
- Calories: 380
- Sugar: 22g
- Sodium: 280mg
- Fat: 24g
- Saturated Fat: 16g
- Unsaturated Fat: 6g
- Trans Fat: 0g
- Carbohydrates: 38g
- Fiber: 1g
- Protein: 4g
- Cholesterol: 75mg

