
I’m so excited to share my Juicy Roast Turkey Recipe with you, a dish that has become an absolute favorite in my kitchen for special occasions and family gatherings. This recipe delivers a beautifully golden, tender turkey that stays moist from start to finish, thanks to a simple dry brining technique and a mouthwatering garlic-herb butter baste. If you want a centerpiece that tastes incredible but is surprisingly easy to prepare, you’re in the right place. Trust me, this Juicy Roast Turkey Recipe will have everyone asking for seconds and the recipe itself for years to come.
Why You’ll Love This Juicy Roast Turkey Recipe
What really wins me over about this Juicy Roast Turkey Recipe is the deep, rich flavor that comes from that slow, thoughtful prep. The salt rub and herb blend soak right into the meat, resulting in a savory, well-seasoned bird that tastes like it’s been simmering in flavor all day, even though the prep is straightforward. The garlic and melted butter add such a luxurious richness that makes each bite absolutely decadent and satisfying.
Beyond the unbeatable flavor, I love how approachable this recipe is. It’s not complicated or intimidating, even if you’re new to roasting a whole turkey. The steps are clear, and the process frees you up to focus on your sides and festive setup without stressing over the bird. Plus, it’s perfect for holidays, birthdays, or even a cozy weekend feast. Honestly, the vibrant aroma alone as it roasts will make the wait totally worthwhile and your guests will be impressed without you breaking a sweat!
Ingredients You’ll Need
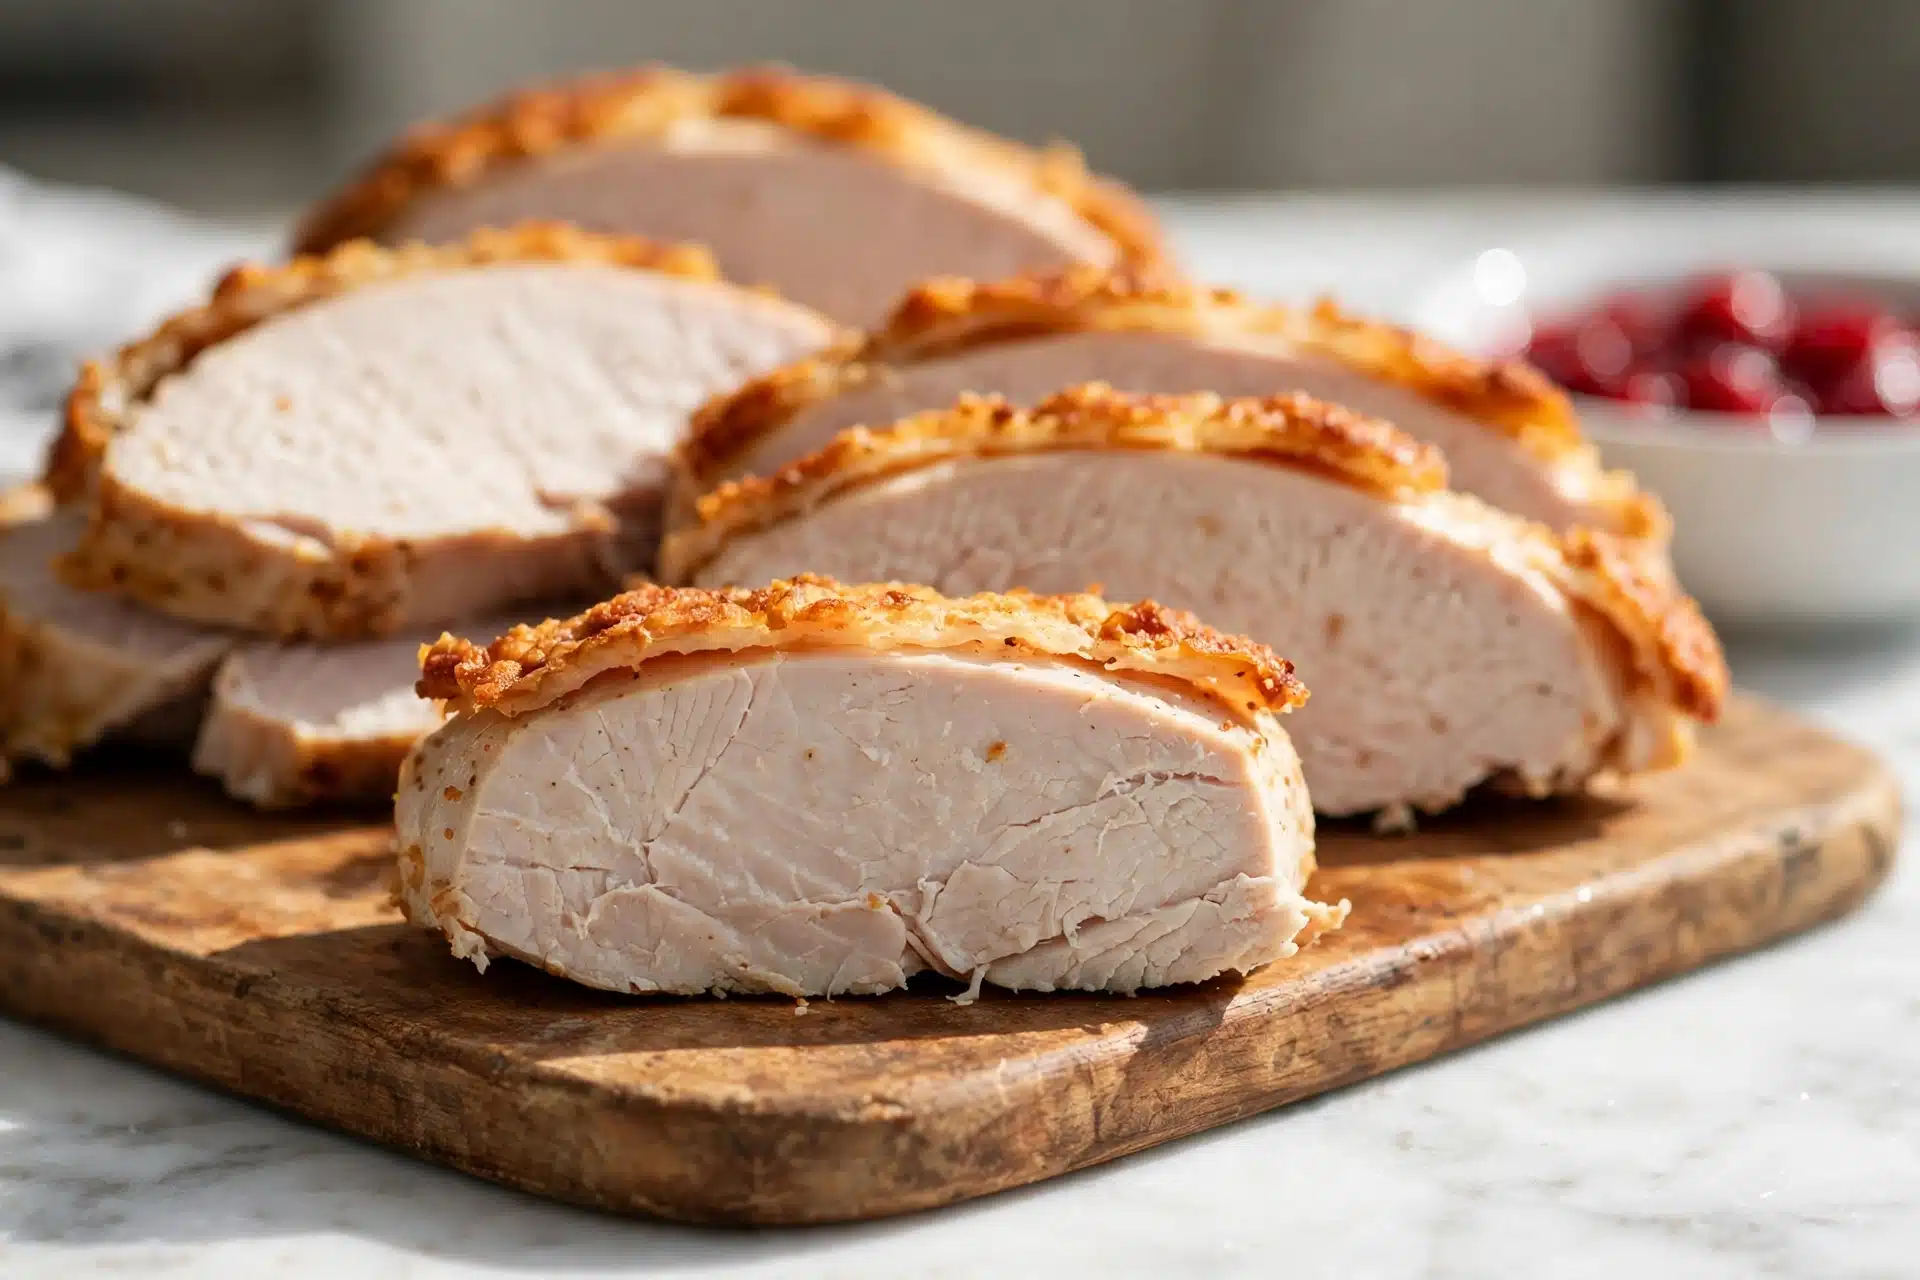
The ingredients for this Juicy Roast Turkey Recipe are refreshingly simple, yet each plays a crucial role in delivering flavor, moisture, and a beautiful golden color. From the herbs to the butter, every component enhances the turkey’s natural taste without overshadowing it.
- 10 lb / 5kg whole turkey (thawed, plain not pre-brined): Your star ingredient—fresh and ready for flavor infusion.
- 2 1/2 tbsp kosher salt: Essential for dry brining to make the meat juicy and tender.
- 2 tsp dried thyme: Adds earthy herbal notes that complement poultry perfectly.
- 1 tsp paprika (sweet or ordinary): Gives the skin a lovely warm color and subtle smokiness.
- 1 tsp garlic powder (optional): Boosts savory depth without overpowering fresh garlic flavors.
- 1/2 tsp black pepper: Just enough to balance and enhance the savory elements.
- 2 heads of garlic (halved horizontally): Roasting these with the turkey mellows the garlic and infuses flavor.
- 1 onion (halved, skin on is fine): Adds natural sweetness and aromatics to the roasting pan.
- 2 small bunches mixed herbs (sage, rosemary, thyme, parsley, optional): Fresh herbs make your turkey’s aroma irresistible.
- 10 tbsp (150g) unsalted butter (melted): Vital for basting and crisp, flavorful skin.
- 1 tbsp fresh sage, rosemary and thyme (finely chopped): Combined with garlic for the perfect herb butter glaze.
- 3 garlic cloves (minced): For that punch of fresh garlicky richness in the basting butter.
- 1 1/2 cups water: Keeps the roasting pan moist, helping to keep the turkey juicy.
- Salt & pepper: To taste, for seasoning and finishing touches.
- 4 cups low sodium chicken broth/stock: Base for the richest, flavorful gravy.
- 5 tbsp plain/all-purpose flour: Thickens the gravy to silky perfection.
Directions
Step 1: First, mix together the salt rub by combining kosher salt, dried thyme, paprika, garlic powder (if using), and black pepper. This rub will be key to the juicy texture and flavor.
Step 2: Pat your turkey dry inside and out with paper towels, and remove any giblets or innards. This helps the salt rub adhere properly.
Step 3: Sprinkle about 1 teaspoon of the salt rub inside the turkey cavity and rub it around with your hand. Turn the turkey upside down and rub 1 teaspoon of the salt rub on the underside.
Step 4: Flip the turkey upright and rub the remaining salt rub all over the skin, focusing on the breast and even under the skin if you can carefully lift it. This step infuses flavor all the way through.
Step 5: Wrap the turkey tightly in cling wrap, mummy-style, or place it in a large sealable bag. Refrigerate it upside down in a baking pan for 48 hours, flipping to right side up after 24 hours. This dry brining step is what keeps the turkey moist and juicy.
Step 6: When ready to roast, unwrap the turkey and pat the skin dry if it feels wet. Let the turkey sit at room temperature for 30 minutes before roasting—this helps it cook evenly.
Step 7: Preheat your oven to 220°C (425°F), or 200°C (about 390°F) if using a fan-forced oven. Place halved onions and garlic heads in the roasting pan and set a roasting rack on top.
Step 8: Stuff the turkey cavity with your mixed herbs, 2 garlic halves, and 3 tablespoons of melted butter. Tie the drumsticks together with kitchen twine if you like for a tidy roast.
Step 9: Place the turkey upside down on the roasting rack, twist the wings to tuck them up neatly, brush with some melted butter, and sprinkle lightly with salt and pepper. Pour the water into the bottom of the roasting pan to keep things moist.
Step 10: Roast the turkey upside down for 30 minutes at high heat to brown the breast beautifully.
Step 11: After 30 minutes, carefully flip the turkey over right side up using a tea towel for grip. Brush generously with melted butter again, sprinkle salt and pepper, then reduce the oven temperature to 165°C (325°F) or 150°C fan (300°F).
Step 12: Roast for 45 minutes, then mix the remaining butter with minced garlic and chopped herbs for the basting butter.
Step 13: Brush the turkey with the garlic-herb butter mixture and roast for another 30 minutes or until it reaches an internal temperature of 165°F (75°C) in the thickest part of the breast or the thermometer pops out. If the skin is browning too quickly, tent the bird loosely with foil.
Step 14: Once done, transfer the turkey to a serving plate, cover loosely with foil, and let it rest for 30 minutes. This resting period locks in the juices so every slice is tender and moist.
Step 15: While the turkey rests, make your gravy: place the roasting pan on the stove over medium-high heat. Add flour, cooking for about 2 minutes to get rid of raw taste, then add chicken broth. Mash up the onion and garlic in the pan and stir well, scraping the bottom to dissolve any flavorful bits. Cook until thickened, then strain into a bowl and serve with your turkey.
Servings and Timing
This Juicy Roast Turkey Recipe comfortably serves about 10 people, making it perfect for family gatherings or small parties. The prep time, including the dry brine, is about 48 hours total, with active hands-on prep just under an hour. Actual cooking time is approximately 2 hours and 20 minutes including resting. You’ll want to plan ahead, but the hands-off nature of the dry brine means you can multitask or focus on sides while the turkey gets ready.
How to Serve This Juicy Roast Turkey Recipe
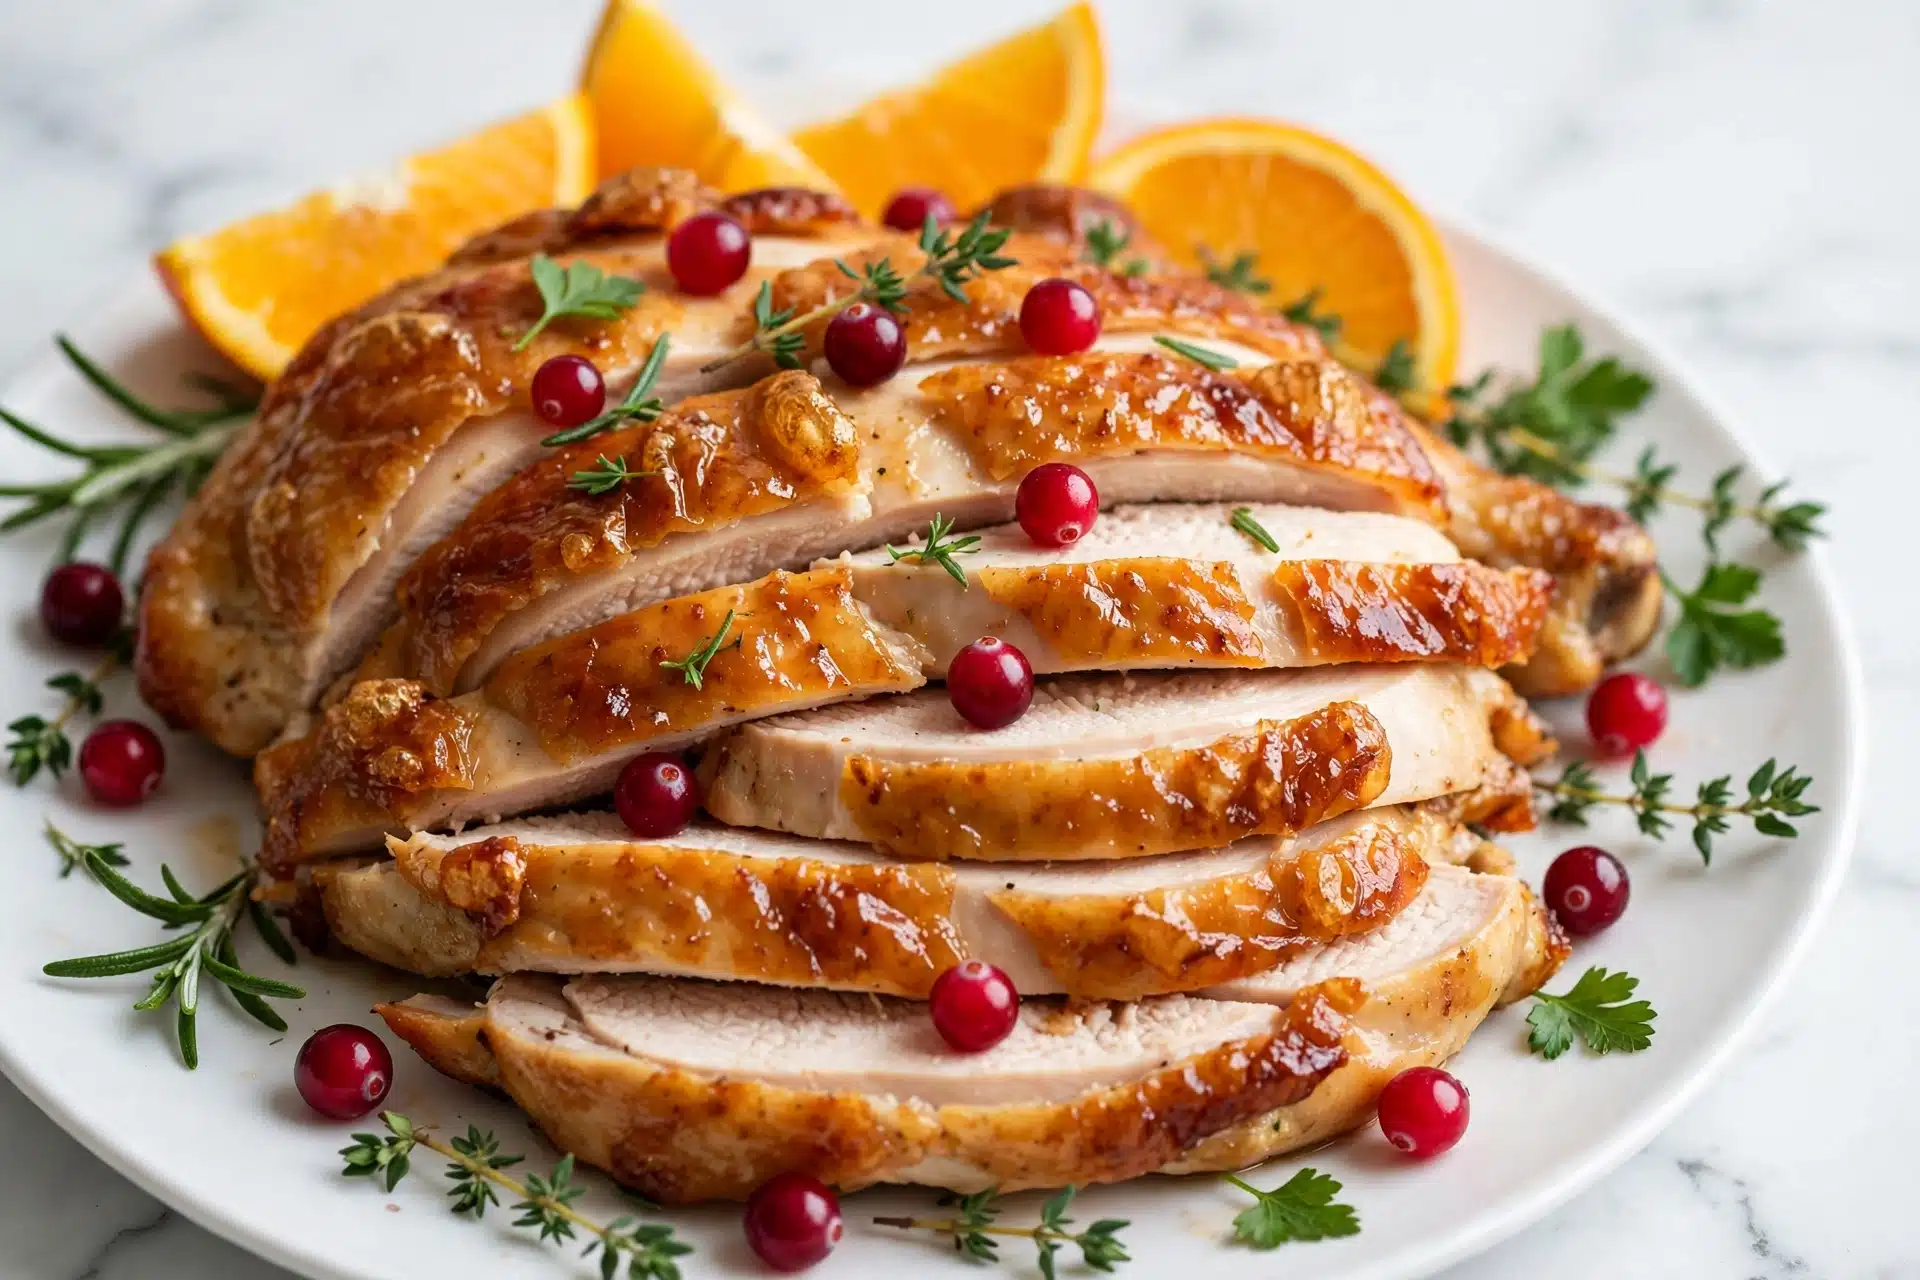
When I serve this Juicy Roast Turkey Recipe, I love pairing it with classic sides like creamy mashed potatoes, roasted root vegetables, and a vibrant cranberry sauce for that hint of sweetness. The rich turkey gravy, made from the pan drippings, ties everything together beautifully, so don’t skip it! A simple bright green salad or steamed green beans are great for adding some freshness.
For presentation, I like to garnish the platter with sprigs of fresh rosemary and thyme along with some roasted garlic cloves and lemon wedges to brighten up the rich flavors. It makes the whole thing feel festive and inviting, perfect for holiday dinners or Sunday family feasts. Serve the turkey warm and carve generous portions right at the table to keep the slices juicy and tender for everyone.
For drinks, I usually recommend a medium-bodied white wine like Chardonnay or a fruity Pinot Noir if you prefer red. For non-alcoholic options, sparkling apple cider or a ginger-lemon spritzer complement the savory richness wonderfully. This recipe shines whether you’re hosting a large holiday meal or just treating yourself to a special weekend dinner.
Variations
If you want to swap things up, I’ve found that you can easily customize this Juicy Roast Turkey Recipe to suit your tastes or dietary needs. Try substituting the dried thyme with oregano or tarragon for a different herbal vibe. If you prefer a smokier flavor, adding smoked paprika instead of regular paprika adds a subtle depth.
For those following gluten-free diets, just be sure to use gluten-free flour or cornstarch to thicken the gravy, and double-check your broth ingredients. While a vegan version would take the turkey out of the picture, you can adapt the flavorful dry brining and butter baste ideas to a vegan roast or hearty vegetable centerpiece, using vegan butter and vegetable stock.
I’ve also experimented with cooking methods—slow roasting the turkey at a lower temperature after the initial high-heat sear delivers even more tender meat, though it takes longer. Alternatively, spatchcocking your turkey for faster roasting can be a great time saver while still applying this Juicy Roast Turkey Recipe’s flavor techniques.
Storage and Reheating
Storing Leftovers
After enjoying your turkey feast, store any leftovers in airtight containers or tightly wrapped in foil or plastic wrap. I like to divide the meat into meal-sized portions so it’s easy to grab later. Properly stored, your cooked turkey will keep well in the fridge for 3 to 4 days, remaining moist and flavorful.
Freezing
If you want to save leftovers for a longer period, this turkey freezes beautifully. I recommend slicing the meat before freezing in freezer-safe airtight containers or heavy-duty ziplock bags with as much air removed as possible. Label and date the packages, and your turkey can keep nicely for up to 3 months in the freezer without losing quality.
Reheating
When reheating, the key is to do so gently to avoid drying out the meat. I usually reheat slices covered with foil in a low oven (around 275°F/135°C) or in a covered skillet over low heat with a splash of broth to keep things moist. Avoid using the microwave if possible, but if you must, heat in short bursts and add moisture like broth or gravy to maintain juiciness. Reheating leftovers with gravy or inside a sandwich also keeps them tasty and enjoyable.
FAQs
Can I use a frozen turkey for this Juicy Roast Turkey Recipe?
Absolutely! Just make sure your turkey is fully thawed in the refrigerator before starting the dry brining process. Depending on size, thawing can take several days, so plan ahead to ensure it’s completely defrosted for even seasoning and cooking.
Do I need to baste the turkey during roasting?
While it’s not absolutely required, I highly recommend basting with the garlic-herb butter halfway through cooking to ensure the skin crisps up beautifully and the flavors penetrate the meat. It really makes a difference in taste and appearance.
What if I don’t have a roasting rack?
No worries! You can create a makeshift rack using a bed of thickly sliced onions and sturdy vegetable chunks like carrots or celery in the roasting pan. This lifts the turkey slightly to allow heat circulation and keeps it from sitting in its juices.
How do I know when the turkey is fully cooked?
The most reliable way is to use a meat thermometer. The turkey is safely cooked when the internal temperature reaches 165°F (75°C) in the thickest part of the breast and the thigh. The thermometer pop-up feature that comes with some turkeys can be a helpful indicator, too.
Can I brine the turkey for less than 48 hours?
You can, but the dry brining period of 48 hours really gives the best results for moisture and flavor absorption. At least 24 hours does help, but shorter times may not produce the same juiciness or enhanced skin texture.
Conclusion
I can’t wait for you to try this Juicy Roast Turkey Recipe because it’s truly a game-changer for any turkey dinner. It’s bursting with flavor, incredibly tender, and the dry brining method means you get that perfect balance of crispy skin and juicy meat every time. Whether it’s a holiday feast or a special weekend meal, this recipe will become your new go-to. Happy roasting and enjoy every delicious bite!
PrintJuicy Roast Turkey Recipe
This Juicy Roast Turkey recipe delivers a perfectly cooked, flavorful bird with crispy skin and moist meat achieved through a dry brining process and a two-stage roasting method. Infused with garlic, herbs, and butter, this classic roast turkey is ideal for festive dinners or special occasions, complemented by a rich homemade gravy.
- Prep Time: 10 minutes plus 48 hours dry brining
- Cook Time: 2 hours 10 minutes
- Total Time: 2 days 10 minutes (including dry brining)
- Yield: 10 servings
- Category: Main Course
- Method: Baking
- Cuisine: American
Ingredients
Turkey and Dry Brine
- 10 lb / 5 kg whole turkey, thawed (plain, not pre-brined)
- 2 1/2 tbsp kosher salt / cooking salt
- 2 tsp dried thyme (or herb of choice)
- 1 tsp paprika (sweet or ordinary)
- 1 tsp garlic powder (optional)
- 1/2 tsp black pepper
Aromatics & Stuffing
- 2 heads of garlic, halved horizontally (4 halves)
- 1 onion, halved (skin on: brown, yellow, or white)
- 2 small bunches mixed herbs (sage, rosemary, thyme, parsley) optional
Garlic Herb Butter & Basting
- 10 tbsp (150 g) unsalted butter, melted
- 1 tbsp sage, rosemary, and thyme (finely chopped, equal amounts)
- 3 garlic cloves, minced
Roasting Liquid & Gravy
- 1 1/2 cups water
- 4 cups chicken broth/stock (low sodium)
- 5 tbsp all-purpose flour
- Salt and pepper (to taste)
Instructions
- Prepare Salt Rub: In a bowl, mix kosher salt, dried thyme, paprika, garlic powder (if using), and black pepper to create the salt rub for dry brining.
- Dry Brine Turkey: Pat the turkey dry inside and out, remove giblets. Sprinkle 1 tsp of the salt rub inside the cavity, spreading roughly with your hand. Flip turkey upside down and rub 1 tsp of the salt rub on the underside. Turn turkey upright and rub remaining salt rub all over the skin, focusing on the breast and some under the skin if possible.
- Wrap and Refrigerate: Wrap the turkey tightly like a mummy with cling wrap or place in a sealable bag. Place upside down in a baking pan and refrigerate for 48 hours, flipping the turkey to right side up after 24 hours. After brining, unwrap turkey and pat dry if skin is too moist. Let it sit for 30 minutes before roasting.
- Preheat Oven and Prepare Roasting Pan: Preheat oven to 220°C/425°F (200°C fan forced). Place onion halves and garlic halves in roasting pan, position a roasting rack on top if available.
- Stuff Turkey: Stuff inside the turkey with a bunch of mixed herbs, 2 garlic halves, and 3 tbsp melted butter. Tie drumsticks with kitchen twine if desired.
- Initial Roast: Place turkey upside down on the rack with wings twisted on top. Brush with a bit of melted butter and sprinkle lightly with salt and pepper. Pour 1 1/2 cups water into the roasting pan. Roast at 220°C/425°F (200°C fan) for 30 minutes.
- Flip and Continue Roasting: Using a tea towel, carefully flip the turkey right side up. Brush generously with butter and sprinkle salt and pepper. Reduce oven temperature to 165°C/325°F (150°C fan) and roast for 45 minutes.
- Baste with Garlic Herb Butter and Final Roast: Mix remaining melted butter with minced garlic and chopped herbs. Brush the turkey generously with this mixture. Roast an additional 30 minutes or until a meat thermometer reads 165°F/75°C in the thickest part of the breast or when the pop-up thermometer activates. Cover loosely with foil if skin browns too quickly.
- Rest Turkey: Remove turkey from the oven and transfer to a serving plate. Cover loosely with foil and rest for 30 minutes before carving and serving.
- Make Gravy: Place the roasting pan with onion, garlic, and drippings on the stovetop over medium-high heat. Sprinkle in flour and cook for 2 minutes to form a roux. Gradually add chicken broth, mashing onion and garlic with a potato masher while stirring to avoid lumps. Scrape bottom of pan with wooden spoon to incorporate browned bits. Cook for 3 to 5 minutes until thickened. Strain gravy into a bowl and serve in a gravy boat alongside turkey.
- Serve: Serve turkey carved with homemade gravy and optional cranberry sauce.
Notes
- Note 1: Use a plain, unbrined whole turkey for best results with the dry brine method.
- Note 2: Kosher salt is preferred for even seasoning and moisture extraction during dry brining.
- Note 3: Mixed herbs such as sage, rosemary, thyme, and parsley add aromatic flavor to both the stuffing and butter baste.
- Note 5: Removing giblets ensures even cooking and prevents off-flavors.
- Note 6: Wrapping tightly with cling wrap helps salt penetrate deeply during the dry brine.
- Note 7: The 48-hour dry brine enhances flavor and moisture retention without added water.
- Note 8: If a roasting rack is unavailable, use vegetables or folded foil to elevate the turkey.
- Note 9: Use a reliable meat thermometer to confirm the turkey is safely cooked.
- Note 10: Resting allows juices to redistribute for moist meat.


