
I absolutely love whipping up a classic dessert that feels both comforting and effortless, and this Easy Apple Pie with Canned Filling and Fresh Cinnamon-Nutmeg Flavors Recipe hits that sweet spot perfectly. Using canned apple pie filling does not mean sacrificing flavor when you boost it with fresh cinnamon, nutmeg, and a touch of vanilla. It’s a warm, cozy pie that’s ready in no time and always brings smiles around the table.
Why You’ll Love This Easy Apple Pie with Canned Filling and Fresh Cinnamon-Nutmeg Flavors Recipe
Whenever I make this pie, the first thing I notice is how those fresh spices really wake up the canned filling, turning it from a shortcut into something truly special. The cinnamon and nutmeg add a warm, spicy depth that fills the kitchen with the best aroma, while the vanilla rounds everything off with a sweet, mellow note. It’s like getting all the soulful flavors of a homemade apple pie without all the fuss of peeling and slicing.
For me, the ease of preparation is what makes this recipe a go-to on busy days or last-minute gatherings. Having two ready-made pie crusts and canned filling on hand means I can pull together something impressive in under an hour. Plus, it bakes to a golden crisp with beautiful bubbling filling that feels festive and indulgent. I find it’s perfect for family dinners, holiday celebrations, or just because—really, any time you want a piece of comfort.
Ingredients You’ll Need
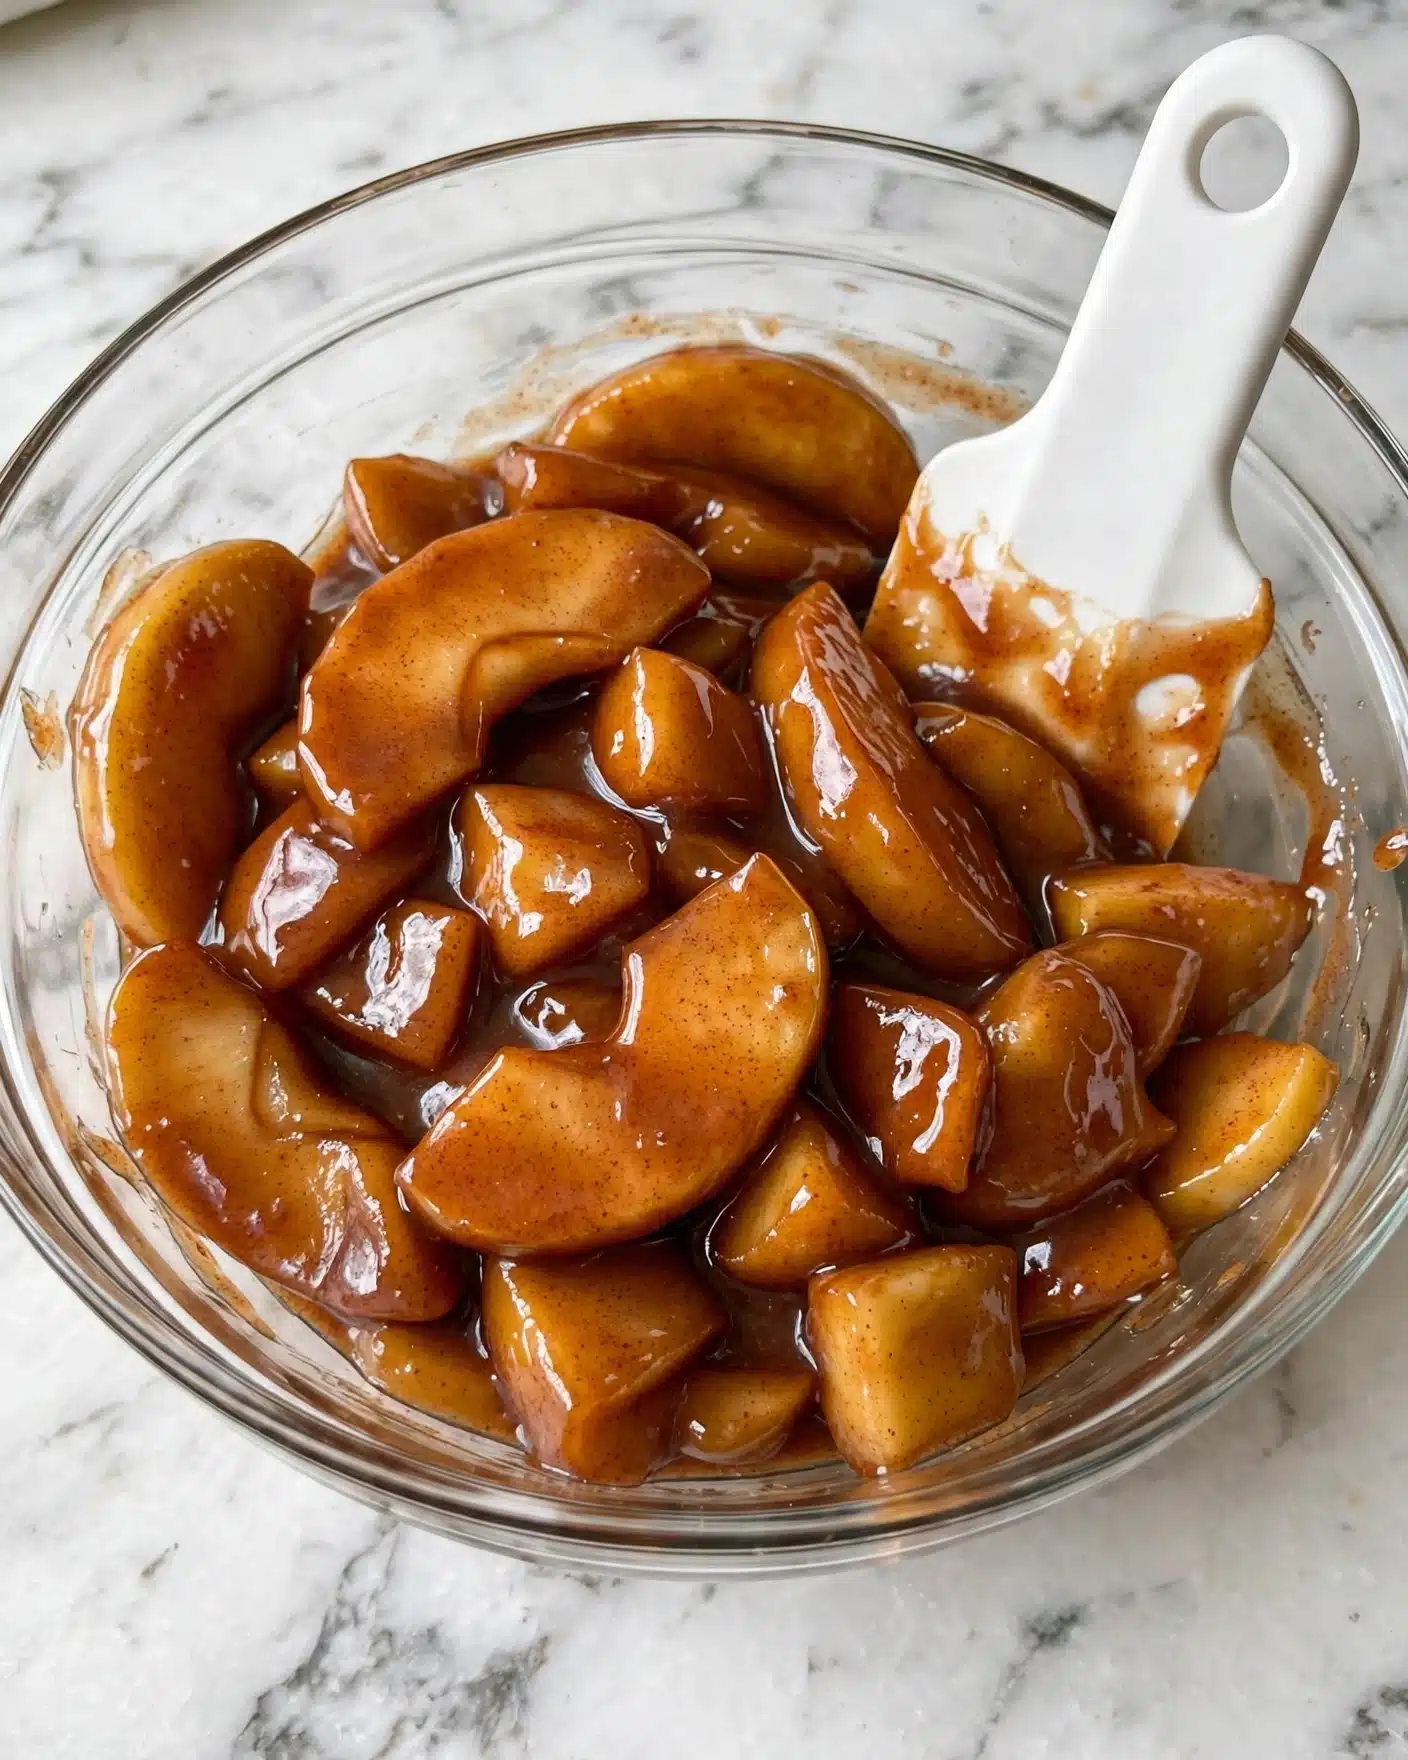
These ingredients are wonderfully simple but each plays an important role in the final pie. The canned apple filling provides that classic base, while the spices and vanilla really make it sing. The egg wash makes the crust beautifully golden and inviting on the outside. Here’s what you’ll grab before getting started:
- 2 prepared pie crusts: I prefer frozen ones thawed in the fridge—they’re easy to work with and bake up nice and flaky.
- 2 (20 ounce) cans apple pie filling: This shortcut ingredient is the heart of the recipe and makes it super simple.
- 1 teaspoon ground cinnamon: Adds warm, spiced flavor that complements the apples perfectly.
- ¼ teaspoon ground nutmeg: A little goes a long way adding a subtle earthy sweetness.
- 1 teaspoon vanilla extract: Rounds off the spices with a smooth, sweet vanilla note.
- 1 large egg: Used for the egg wash that gives the crust a shiny, golden finish.
- 1 tablespoon water: Mixed with the egg to create a perfectly textured wash to brush on the crust.
Directions
Step 1: Preheat your oven to 425°F. This high heat helps set the crust initially and gets the filling bubbling beautifully.
Step 2: On a lightly floured surface, roll out one slightly thawed pie crust, leaving about an inch of overhang for crimping. Place it into your pie plate and crimp the edges in a traditional pattern. I like to chill the crust in the fridge for a bit while I prep the rest.
Step 3: Let the second pie crust thaw just until it’s flexible. Roll it out gently on your floured surface. Decide if you want a simple top crust or a decorative woven pattern; for weaving, cut it into ½- to ¾-inch strips with a pizza cutter and set aside.
Step 4: In a large bowl, mix together the two cans of apple pie filling with cinnamon, nutmeg, and vanilla extract until evenly combined. This step transforms the canned filling into a spiced homemade-tasting pie filling.
Step 5: In a small bowl, whisk the egg and water together to prepare your egg wash for that golden finish.
Step 6: Take your chilled bottom crust and lightly brush the inside with a thin layer of egg wash—be careful not to let it pool, as this can make the crust soggy.
Step 7: Spoon the spiced apple filling evenly into the bottom crust.
Step 8: If using a simple top crust, lay the second crust over the filling, trim any excess, and press the edges to seal with the bottom crust. For the woven crust, arrange the strips in a weave pattern over the filling and gently press the ends to seal into the edge.
Step 9: Brush the entire top crust with the remaining egg wash. If you’re using the full top crust without weaving, cut 4–5 small slits into the surface for steam to escape during baking.
Step 10: Place the pie on a baking sheet (to catch any drips), then bake at 425°F for 20 minutes. This step sets the crust.
Step 11: Lower the oven temperature to 375°F and continue baking for another 20–25 minutes, or until the crust is golden and the filling bubbles through the vents or weave. If your edges brown too quickly, cover them with foil or a pie shield.
Step 12: Once baked, let the pie cool for at least 2 hours. This resting time allows the filling to thicken and makes slicing much easier.
Step 13: Serve your pie warm or at room temperature, perhaps topped with vanilla ice cream or a drizzle of caramel sauce for an irresistible treat.
Servings and Timing
This recipe makes 8 generous servings, perfect for sharing with family or friends. Prep time is about 20 minutes, largely spent on crust and filling prep, with 40 minutes baking time and an important 15-minute chill for the crust and 2 hours to cool before slicing, making the total time approximately 1 hour and 15 minutes. The resting time ensures you get nice clean slices and a perfectly set filling.
How to Serve This Easy Apple Pie with Canned Filling and Fresh Cinnamon-Nutmeg Flavors Recipe
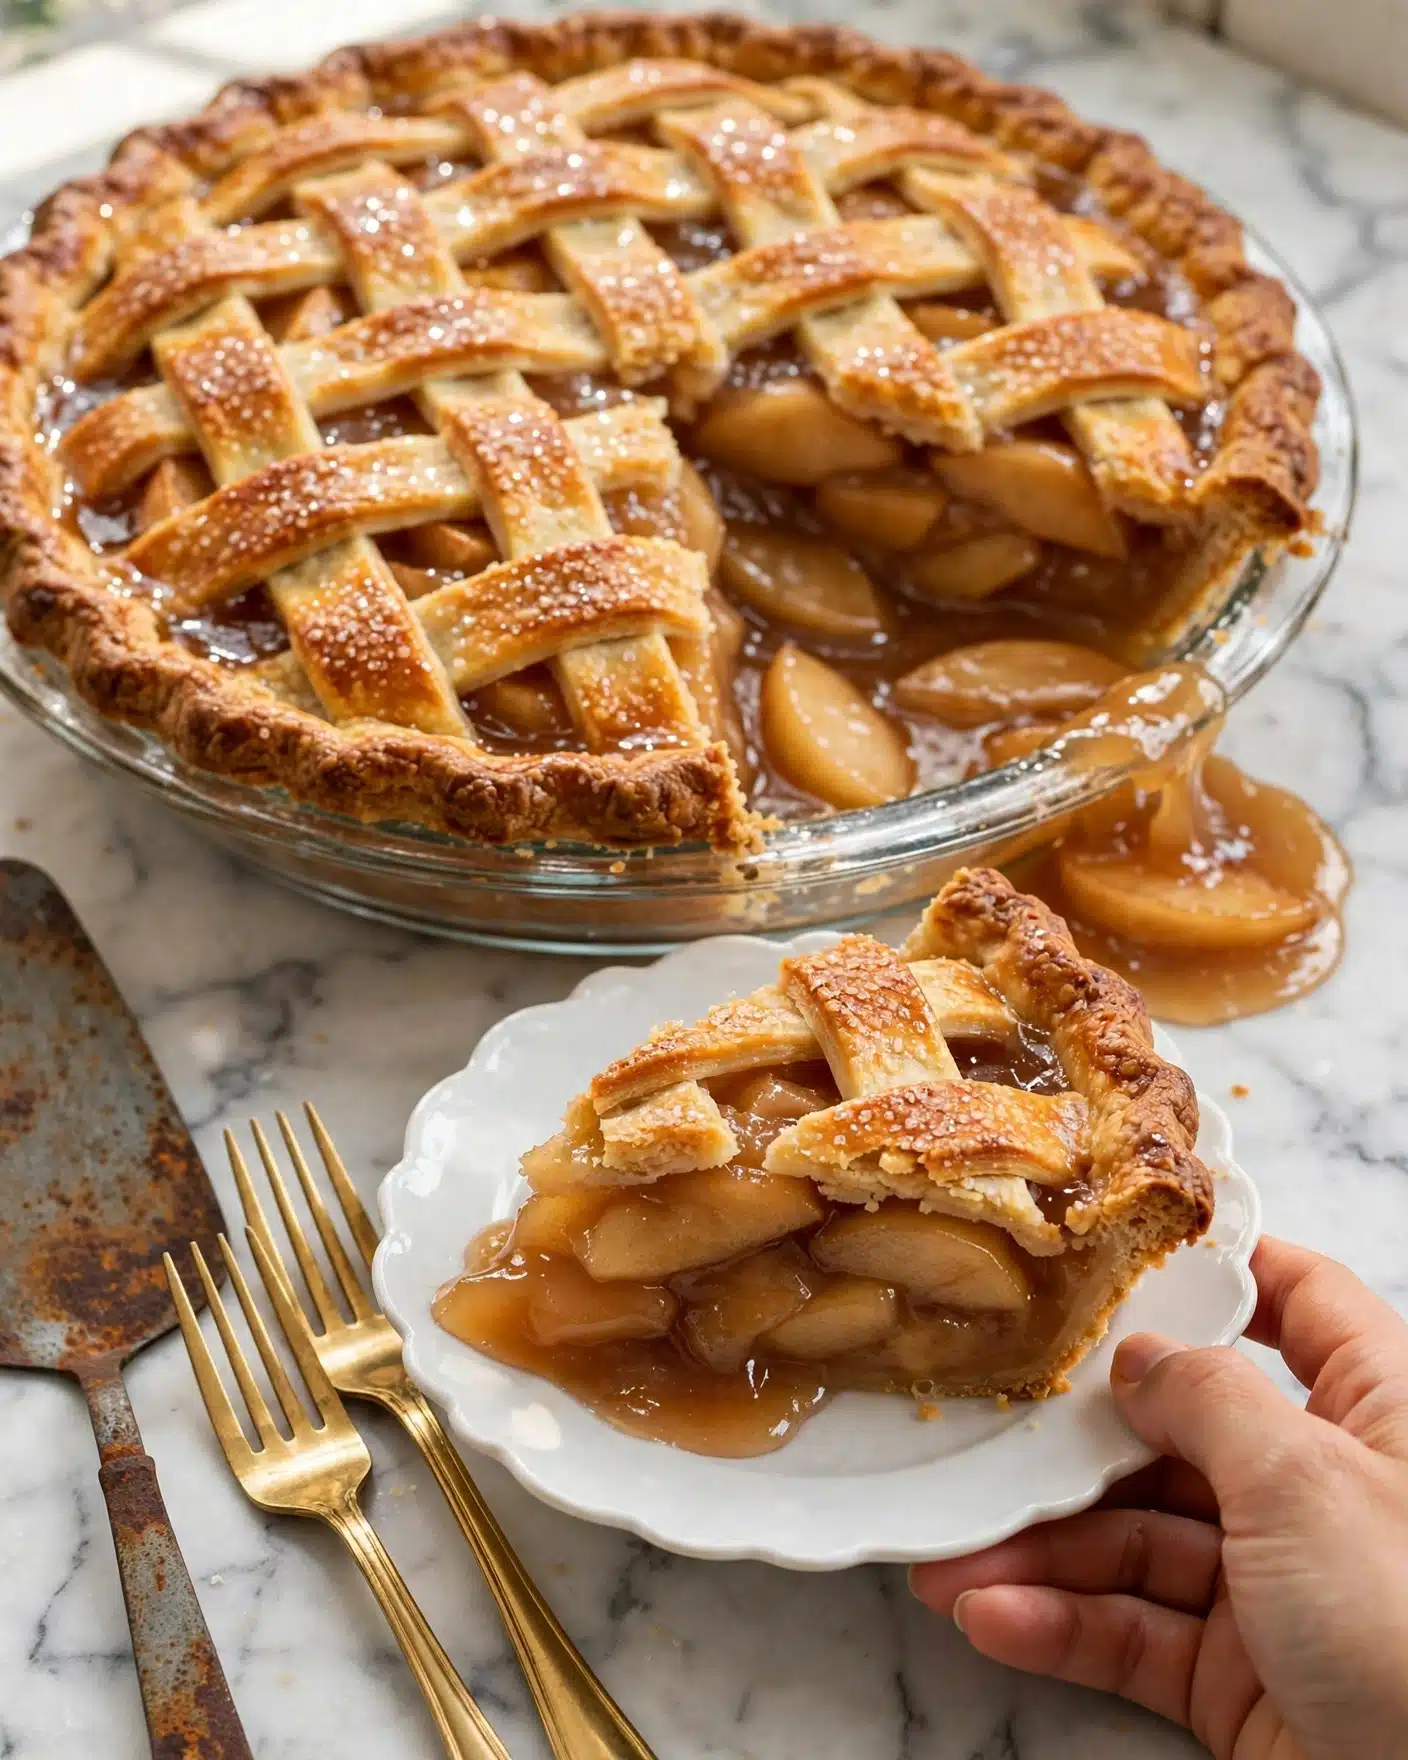
I love serving this pie slightly warm, just out of the oven, so you can savor the luscious bubbling filling alongside the crisp, flaky crust. A scoop of vanilla ice cream or a dollop of lightly sweetened whipped cream adds a creamy contrast that I find irresistible. If you’re feeling fancy, a drizzle of caramel sauce takes it to the next level—these little touches make it feel indulgent without extra fuss.
For presentation, a rustic pie plate works beautifully, and you can sprinkle a tiny bit of cinnamon sugar on the crust before baking for extra sparkle and flavor. When slicing, I usually cut it into 8 slices so everyone can grab a hearty portion. This pie pairs wonderfully with a cup of hot coffee, spiced chai, or even a glass of dessert wine like a late-harvest Riesling or a rich apple cider cocktail, making it great for holiday dinners, casual family meals, or dessert when guests come over.
If you prefer, this pie also tastes delicious at room temperature or lightly chilled, making it flexible for different serving occasions. Sometimes I’ll slice it up and serve it cold for a refreshing finish after a summer meal. No matter the setting, it’s always a crowd-pleaser.
Variations
One of my favorite things about this Easy Apple Pie with Canned Filling and Fresh Cinnamon-Nutmeg Flavors Recipe is how easy it is to customize. If you want to switch things up, consider using a gluten-free pie crust to make it friendly for gluten-sensitive folks. There are some fantastic flaky gluten-free crusts available now that work just as well in this recipe.
For a vegan twist, you can swap the egg wash for a mix of plant-based milk and maple syrup to achieve a similarly shiny crust. To enhance flavor, I sometimes add a handful of toasted pecans or walnuts over the filling before topping with the crust for an added crunch and nutty touch.
Another tasty variation is to mix in a handful of raisins or dried cranberries into the filling for bursts of sweetness and texture. If you want to go beyond baking, I’ve even tried making mini hand pies using the same filling and they are perfect for on-the-go treats or packed lunches.
Storage and Reheating
Storing Leftovers
After enjoying the fresh pie, I store leftovers in an airtight container or cover the pie tightly with plastic wrap or foil. Leftover pie keeps well in the refrigerator for up to 3 to 4 days. Keeping it chilled helps preserve the crust’s crispness as much as possible and maintains the fresh flavors of the spiced filling.
Freezing
This pie actually freezes beautifully if you want to save some for later. I wrap the whole pie tightly with plastic wrap followed by a layer of aluminum foil to protect against freezer burn. It can be frozen for up to 2 months. When ready to enjoy, I let it thaw in the refrigerator overnight before reheating to preserve the texture and flavor.
Reheating
To reheat, I prefer warming slices in a 350°F oven for about 15-20 minutes until the crust is crisp again and the filling is warm. Avoid microwaving if possible, as this can make the crust soggy and the filling unevenly heated. Reheating in the oven is the best way to bring the pie back to life and enjoy that fresh-baked feeling.
FAQs
Can I use fresh apples instead of canned filling?
Absolutely! If you have more time, you can prepare your own apple filling with fresh apples, cinnamon, nutmeg, sugar, and a bit of lemon juice. It takes longer but gives a wonderfully fresh and slightly tart flavor. This recipe is great for shortcuts, though, so canned filling is perfect for busy days.
What if I don’t have an egg for the wash?
You can brush the crust with milk, cream, or a plant-based milk alternative mixed with a bit of maple syrup or sugar for a nice glaze. It won’t brown exactly the same but will still give a pleasant sheen and help with browning.
How do I prevent the crust edges from burning?
If the edges start browning too fast, I cover them with strips of foil or use a pie shield halfway through baking. This keeps them from getting too dark while the filling finishes cooking.
Can I make this pie ahead of time?
Yes! You can assemble the pie in advance and keep it refrigerated for a few hours before baking. You might want to tent it loosely with foil if chilling overnight. Then bake just before serving for best freshness.
What’s the best way to cut the pie for neat slices?
Use a sharp, serrated knife and wipe it clean between cuts to keep slices neat. Letting the pie cool completely also helps the filling set, so slices hold together better.
Conclusion
I hope you give this Easy Apple Pie with Canned Filling and Fresh Cinnamon-Nutmeg Flavors Recipe a try—it’s truly one of my favorite quick desserts that feels like a warm hug on a plate. Whether you’re a busy home cook or just love a fuss-free sweet treat, this pie brings that perfect balance of ease and homemade flavor that everyone will adore. Happy baking and even happier eating!
PrintEasy Apple Pie with Canned Filling and Fresh Cinnamon-Nutmeg Flavors Recipe

This easy Apple Pie with Canned Pie Filling is a quick shortcut dessert that enhances store-bought apple pie filling with cinnamon, nutmeg, and vanilla for a homemade flavor. Using pre-made pie crusts makes preparation simple while still delivering a classic golden, flaky crust and a perfectly spiced apple filling. Whether topped with a simple crust or a decorative woven lattice, this apple pie bakes to bubbling perfection and is best enjoyed after cooling to let the filling set.
- Prep Time: 20 minutes
- Cook Time: 40 minutes
- Total Time: 1 hour 15 minutes
- Yield: 8 servings
- Category: Dessert
- Method: Baking
- Cuisine: American
Ingredients
Pie Crusts
- 2 prepared pie crusts (frozen, thawed in refrigerator)
Apple Filling
- 2 (20 ounce) cans apple pie filling (21 ounce cans can also be used)
- 1 teaspoon ground cinnamon
- ¼ teaspoon ground nutmeg
- 1 teaspoon vanilla extract
Egg Wash
- 1 large egg
- 1 Tablespoon water
Instructions
- Preheat Oven: Preheat your oven to 425°F to prepare for baking the pie.
- Prepare Bottom Crust: Roll out one slightly thawed pie crust on a lightly floured surface, leaving about 1 inch of overhang for crimping. Place it in a pie plate and crimp the edges in a traditional pattern, then chill in the refrigerator while preparing the rest.
- Prepare Top Crust: Let the second pie crust thaw just enough to be flexible. Remove it from its pie plate and place it on a floured surface. For a simple top crust, roll gently to smooth; for a woven lattice, roll and cut into ½ to ¾ inch strips, setting strips aside for later assembly.
- Mix Filling: In a large bowl, combine both cans of apple pie filling with ground cinnamon, ground nutmeg, and vanilla extract, stirring until well mixed.
- Make Egg Wash: Whisk together the egg and water in a small bowl to create an egg wash for glazing the crust.
- Assemble Pie: Remove the chilled bottom crust from the fridge and lightly brush the inside bottom with a thin layer of egg wash, ensuring it doesn’t pool. Spoon the apple filling evenly into the bottom crust.
- Add Top Crust: For a simple crust, place the second crust over the filling, trim excess, and seal by pressing edges together. For a lattice, weave strips over the filling and press strip ends into the crimped edge to seal.
- Glaze and Vent: Brush the top crust with remaining egg wash. If using a solid top crust, cut 4–5 small slits to allow steam to escape during baking.
- Bake Part One: Place the assembled pie on a baking sheet to catch any spills and bake at 425°F for 20 minutes, allowing the crust to set and start browning.
- Bake Part Two: Reduce oven temperature to 375°F and bake for an additional 20–25 minutes, or until the crust is golden brown and the filling bubbles. Cover crust edges with foil or a pie shield if they brown too quickly.
- Cool: Let the pie cool for at least 2 hours to allow the filling to fully set before slicing.
- Serve: Enjoy as is, or serve drizzled with caramel sauce and a scoop of vanilla ice cream or whipped cream for an extra indulgent treat.
Notes
- Using a baking sheet under the pie helps prevent spills in the oven and makes handling easier.
- Allowing the pie to cool completely before slicing ensures the filling sets properly and slices cleanly.
- Adjust cinnamon and nutmeg amounts to taste for a more or less spiced filling.
- Cover crust edges with foil if they brown too fast to prevent burning.
- This recipe works well with either simple solid tops or decorative lattice crusts depending on your preference.


