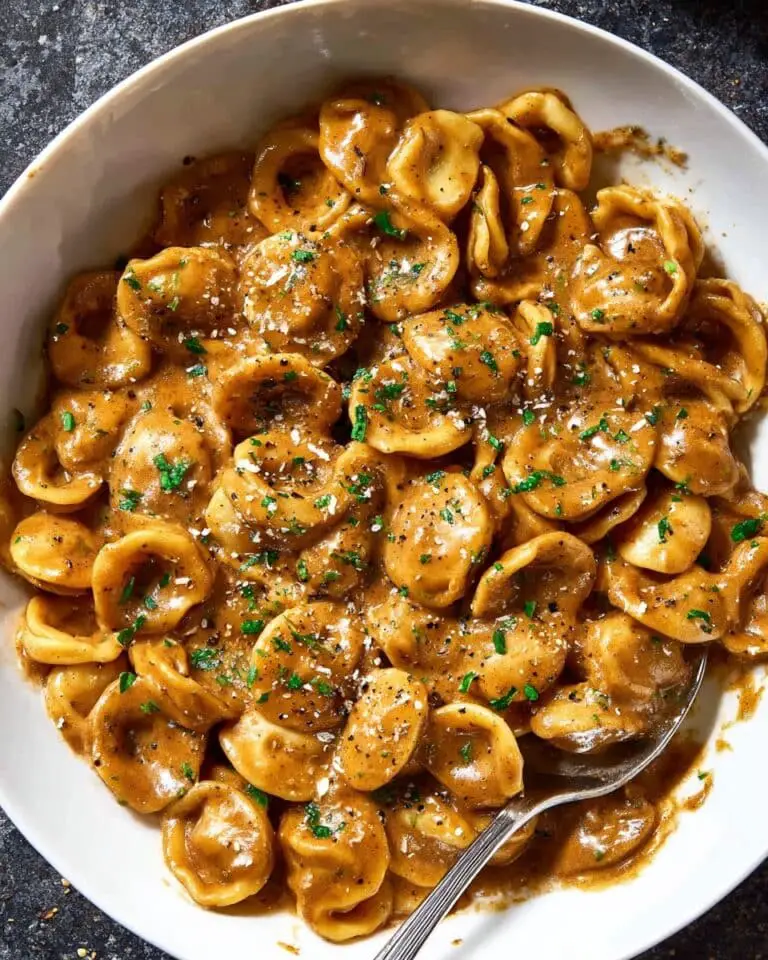
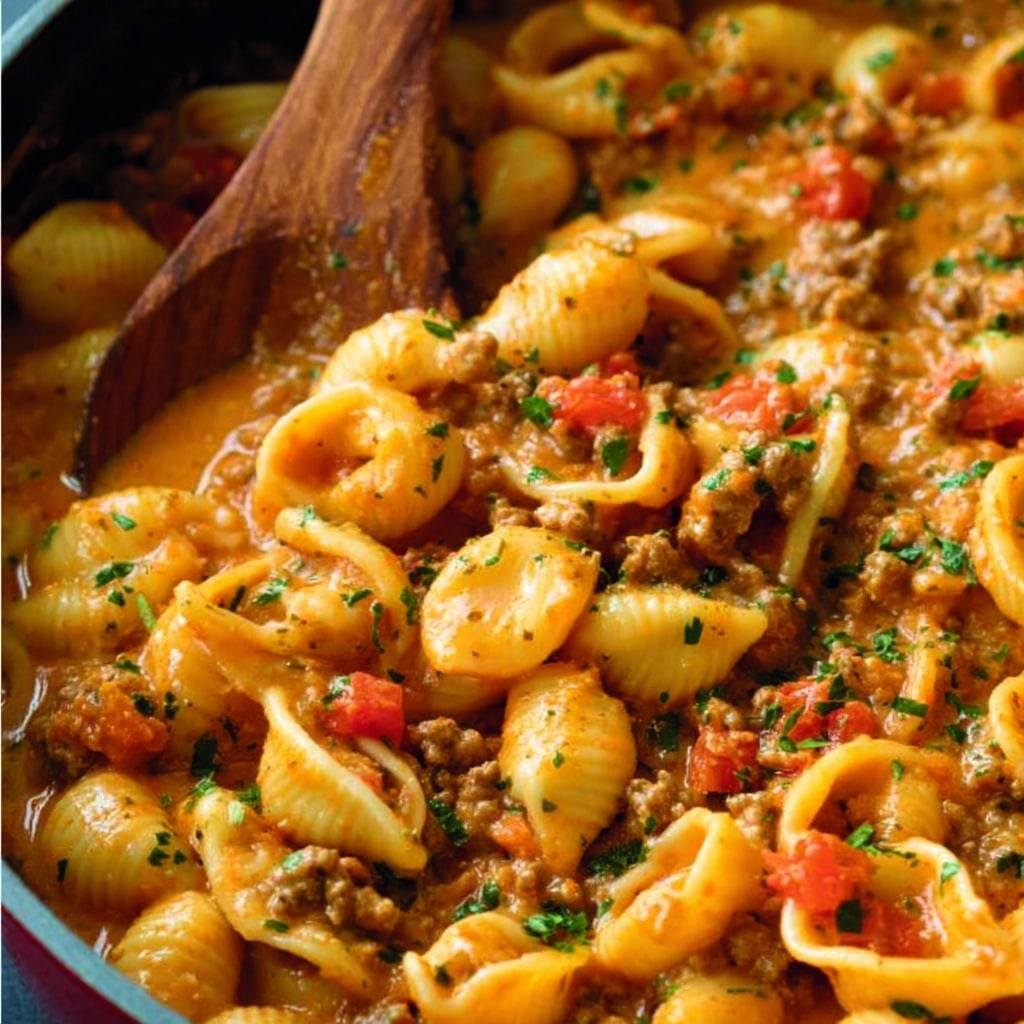
If your idea of comfort food is creamy, cheesy, and just a little bit nostalgic, then you’re in for a real treat with Creamy Beef and Shells. This dish brings together tender pasta shells, a rich beefy tomato sauce, and just the right amount of luscious cream and parmesan for irresistible flavor and coziness in every bite. It’s hearty enough to feed a crowd, quick enough for a weeknight, and guaranteed to become your new family favorite.
Ingredients You’ll Need
The beauty of Creamy Beef and Shells is in its simplicity—each ingredient plays a crucial role in building its signature savory, creamy taste and vibrant color. Let’s break down what’s going into your pot and why it matters.
- Uncooked Shells: Medium pasta shells hold the sauce perfectly in their curves for maximum flavor in every bite.
- Olive Oil: Adds richness and helps brown the beef, starting the flavor building from the very first step.
- Lean Ground Beef: A hearty, protein-packed essential that forms the heart of the dish’s savory aspect.
- Yellow Onion: Lends natural sweetness and depth, balancing out the flavors as it cooks down in the pan.
- Garlic: Just a little makes a big impact, adding wonderful aroma and a touch of bite to the sauce.
- Kosher Salt: Lets all the other flavors shine and ensures the beef and sauce are seasoned just right.
- Freshly Cracked Black Pepper: Gives warmth and a subtle kick without overpowering the creamy elements.
- Chili Powder: Adds a gentle smokiness and color, making the whole dish pop.
- Tomato Sauce: The foundation of the sauce, giving it tang and beautiful color.
- Worcestershire Sauce: This might be the secret ingredient—it adds depth, savoriness, and a little umami magic.
- Beef Broth: Enhances the meaty flavor and helps bring the sauce together.
- Heavy Whipping Cream: Where the “creamy” in Creamy Beef and Shells comes from—don’t skimp!
- Freshly Shredded Parmesan: Brings nuttiness and helps the sauce cling deliciously to every shell.
- Fresh Chopped Parsley: An optional garnish, but one that adds color and a spark of freshness to each serving.
How to Make Creamy Beef and Shells
Step 1: Cook the Shells
Start by bringing a large pot of salted water to a boil and cook your pasta shells according to the package directions until they’re just al dente. Be careful not to overcook—the shells will soak up some of that luscious sauce later! Drain the pasta and set it aside while you work on the sauce.
Step 2: Brown the Beef
In a deep skillet or large sauté pan, heat a tablespoon of olive oil over medium-high heat. Add the ground beef and use a spatula to break it up as it cooks. Brown the meat for about 5–7 minutes until there’s no more pink left, then carefully drain off most of the fat. This step makes sure your Creamy Beef and Shells isn’t greasy, and helps the beef flavor shine.
Step 3: Sauté the Aromatics
With the beef still in the skillet, add in the diced onion. Sauté for about 5 minutes on medium heat until the onion is soft and tender. Then stir in the garlic, followed by the salt, pepper, and chili powder. Let the mixture cook for about a minute—your kitchen should smell amazing at this point!
Step 4: Add the Tomato Sauce and Broth
Now pour in the tomato sauce, Worcestershire sauce, and beef broth. Stir to combine everything and let it simmer gently for about 5 minutes, so the flavors meld and deepen. The sauce will thicken slightly and take on a wonderful, savory aroma.
Step 5: Bring on the Creaminess
Lower the heat and add the heavy cream to your beefy tomato sauce. Let it cook for 2 minutes until everything is heated through and the sauce is silky and creamy—but not boiling. This is the step that transforms the dish into Creamy Beef and Shells bliss!
Step 6: Finish and Serve
Add the cooked and drained shells to the skillet and toss to coat them in that dreamy sauce. Sprinkle in the shredded parmesan and stir until it’s all melted and utterly creamy. Serve your Creamy Beef and Shells right away, garnished with extra parmesan and chopped parsley for a bright, mouthwatering finish.
How to Serve Creamy Beef and Shells
Garnishes
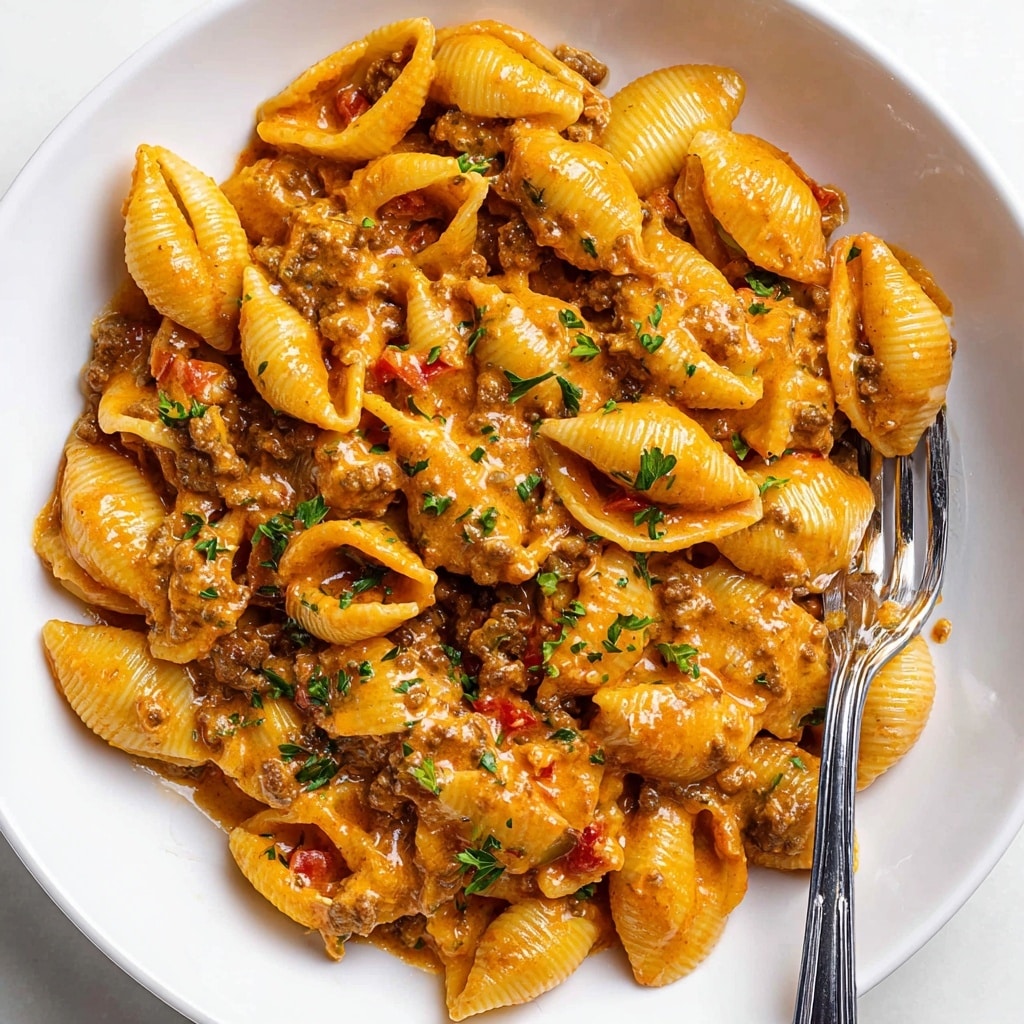
The crowning touch to Creamy Beef and Shells is all about fresh, vibrant garnishes. A sprinkle of freshly grated parmesan and a handful of chopped parsley make the dish look like restaurant-worthy comfort food. If you love a little extra zing, try topping with a few cracks of black pepper or a pinch of crushed red pepper flakes right before serving.
Side Dishes
This dish is practically a meal on its own, but if you want to round it out, serve Creamy Beef and Shells with a simple green salad tossed in a zesty vinaigrette or some garlic bread for sopping up every drop of sauce. Roasted broccoli, green beans, or even a crisp Caesar salad all pair beautifully.
Creative Ways to Present
Go beyond basic bowls: try serving individual portions of Creamy Beef and Shells in mini cast iron skillets or wide, shallow pasta plates. For a family-style feel, scoop the pasta into a decorative baking dish and bring it straight to the table for everyone to serve themselves. Kids love it in colorful bowls, while adults can enjoy it alongside a glass of bold red wine.
Make Ahead and Storage
Storing Leftovers
Let any remaining Creamy Beef and Shells cool to room temperature before transferring to an airtight container. Stored in the fridge, it’ll stay fresh and delicious for up to 3 days. The flavors actually deepen, so leftovers sometimes taste even better the next day!
Freezing
Creamy Beef and Shells freezes well, making it ideal for meal prep. Simply spoon cooled pasta into a freezer-safe container, and stash it away for up to 3 months. For the best texture, consider freezing the sauce and pasta separately—this prevents the shells from getting too soft when thawed.
Reheating
To bring everything back to creamy, dreamy perfection, reheat leftovers on the stove over medium-low heat, with a splash of beef broth or cream if needed to loosen the sauce. If using a microwave, cover loosely and heat in bursts, stirring occasionally. Either way, you’ll have a quick and comforting meal in minutes.
FAQs
Can I use a different type of pasta for Creamy Beef and Shells?
Absolutely! While medium shells are classic (and hold the sauce perfectly), you can swap in rotini, penne, or even elbow macaroni if that’s what you have on hand. Just make sure to cook them al dente, so the pasta doesn’t get too soft after mixing with the sauce.
What kind of beef works best?
Lean ground beef is best for Creamy Beef and Shells, as it keeps the sauce rich without being greasy. If using a fattier blend, just make sure to drain off any excess fat after browning.
How can I make it spicier?
If you want a bolder kick, add a pinch of crushed red pepper flakes, a dash of hot sauce, or even some diced jalapeño when you sauté the onion and garlic. The creamy sauce will help balance out the heat.
Can I make Creamy Beef and Shells ahead of time?
You can! Just make the sauce and pasta separately a day in advance, then store in the refrigerator. When ready to serve, gently reheat the sauce, combine with the pasta, and finish with the parmesan and parsley.
Is there a way to lighten up this recipe?
To lighten up Creamy Beef and Shells, use half-and-half instead of heavy cream and try ground turkey or chicken for a leaner protein. You can also add extra vegetables, like bell peppers or spinach, for more color and nutrients.
Final Thoughts
If you’re craving a cozy, satisfying meal that truly brings people together, look no further than Creamy Beef and Shells. Whether you’re feeding a hungry family on a busy weeknight or treating yourself to something special, this recipe is guaranteed to hit the spot. Give it a try, and get ready for seconds—everyone’s going to ask for them!
PrintCreamy Beef and Shells Recipe
This scrumptious Creamy Beef and Shells is an easy 30-minute meal that combines savory ground beef with a cheesy sauce and tender pasta. It’s the ultimate comfort food, perfect for busy weeknights.
- Prep Time: 10 minutes
- Cook Time: 20 minutes
- Total Time: 30 minutes
- Yield: 6 servings
- Category: Dinner
- Method: Stovetop
- Cuisine: American
- Diet: Non-vegetarian
Ingredients
For the Pasta:
- 8 ounces uncooked shells
For the Beef Sauce:
- 1 Tablespoon olive oil
- 1 pound lean ground beef
- ½ medium yellow onion, diced
- 3 cloves garlic, minced
- ½ teaspoon Kosher salt
- ½ teaspoon freshly cracked black pepper
- 1 teaspoon chili powder
- 14 ounce can tomato sauce
- 1 Tablespoon Worcestershire sauce
- ½ cup beef broth
- ½ cup heavy whipping cream
- ¼ cup freshly shredded parmesan cheese, plus more for garnish
- Fresh chopped parsley for garnish
Instructions
- Cook the Pasta: Cook pasta according to package directions until al dente. Drain and set aside.
- Prepare the Beef Sauce: Heat oil in a large skillet over medium-high heat. Add beef and cook until browned. Drain excess fat.
- Add Aromatics: Add onion, garlic, salt, pepper, and chili powder. Cook until fragrant.
- Simmer the Sauce: Stir in tomato sauce, Worcestershire sauce, and beef broth. Cook for 5 minutes.
- Finish with Cream: Stir in cream and cook until heated through and creamy. Add parmesan.
- Combine: Add drained pasta to the sauce and toss to combine.
- Garnish and Serve: Garnish with parsley and additional parmesan. Serve hot.
Notes
- Leftovers can be stored in the refrigerator for up to 3 days. Reheat gently on the stovetop with a bit of broth and cream.
- To freeze, store in an airtight container for up to 3 months. Consider freezing the sauce separately to maintain pasta texture.
Nutrition
- Serving Size: 1 serving
- Calories: 235 kcal
- Sugar: 4g
- Sodium: 747mg
- Fat: 15g
- Saturated Fat: 7g
- Unsaturated Fat: 7g
- Trans Fat: 0.3g
- Carbohydrates: 6g
- Fiber: 1g
- Protein: 20g
- Cholesterol: 72mg


