I absolutely adore this Classic Pumpkin Pie Recipe because it captures everything I love about autumn in a single, delicious dessert. The blend of warm spices, creamy pumpkin filling, and flaky buttery crust always makes me feel cozy and nostalgic, like I’ve wrapped myself in a comfy fall sweater. It’s my go-to pie when I want something that’s both comforting and impressive yet surprisingly simple to make. I love sharing this pie with friends and family because it’s a reliable crowd-pleaser that tastes like tradition on a plate.
Why You’ll Love This Classic Pumpkin Pie Recipe
When I make this classic pumpkin pie, I’m transported straight to those crisp autumn days when everything smells like cinnamon and cloves. The flavor profile is wonderfully balanced with just the right amount of spice to enhance the pumpkin’s natural sweetness without overpowering it. I love how the lemon zest adds a subtle brightness that lifts the whole pie, making each bite feel fresh and vibrant. The creamy texture paired with the flaky all-butter crust is like a little slice of heaven every time.
What makes this recipe stand out for me is how straightforward it is to prepare. I appreciate recipes that don’t require a million complex steps or weird ingredients, and this one fits perfectly. Plus, fitting the crust into the pie dish and freezing it beforehand makes all the difference in getting that crisp, buttery edge. This pie is an absolute star for any occasion—whether it’s a holiday dinner, a casual get-together, or simply treating yourself on a chilly evening. It’s a recipe I come back to over and over because it consistently delights.
Ingredients You’ll Need
This recipe calls for simple, pantry-friendly ingredients that each play a key role in making the pie a standout. From the perfectly spiced pumpkin filling to the rich, buttery crust, every component contributes essential texture, color, and flavor.
- All-butter crust: Provides a rich, flaky base with deep, buttery flavor that supports the filling perfectly.
- Eggs and egg yolk: Act as the natural binder, giving the filling structure without being heavy.
- Dark brown sugar and granulated sugar: The brown sugar adds molasses warmth, while granulated sugar balances sweetness.
- Salt: Enhances all the flavors, making sure the spices and pumpkin really shine.
- Ground cinnamon: The primary spice that brings classic warmth and sweetness.
- Ground ginger: Adds a subtle zing and depth to the spice blend.
- Ground allspice and cloves: Give complexity with a hint of earthiness and sweetness.
- Ground cardamom: Lends an aromatic touch that brightens the overall spice profile.
- Finely grated lemon zest: A surprising ingredient that gives a fresh, citrus lift to balance the richness.
- Pure pumpkin purée: The star ingredient, creamy and naturally sweet, providing that unmistakable pumpkin flavor.
- Heavy cream: Adds luscious creaminess and smooth texture to the filling.
Directions
Step 1: Fit the all-butter crust into a 9-inch deep-dish pie plate and place it in the freezer for at least 30 minutes. This chilling step is crucial for helping the crust hold its shape and bake up crisp. Meanwhile, position a rack in the lower third of your oven and preheat to 425°F (220°C).
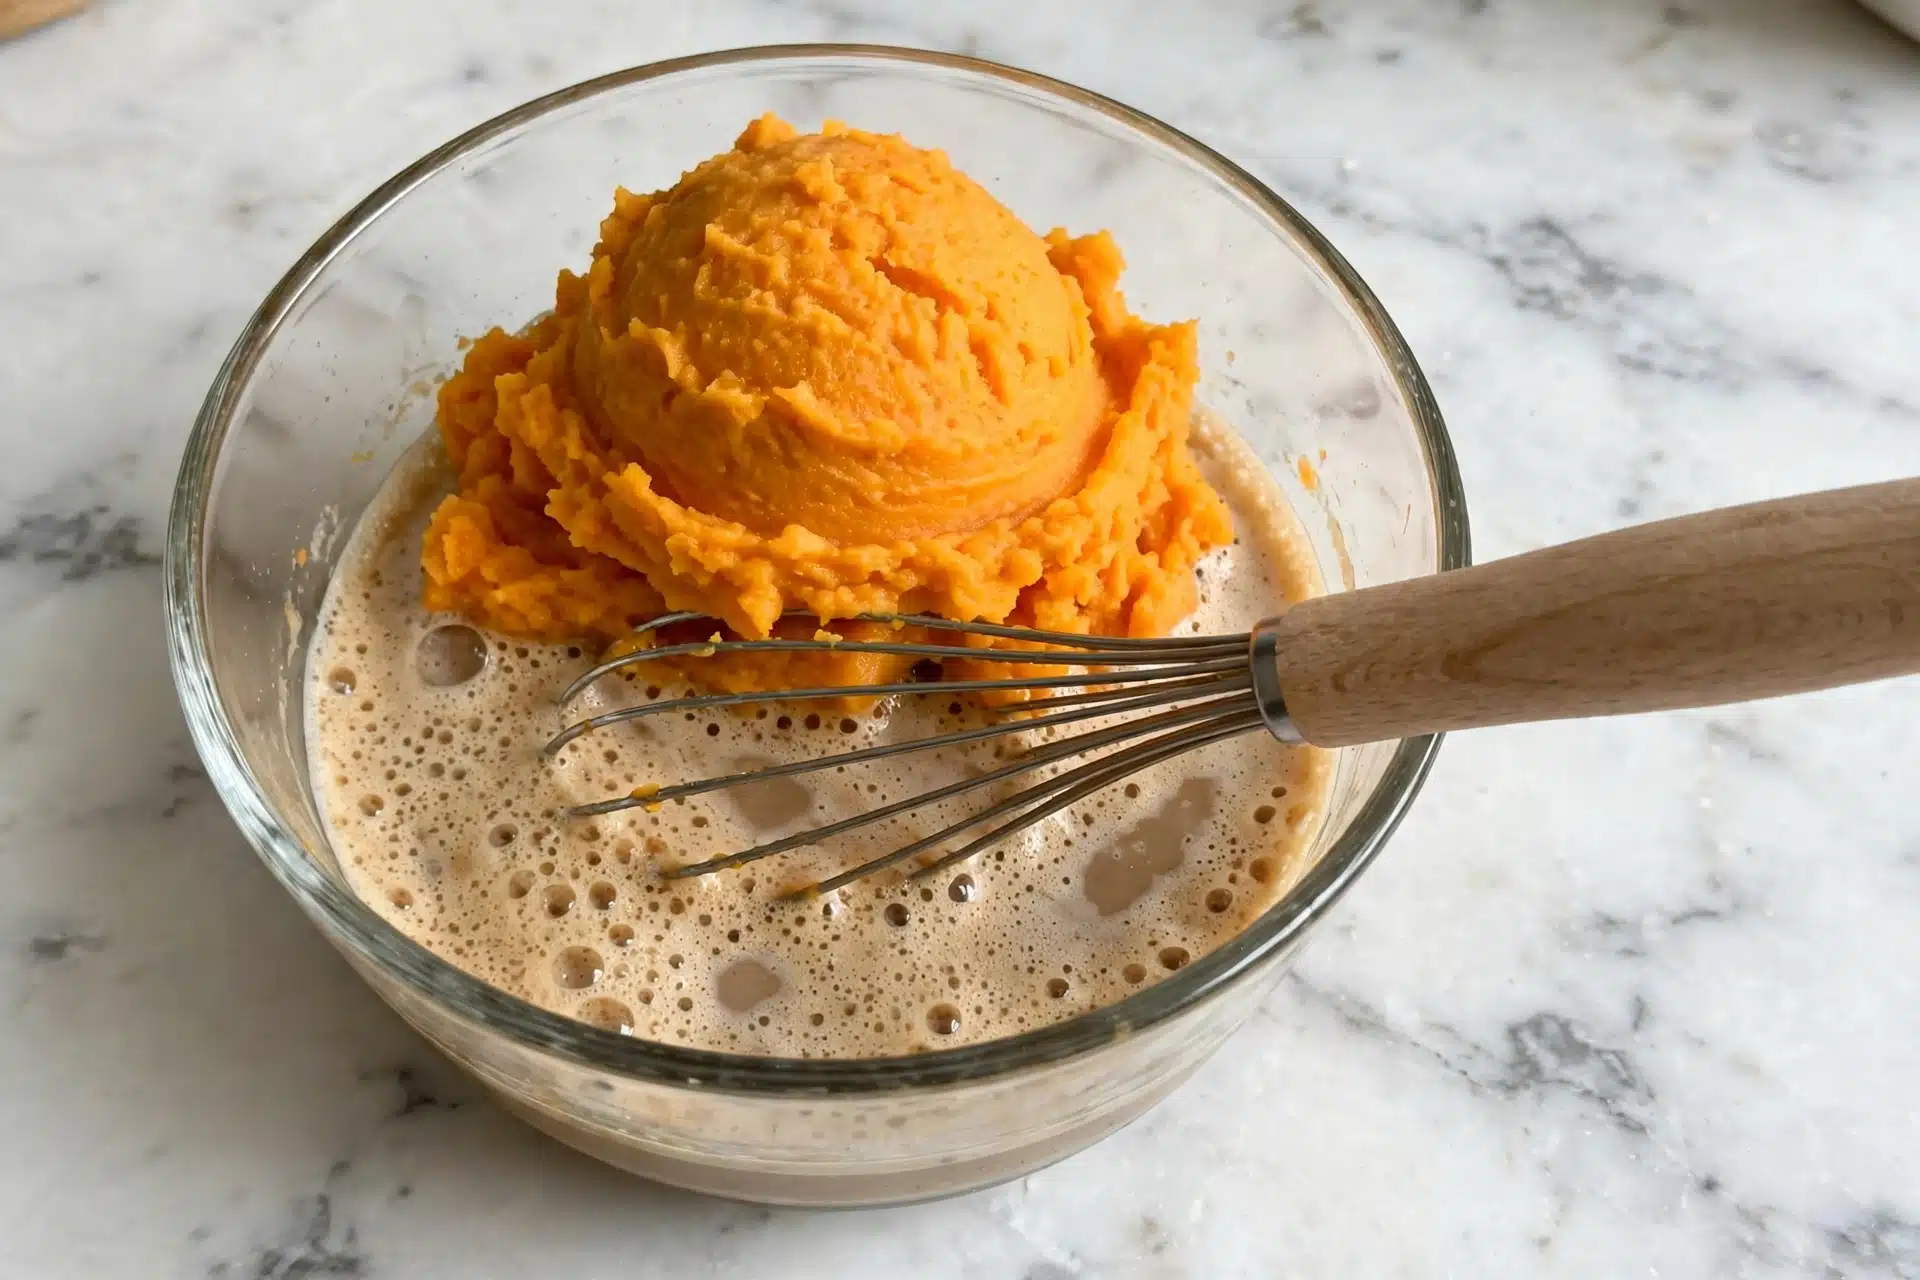
Step 2: In a large bowl, whisk together the two large eggs and one egg yolk with the dark brown sugar, granulated sugar, salt, ground cinnamon, ground ginger, allspice, cloves, cardamom, and the finely grated lemon zest. Mix thoroughly until everything is combined.
Step 3: Stir in the pumpkin purée and heavy cream, whisking gently until the filling is perfectly smooth and homogenous. This ensures a silky texture once baked.
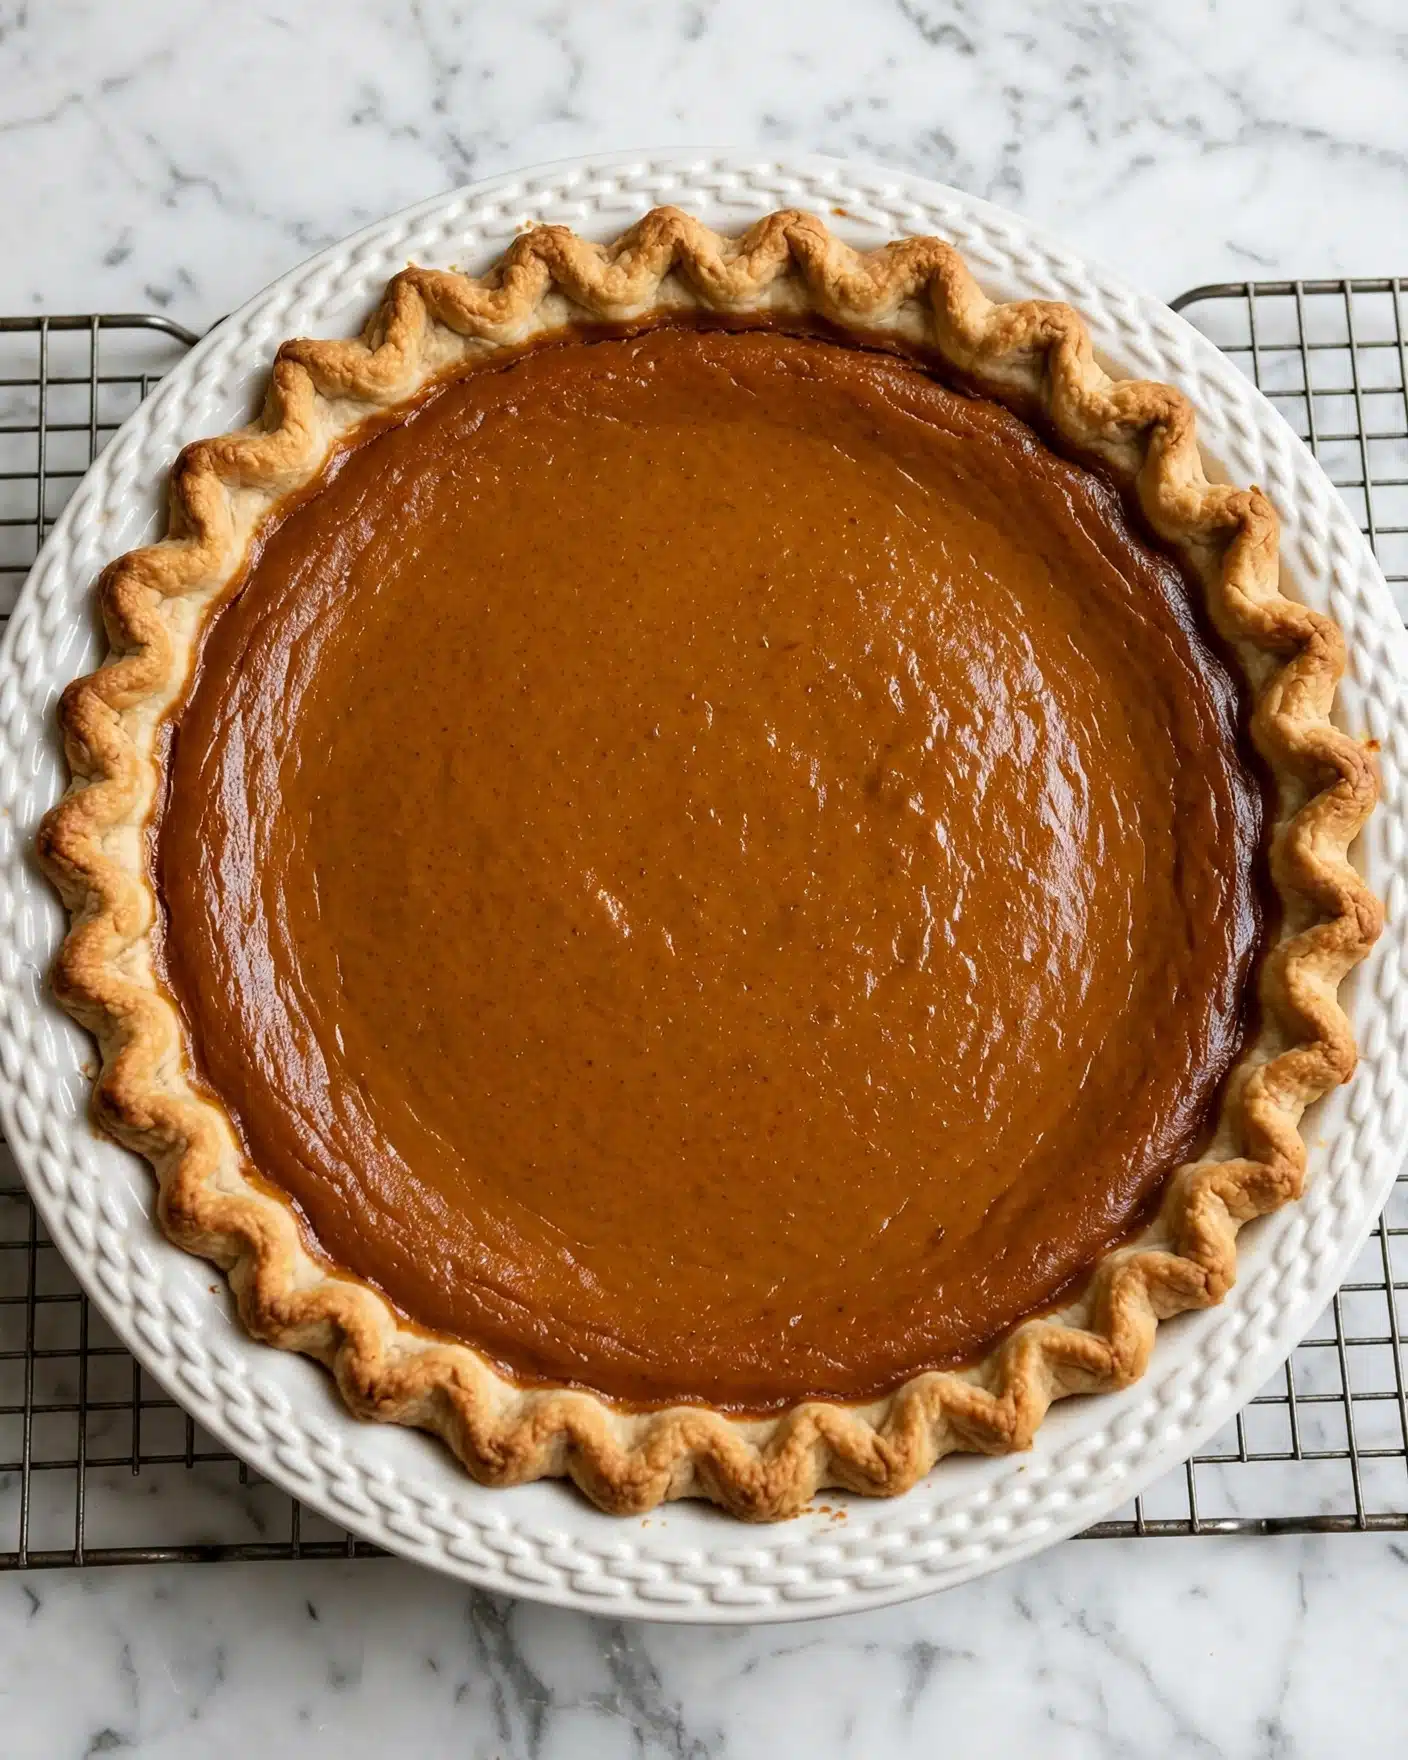
Step 4: Pour the pumpkin mixture into the chilled pie shell. Bake at 425°F for exactly 15 minutes—this initial blast of heat helps set the edges of the filling. After 15 minutes, reduce the oven temperature to 350°F (175°C) and continue baking for another 50 to 60 minutes. Look for the edges to appear set while the center jiggles slightly when you shake the pan gently.
Step 5: Remove the pie from the oven and cool it on a wire rack for about 2 hours before slicing. This resting period lets the filling firm up nicely for clean slices. If you’re not serving immediately, refrigerate the pie until ready to enjoy.
Note: Shield the crust with a strip of foil or a crust protector if it browns too quickly before the filling sets to prevent burning.
Servings and Timing
This Classic Pumpkin Pie Recipe yields about 8 generous slices—perfect for sharing with your nearest and dearest. The preparation time is roughly 20 minutes, but be sure to include the 30 minutes of chilling the crust and the 65 to 75 minutes of baking time. Overall, expect the total active and resting time to be between 1 hour 55 minutes and just over 2 hours, not counting the cooling, which is essential for the perfect texture.
How to Serve This Classic Pumpkin Pie Recipe
When it comes to serving this pie, I love to keep things simple but elegant. A dollop of freshly whipped cream sprinkled with a pinch of cinnamon or nutmeg is my favorite topping because it complements the spicy, creamy filling without overpowering it. For a little extra indulgence, I sometimes add a drizzle of maple syrup or a sprinkle of toasted pecans on top for crunch and nuttiness.
This pie is fantastic served slightly warmed or at room temperature—I personally prefer it chilled on really hot fall days. For presentation, slicing the pie into evenly sized wedges and plating each with a small sprig of fresh sage or a dusting of cinnamon really elevates the experience. It’s a gorgeous dessert for Thanksgiving dinners, festive holiday parties, or even cozy weekend family meals.
Pairing-wise, I’m a fan of a spiced apple cider (hot or cold) or a cozy chai latte to echo the pie’s warming spices. If you prefer wine, a glass of late harvest Riesling or a lightly chilled Pinot Noir creates a lovely balance with the pumpkin’s richness. For an adult twist, a cinnamon-spiked bourbon cocktail can make your dessert feel extra special.
Variations
One of the best things about this Classic Pumpkin Pie Recipe is how easy it is to modify according to your preferences or dietary needs. For a gluten-free version, I simply swap the regular all-butter pie crust for a gluten-free crust, which I find helps those with sensitivities still enjoy every bit of the pie’s charm. I also experimented with a vegan adaptation by using coconut cream instead of heavy cream and a flax egg in place of the eggs. The texture is slightly different but still incredibly satisfying.
If you want to tweak the flavor profile, I sometimes add a splash of bourbon or coffee extract to the filling to deepen the notes. You could also experiment with warming spices like nutmeg or even cardamom in slightly larger amounts if you crave more aromatic complexity. For a lighter filling, I occasionally substitute half of the heavy cream with evaporated milk, which yields a silkier but less rich pie.
For a slightly rustic take, I’ve baked the filling in smaller ramekins instead of a deep-dish pie plate—this creates personal pumpkin custards perfect for intimate gatherings or when I don’t want leftovers. Regardless of the method, this recipe’s core remains foolproof and delicious.
Storage and Reheating
Storing Leftovers
After enjoying your pie, store leftovers in an airtight container or cover the pie tightly with plastic wrap or foil. Keeping it refrigerated is a must to maintain freshness and prevent the dairy from spoiling. Properly stored, your leftover pumpkin pie will stay delicious for up to 4 days, but I always find it’s best eaten sooner because of the crust’s texture.
Freezing
You can freeze this pumpkin pie if you want to prepare ahead for the holidays. Wrap the whole pie tightly in plastic wrap, then cover with aluminum foil to avoid freezer burn. It will keep well for up to 2 months. When you’re ready to enjoy it, thaw the pie overnight in the refrigerator for best results to preserve the pie’s delicate custard texture and crust integrity.
Reheating
To reheat pumpkin pie, I recommend warming individual slices gently in a 325°F oven for 10-15 minutes. This method prevents the filling from drying out or becoming rubbery, which can happen in microwave reheating. If you prefer it chilled or at room temperature, that works just as beautifully depending on your taste preference. Avoid overheating to retain the pie’s perfect balance of creamy filling and crisp crust.
FAQs
Can I use canned pumpkin pie mix instead of plain pumpkin purée?
While canned pumpkin pie mix might seem convenient, I recommend using plain pumpkin purée because the mix already contains sugars and spices. Using plain pumpkin lets you control the sweetness and spice level precisely for the best flavor and texture in this Classic Pumpkin Pie Recipe.
How do I prevent the crust edges from burning?
A simple trick I always use is to cover the crust edges with foil or a pie crust shield about halfway through baking. This protects the edges from over-browning while allowing the filling to finish cooking perfectly.
What does it mean when the pie center “barely jiggles”?
This is your indicator that the custard filling is set but still moist and not overcooked. When you gently shake the pan, the center should move slightly like gelatin but not be loose or liquid. This ensures a creamy, smooth texture once cooled.
Can I make the pie ahead of time?
Absolutely! This pie benefits from chilling, so I often bake it the day before serving. Just keep it refrigerated and slice right before you’re ready to serve. It tastes even better after the flavors have had time to meld together.
Is deep-dish really necessary for this recipe?
I prefer a deep-dish pie plate because it allows a thicker, custard-like filling that’s rich and indulgent, which is classic for pumpkin pie. However, you can make it in a regular pie plate if deep-dish isn’t available; just expect a slightly thinner filling and adjust baking times accordingly.
Conclusion
I truly hope you give this Classic Pumpkin Pie Recipe a try because it’s one of those timeless desserts that never fails to bring joy and warmth to the table. Whether you’re baking it for a holiday feast or just treating yourself, each slice carries the comforting flavors of fall in its simplest, most delicious form. Once I made this pie, it quickly became a beloved staple in my kitchen, and I’m excited for you to experience it the same way!
PrintClassic Pumpkin Pie Recipe

This Classic Pumpkin Pie recipe features a rich, spiced pumpkin filling nestled in a buttery, all-butter deep-dish pie crust. Perfectly baked for a creamy texture with warm notes of cinnamon, ginger, and other fall spices, this pie is an American favorite dessert especially popular during the holiday season.
- Prep Time: 20 minutes
- Cook Time: 65–75 minutes
- Total Time: 1 hour 55 minutes to 2 hours 5 minutes, plus cooling time
- Yield: 1 deep-dish pie, about 8 slices
- Category: Dessert
- Method: Baking
- Cuisine: American
Ingredients
Pie Crust
- 1 unbaked all-butter crust for a 9-inch deep-dish pie
Filling
- 2 large eggs
- 1 large egg yolk
- ½ cup packed dark brown sugar
- ⅓ cup granulated sugar
- ½ tsp salt
- 2 tsp ground cinnamon
- 1 tsp ground ginger
- ¼ tsp ground allspice
- ¼ tsp ground cloves
- ⅛ tsp ground cardamom
- ½ tsp finely grated lemon zest
- 1 can (15 oz) plain pumpkin purée
- 1½ cups heavy cream
Instructions
- Prepare the crust: Fit the unbaked all-butter crust into a 9-inch deep-dish pie plate. Place it in the freezer for at least 30 minutes to chill and firm up, which helps prevent shrinking during baking.
- Preheat the oven: Position a rack in the lower third of your oven and preheat it to 425°F (220°C) to start with a hot environment ensuring a crisp crust.
- Make the filling: In a large bowl, whisk together the 2 large eggs and 1 egg yolk with ½ cup packed dark brown sugar and ⅓ cup granulated sugar. Add ½ tsp salt, 2 tsp ground cinnamon, 1 tsp ground ginger, ¼ tsp ground allspice, ¼ tsp ground cloves, ⅛ tsp ground cardamom, and ½ tsp finely grated lemon zest. Mix in the 15 oz can of pumpkin purée and 1½ cups heavy cream until the filling is smooth and evenly combined.
- Fill and bake: Pour the pumpkin filling into the chilled pie crust. Bake at 425°F (220°C) for 15 minutes to set the crust and begin cooking the filling. Then reduce the oven temperature to 350°F (175°C) and continue baking for another 50–60 minutes until the edges of the filling are set and the center barely jiggles when gently shaken.
- Cool and serve: Remove the pie from the oven and place it on a rack to cool for about 2 hours, allowing the filling to fully set. If not serving immediately, refrigerate the pie to keep it fresh. Before baking, if the crust begins to brown too quickly, shield it with foil to prevent over-browning.
Notes
- If the crust starts to brown before the filling is fully set, cover the edges with foil to protect it during the remainder of baking.
- For best texture, chill the crust prior to filling to reduce shrinking and sogginess.
- Allow the pie to cool completely for optimal slicing and serving.
- Store leftover pie covered in the refrigerator for up to 3–4 days.