
I absolutely adore this Chocolate Chip Skillet Cookie Recipe because it combines everything I love about a classic cookie with the fun and cozy vibe of sharing it straight from a warm skillet. The contrast of crispy edges and a chewy, gooey center makes every bite feel indulgent yet comforting. It’s perfect for when I want an easy-to-make dessert that feels special without the fuss, and I’m excited to share this recipe with you because once you try it, it’ll become a favorite for your gatherings, weekend treats, or those moments when only chocolate chip goodness will do.
Why You’ll Love This Chocolate Chip Skillet Cookie Recipe
What really gets me about this recipe is its incredible balance of flavors and textures. The butter and sugars caramelize slightly during baking, creating a rich, buttery base that perfectly complements the bursts of melty chocolate chips. There’s just something magical about the way the edges crisp up while the center stays soft and inviting. It’s like the ultimate nostalgic cookie experience but on a grander, shareable scale that makes any occasion feel a little more special.
I also appreciate how straightforward and fuss-free this recipe is. It requires ingredients I usually have on hand and comes together quickly, making it a great go-to for last-minute dessert plans. I love pulling out the cast iron skillet for it because it brings such a rustic charm to the table and keeps the cookie warm — making every serving a cozy, satisfying bite. Whether it’s a casual weeknight or a holiday party, this cookie recipe stands out because it looks stunning and tastes even better.
Ingredients You’ll Need
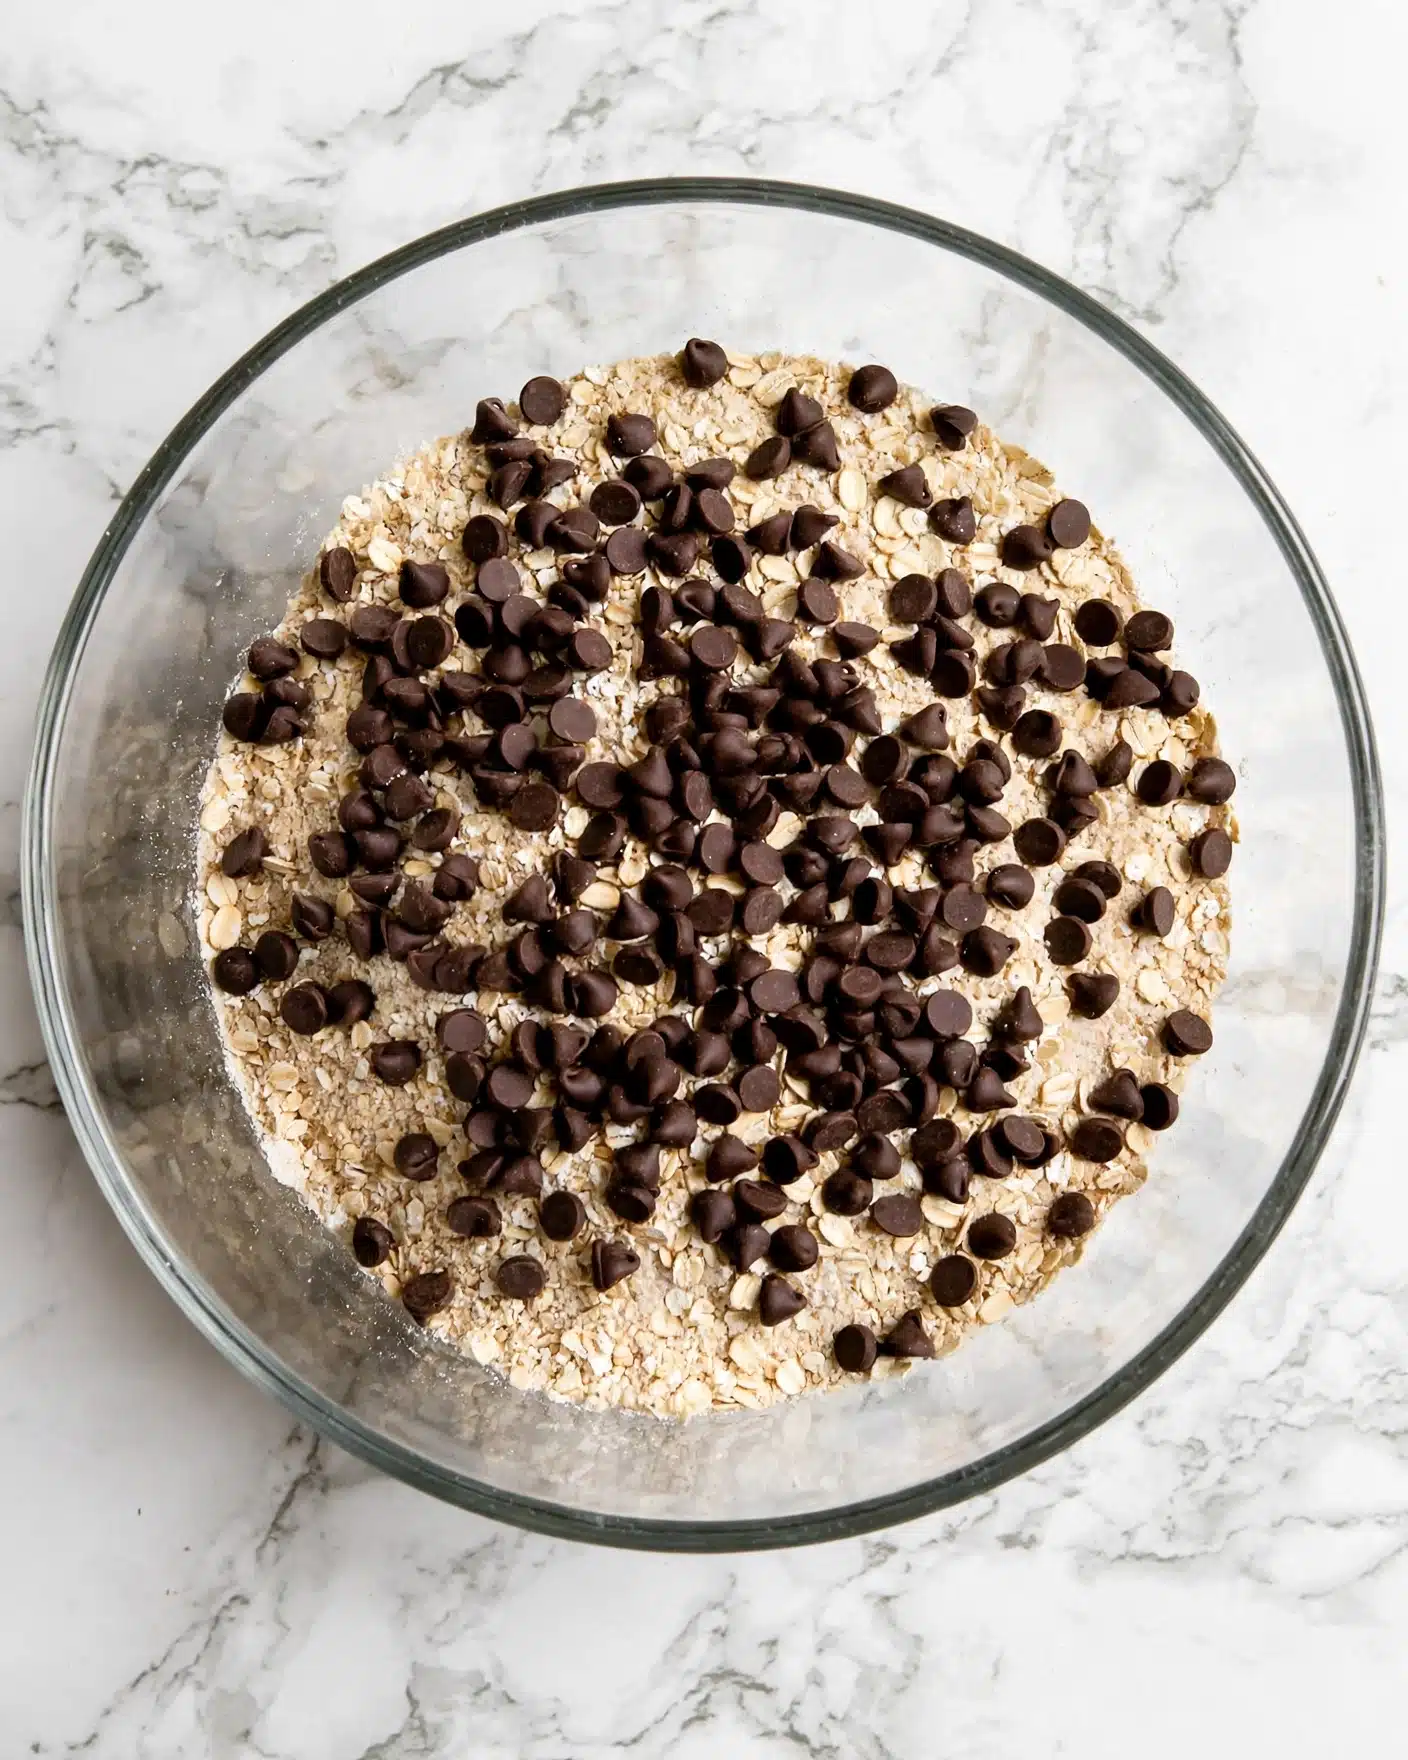
Every ingredient in this recipe plays a crucial role in making the cookie so irresistible. From the richness of melted butter to the delicate balance between brown and granulated sugar, each component contributes to the taste, texture, and color. Here’s what you’ll need to gather before you get started:
- Butter (12 Tablespoons): Melted and cooled, it adds decadent flavor and a tender crumb.
- Light brown sugar (1 cup): Gives moisture and that subtle caramel depth.
- Granulated sugar (1/2 cup): Adds sweetness and helps with that slight crispiness on the edges.
- Large egg (1) and egg yolk (1): Provide structure and richness for the perfect chewy texture.
- Vanilla extract (2 teaspoons): Using real vanilla enhances the overall flavor.
- All-purpose flour (2 cups + 2 tablespoons): The foundation for the cookie’s structure.
- Baking soda (1/2 teaspoon): Helps the cookie rise slightly without becoming cakey.
- Salt (1/2 teaspoon): Balances sweetness and accentuates flavors.
- Semi-sweet chocolate chips (1 1/2 cups): I love mixing half semi-sweet and half milk chocolate for extra depth.
Directions
Step 1: Preheat your oven to 325 degrees Fahrenheit. This moderate temperature helps the cookie bake evenly without burning the edges.
Step 2: Melt the butter in a microwave-safe bowl by heating it for about 45 seconds until most of it is melted. Then let it cool for a few minutes until it’s warm but not hot, which helps the sugars blend smoothly.
Step 3: In a medium bowl, combine the melted butter with both the granulated sugar and brown sugar. Using an electric mixer, beat them together until the mixture becomes well blended and slightly creamy.
Step 4: Add the egg, egg yolk, and vanilla extract to the bowl and mix again until everything is thoroughly combined. This step ensures your cookie dough will be rich and smooth.
Step 5: Stir in the flour, baking soda, and salt just until combined. Avoid over-mixing here; you want the dough to stay tender. Gently fold in the chocolate chips so they’re evenly distributed throughout the dough.
Step 6: Press the dough evenly into a 10 or 12-inch cast iron skillet. If you don’t have cast iron, any oven-safe skillet will work fine. Pressing it evenly ensures it bakes uniformly.
Step 7: Bake for 28 to 35 minutes or until the top looks just barely golden. Watch carefully near the end because you don’t want to over-bake it. The cookie will continue to cook a bit in the hot skillet once you remove it from the oven.
Step 8: Let the cookie cool in the skillet for at least 20 to 30 minutes. This resting time is important as it allows the cookie to set, making it easier to slice and enhancing the texture.
Step 9: Once cooled slightly, slice the cookie into generous wedges. If you want to elevate it even more, serve warm with a scoop of vanilla ice cream on top for that sublime melty combination.
Servings and Timing
This Chocolate Chip Skillet Cookie Recipe makes about 15 servings, which is perfect for sharing with family or friends. The prep time is quick, roughly 10 minutes, which I love for a fast treat. Baking takes around 30 minutes, and cooling requires an additional 20 to 30 minutes, making the total time about 60 to 70 minutes from start to finish. The resting period is key to getting that perfect sliceable texture.
How to Serve This Chocolate Chip Skillet Cookie Recipe
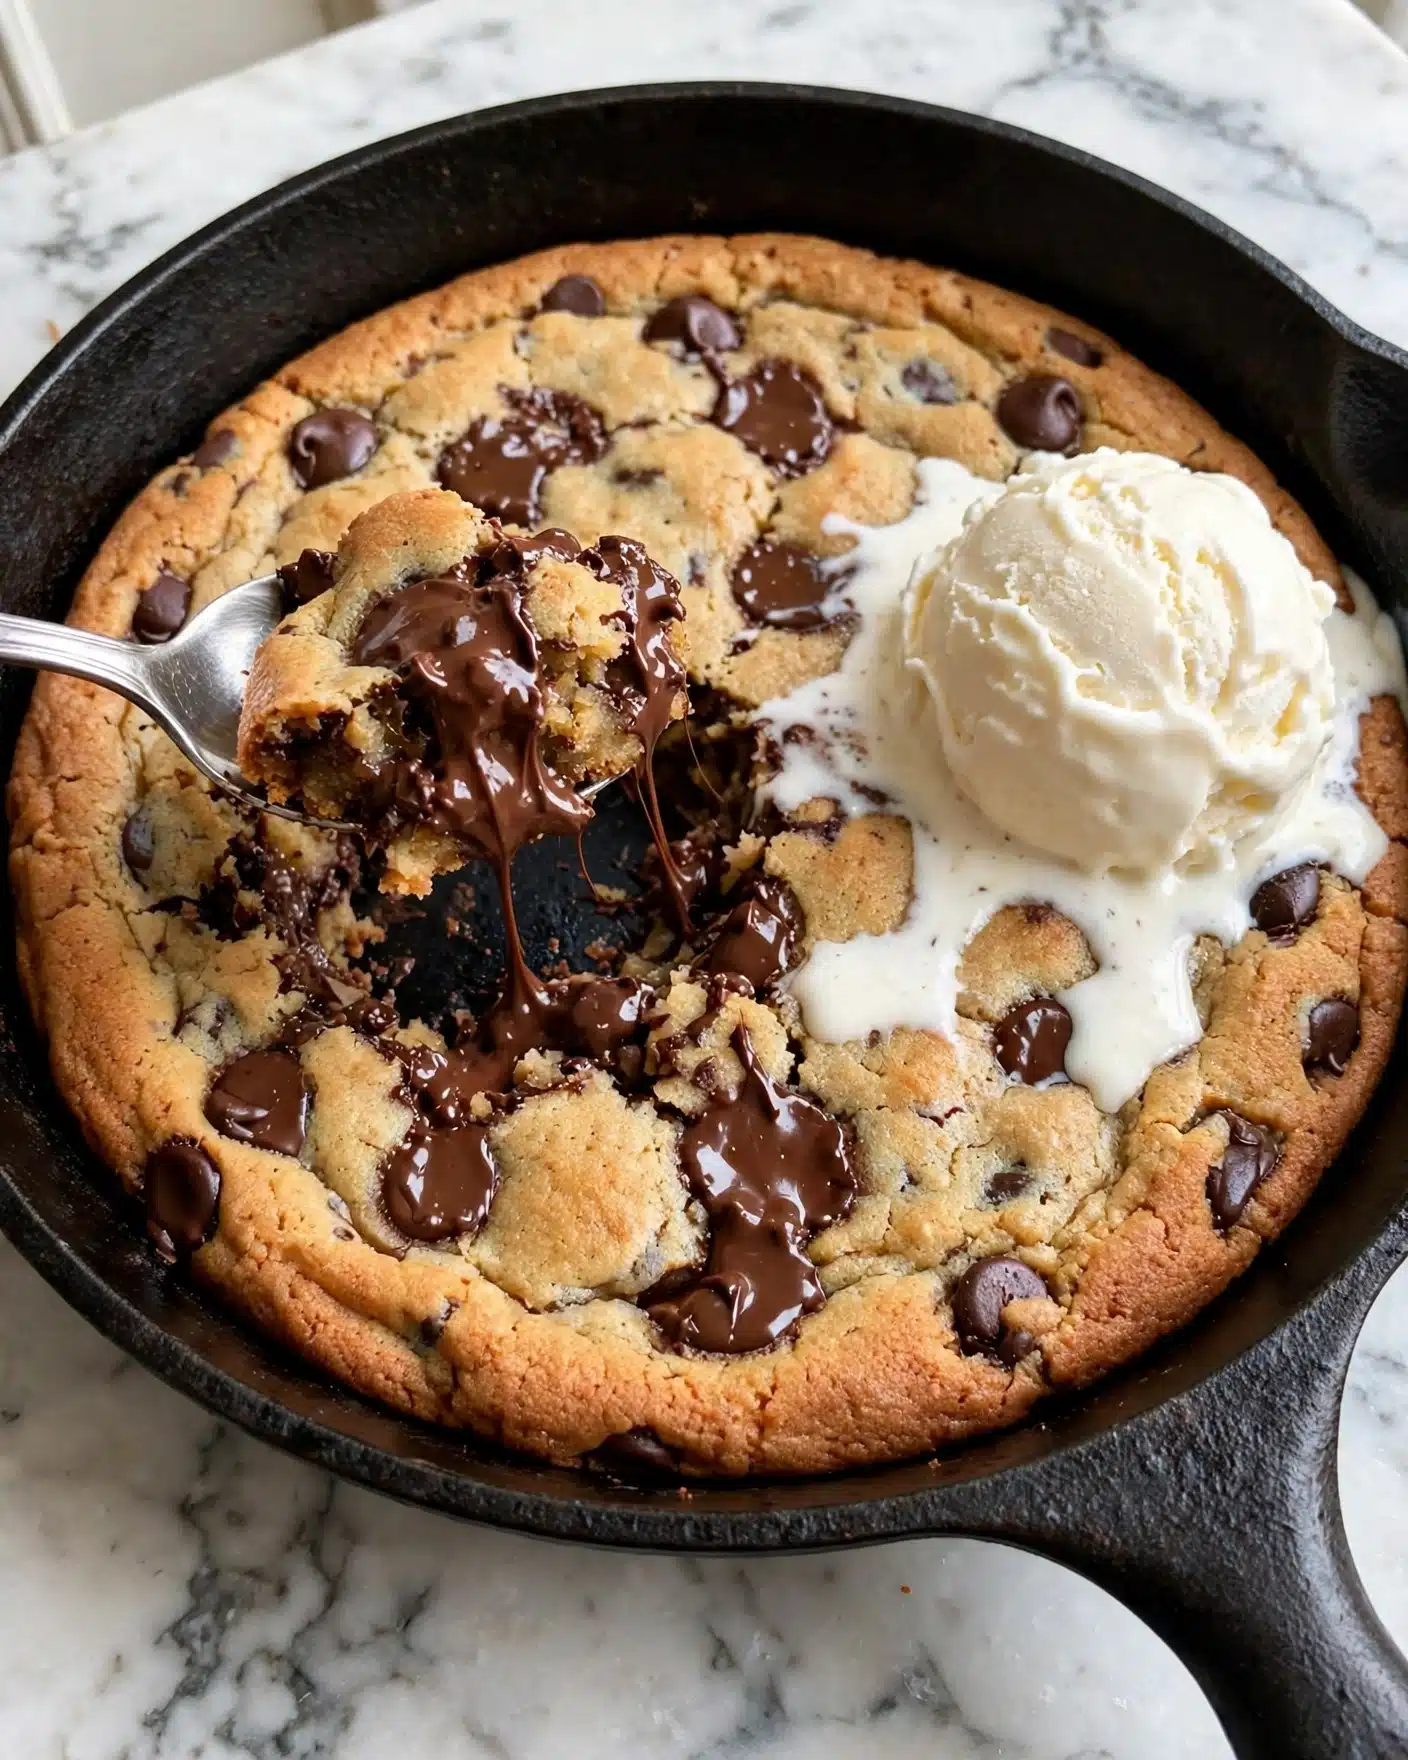
When I serve this cookie, I love to keep things simple and comforting. A scoop of vanilla ice cream on top is my absolute favorite way to enjoy it—the cold cream melting into the warm cookie creates a luscious flavor contrast. Sometimes I also drizzle a little caramel or chocolate sauce to amp up the indulgence for a special occasion.
If you want to dress it up for guests, I suggest garnishing with a sprinkle of flaky sea salt to balance the sweetness or some chopped toasted nuts for added crunch and complexity. Presenting the cookie right in the skillet at the table keeps it warm and adds a rustic, inviting touch that makes everyone want to dig in.
For beverage pairings, I personally adore this cookie with a rich cup of coffee or a creamy hot chocolate for cozy nights in. For adult gatherings, it pairs beautifully with a glass of dessert wine or a smooth bourbon cocktail. And no matter the occasion—be it a casual family dinner, a lively holiday party, or a relaxed weekend treat—serving this cookie warm makes it feel homemade and extra special.
Variations
One of the joys of this Chocolate Chip Skillet Cookie Recipe is how easy it is to make it your own. For example, I sometimes substitute half the all-purpose flour for almond flour to add a subtle nutty flavor and a slightly denser texture. If you need it gluten-free, just swap the regular flour for a good-quality gluten-free blend, and you won’t miss a thing.
If you’re vegan or dairy-free, I recommend using a plant-based butter substitute and flax eggs (ground flaxseed mixed with water) instead of real eggs. The texture might be a touch different but still wonderfully chewy and satisfying. For chocolate variations, mixing in chunks of dark chocolate, white chocolate chips, or even peanut butter chips can completely elevate the cookie experience.
For a different cooking method, you can also try making individual cookie “pies” in ramekins if you want personal portions or slightly crispier edges. Either way, experimenting with add-ins and styles keeps this cookie fresh and exciting for me every time I bake it.
Storage and Reheating
Storing Leftovers
I usually store leftover cookie slices in an airtight container at room temperature for up to 3 days. Using a container that seals well helps keep the cookie moist and soft. If you want to maintain the texture, placing a slice of bread in the container can actually help keep the cookie from drying out.
Freezing
This cookie freezes wonderfully! I recommend slicing it first, then wrapping each piece tightly in plastic wrap and placing them in a freezer-safe container or resealable bag. It will keep well for up to 2 months. When you’re ready to enjoy it, thaw the piece overnight in the fridge or at room temperature for quicker access.
Reheating
To reheat, I pop individual slices into a preheated oven at 300 degrees Fahrenheit for about 5 to 7 minutes. This brings back the warm, melty texture without drying the cookie out. Avoid microwaving as it tends to make the texture too soft and sometimes a bit rubbery. Warming in the oven preserves that delightful contrast between crisp edges and chewy center.
FAQs
Can I use a regular baking pan instead of a cast iron skillet?
Yes, absolutely! Although a cast iron skillet gives the cookie its signature rustic edge and retains heat well to keep the cookie warm, any oven-safe skillet or even a round baking pan will work. Just make sure it’s about 10 to 12 inches in diameter for even baking.
How do I know when the skillet cookie is done baking?
Look for a top that is just starting to turn golden brown and edges that look set. The center might still appear slightly soft or underbaked—that’s perfect because the residual heat from the skillet continues to cook the cookie once it’s out of the oven. Avoid over-baking to keep the gooey texture.
Can I make this ahead of time?
Yes! You can prepare the dough a day in advance and keep it covered in the refrigerator. When you’re ready, just press it into the skillet and bake as usual. This can even deepen the flavors as the dough rests overnight.
What’s the best way to avoid a dry or crumbly cookie?
The key is not to overbake and to include both brown and granulated sugars, which provide moisture and chewiness. Also, be careful not to overmix the dough once you add flour to avoid developing gluten, which could make the cookie tough.
Can I add nuts or other mix-ins?
Definitely! I love adding chopped walnuts, pecans, or even shredded coconut for extra texture and flavor. Just fold them in with the chocolate chips during mixing, and feel free to experiment with your favorite additions.
Conclusion
I hope you feel inspired to whip up this Chocolate Chip Skillet Cookie Recipe because it truly is one of those effortless yet unforgettable desserts that brings people together. Whether you want something quick to satisfy a cookie craving or a shareable sweet for your next gathering, this skillet cookie hits all the right notes. Trust me, once you try it warm with melting vanilla ice cream, you’ll be hooked just like I am. Enjoy every gooey, chocolatey bite!
PrintChocolate Chip Skillet Cookie Recipe
This delicious Chocolate Chip Skillet Cookie is a warm, gooey treat perfect for sharing. Made with melted butter, brown and granulated sugars, rich chocolate chips, and baked to golden perfection in a cast iron skillet, it offers a chewy texture and melty chocolate experience. Ideal as a comforting dessert, served warm, optionally topped with vanilla ice cream.
- Prep Time: 10 minutes
- Cook Time: 30 minutes
- Total Time: 40 minutes
- Yield: 15 servings
- Category: Dessert
- Method: Baking
- Cuisine: American
Ingredients
Wet Ingredients
- 12 Tablespoons butter (1 1/2 sticks melted and cooled until warm, 170 g)
- 1 large egg
- 1 egg yolk
- 2 teaspoons vanilla extract (10 ml)
Dry Ingredients
- 1 cup light brown sugar (200 g)
- 1/2 cup granulated sugar (100 g)
- 2 cups + 2 Tablespoons all-purpose flour (255 g)
- 1/2 teaspoon baking soda (2.5 g)
- 1/2 teaspoon salt (3 g)
Add-ins
- 1 1/2 cups semi-sweet chocolate chips (255 g) (half semi-sweet and half milk chocolate recommended)
Instructions
- Preheat Oven: Heat your oven to 325 degrees Fahrenheit to prepare for baking the cookie skillet.
- Melt Butter: Place butter in a microwave-safe bowl and microwave for about 45 seconds until mostly melted. Let it cool for a few minutes until warm.
- Mix Sugars and Butter: In a medium bowl, combine melted butter, granulated sugar, and brown sugar. Beat with an electric mixer until well blended and smooth.
- Add Eggs and Vanilla: Incorporate the large egg, egg yolk, and vanilla extract into the sugar mixture and mix until fully combined.
- Combine Dry Ingredients: Stir together flour, baking soda, and salt. Add these dry ingredients to the wet mixture and mix just until combined to avoid overworking the dough.
- Fold in Chocolate Chips: Gently stir the chocolate chips into the cookie dough for even distribution.
- Prepare Skillet and Bake: Press the cookie dough evenly into a 10- or 12-inch cast iron skillet or any oven-safe skillet. Bake in the preheated oven for 28-35 minutes, watching for a barely golden top. Avoid over-baking as the cookie will continue to cook in the hot skillet after removal.
- Cool: Remove skillet from the oven and allow the cookie to cool for at least 20-30 minutes to set properly before slicing.
- Serve: Cut the cookie into slices and serve warm, optionally topped with a scoop of vanilla ice cream for an extra indulgent treat.
Notes
- Using a cast iron skillet yields the best crust and even cooking, but any oven-safe skillet will work.
- Let the melted butter cool slightly before mixing to prevent cooking the eggs.
- Do not over-mix the dough once flour is added to maintain a tender texture.
- The cookie continues to cook in the hot skillet after baking, so it’s better to slightly underbake.
- Allowing the cookie to cool in the skillet helps it set and makes it easier to slice.
- For best flavor, use a combination of semi-sweet and milk chocolate chips.
- Serve warm with vanilla ice cream for a classic dessert experience.


