I absolutely love this Cheesy Cauliflower Breadsticks Recipe because it offers the perfect low-carb twist on a classic favorite, combining the comforting flavors of melty cheese and savory herbs with the unexpected texture of cauliflower. Whenever I make these, I feel like I’m indulging in something both delicious and wholesome, making it a go-to snack or side dish that impresses my family and friends alike.
Why You’ll Love This Cheesy Cauliflower Breadsticks Recipe
What excites me most about this recipe is how the flavors come together so beautifully—the garlic, oregano, and mozzarella create a rich, cheesy experience that’s both comforting and fresh. The subtle nuttiness of the cauliflower perfectly complements the cheese without overwhelming the taste buds, making each bite satisfying and balanced. It’s a wonderful way to enjoy breadsticks with a slightly lighter, veggie-packed twist.
From my perspective, the ease of preparation really sets this recipe apart. Using riced cauliflower as a base means you can whip it up quickly, especially if you have a food processor on hand. Plus, these breadsticks bake into a golden, crispy crust that holds up well, making them perfect for everything from casual weeknight dinners to entertaining guests. I love making these for game day snacks or as a unique appetizer that always gets compliments!
Ingredients You’ll Need
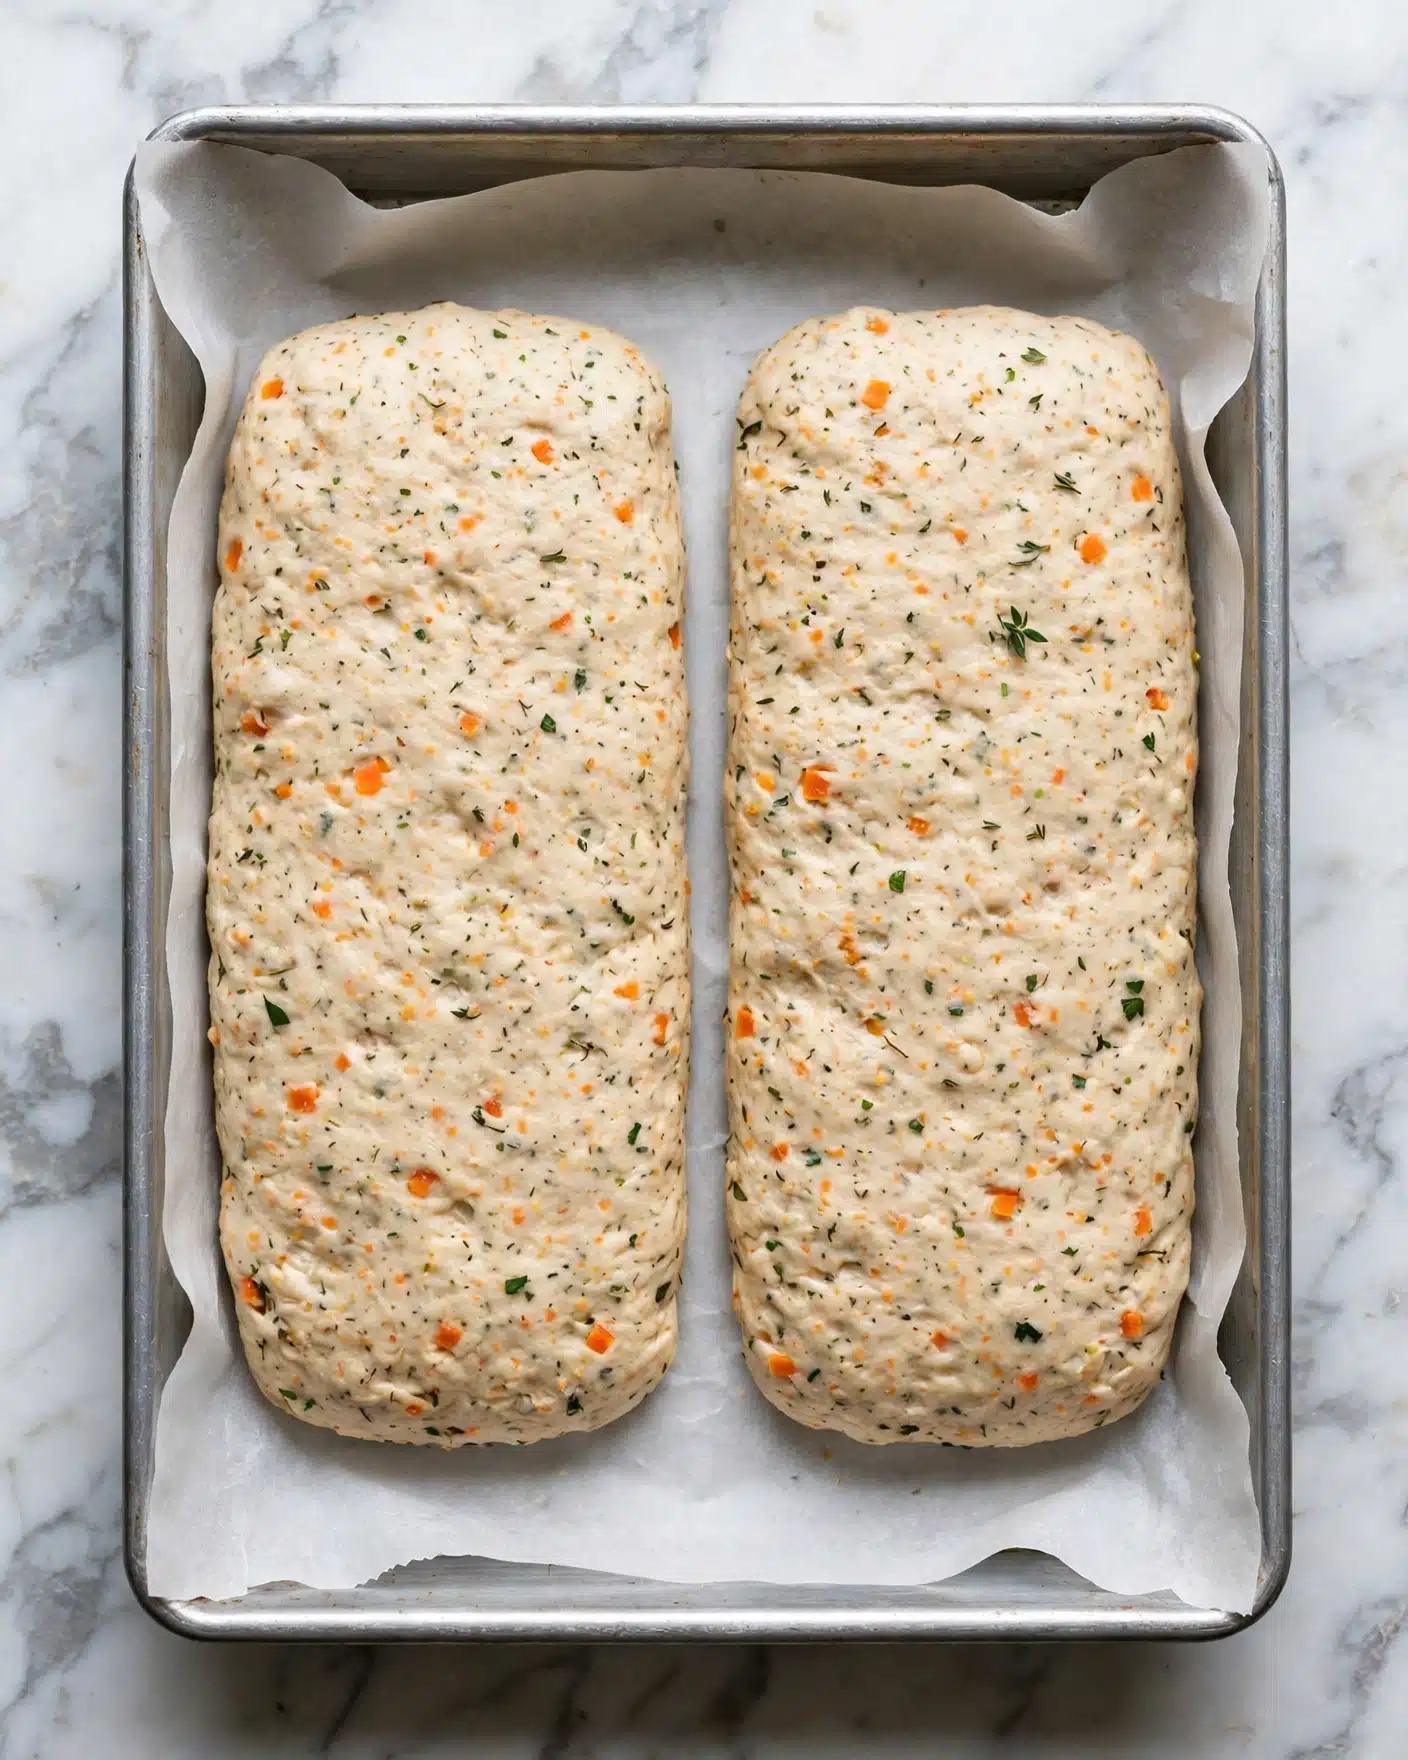
These ingredients are simple but essential, each bringing something special to the table—whether it’s flavor, texture, or just that perfect golden color that makes these breadsticks irresistible. I always appreciate how straightforward the list is, yet it yields such a delightful result.
- 4 cups cauliflower (riced): The star of the dish, providing a tender base with a light, nutty flavor.
- 4 large eggs: These bind all the ingredients together to create a sturdy, bread-like texture.
- 2 cups mozzarella cheese: I used a Tex Mex blend for a nice mix of richness and meltiness throughout the base.
- 3 teaspoons oregano: This herb adds a lovely aromatic punch that complements the garlic beautifully.
- 4 cloves garlic (minced): Essential for building savory depth and fragrance.
- Salt and pepper (to taste): Simple seasonings that enhance every flavor in the breadsticks.
- 1 cup mozzarella cheese (or more for topping): For that irresistibly gooey, bubbly cheesy finish.
Directions
Step 1: Preheat your oven to 425℉ and prepare two pizza dishes or a large baking sheet lined with parchment paper—this makes for easy cleanup and prevents sticking.
Step 2: Roughly chop your cauliflower into florets and add them to a food processor. Pulse until the cauliflower resembles rice grains—this is the crucial step to get that perfect cauliflower texture.
Step 3: Place the riced cauliflower in a microwavable container with a lid and microwave for 10 minutes. Allow it to cool just enough so there’s no steam left. This step softens the cauliflower and helps remove excess moisture for a firmer crust.
Step 4: Transfer the cooled cauliflower to a large bowl. Add the eggs, 2 cups of mozzarella cheese, oregano, minced garlic, salt, and pepper. Mix everything thoroughly so the ingredients are evenly combined, forming a dough-like mixture.
Step 5: Divide the mixture in half and shape each portion onto your prepared baking sheets. You can shape them as pizza crusts or in a rectangular breadstick form—whichever you prefer!
Step 6: Bake the crusts without any topping for about 25 minutes, or until they turn a beautiful golden brown. Don’t worry if they seem firm and not soggy—that means they’re just right.
Step 7: Remove from the oven and immediately sprinkle the remaining 1 cup of mozzarella on top. Pop them back into the oven for another 5 minutes, allowing the cheese to melt and get nice and bubbly.
Step 8: Let your cheesy cauliflower breadsticks cool slightly, then slice and serve warm. Trust me, they disappear fast!
Servings and Timing
This recipe makes about 8 generous servings, perfect for sharing with family or friends. Prep time usually takes around 15 minutes, mostly because of the cauliflower ricing and cooling process. Baking time is about 30 minutes total, including the initial crust baking and the final cheese melt. All told, you’re looking at about 45 to 50 minutes from start to finish, giving you a satisfying homemade snack that’s well worth the wait.
How to Serve This Cheesy Cauliflower Breadsticks Recipe
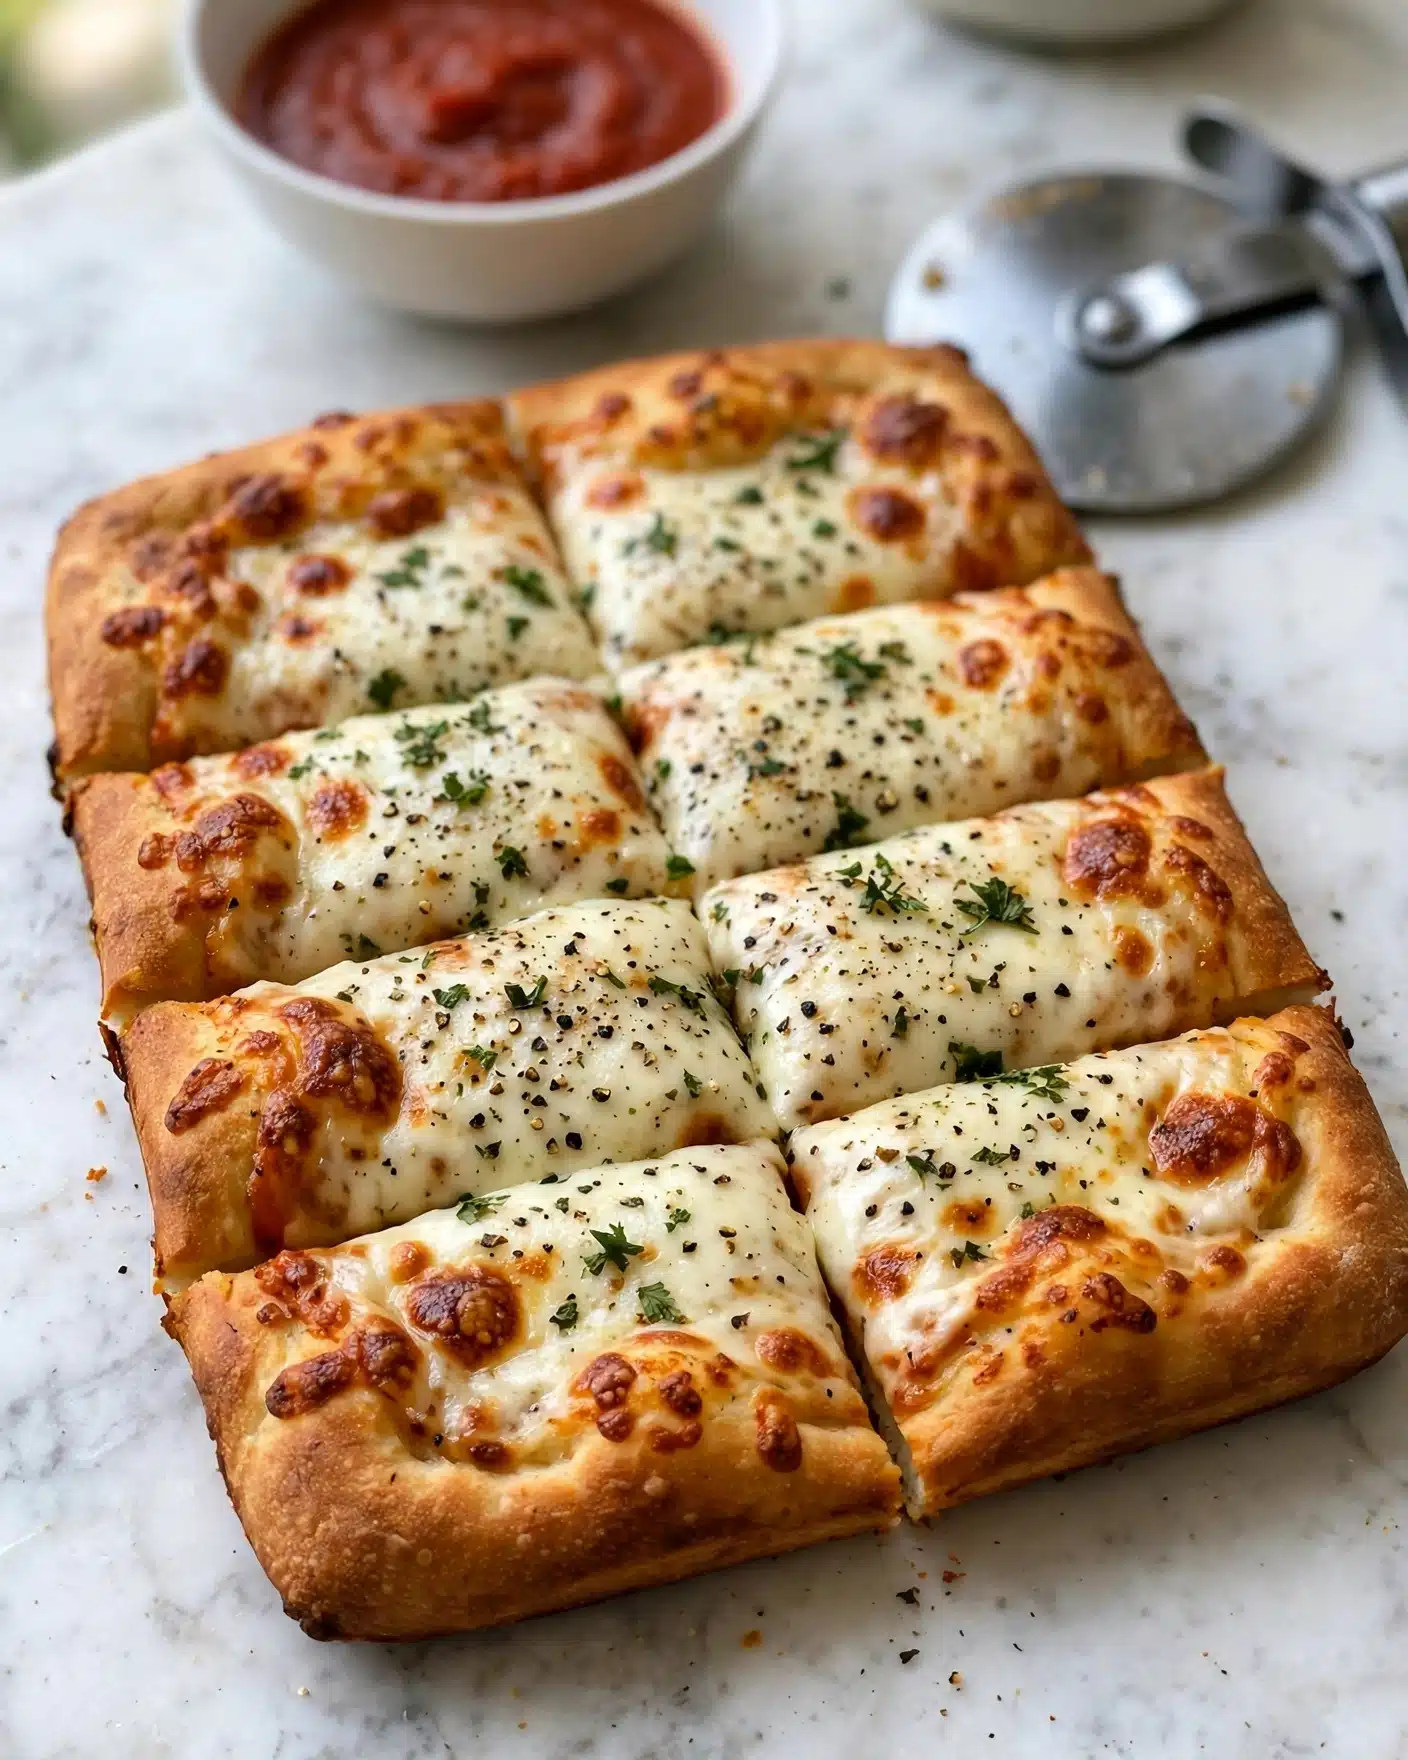
When I serve these Cheesy Cauliflower Breadsticks, I love pairing them with a zesty marinara or a garlic-infused olive oil dip—that warm, tangy contrast elevates the cheesy goodness beautifully. They also make an amazing side to a fresh Caesar salad or alongside my favorite homemade soup, adding a comforting touch to any meal.
For presentation, I recommend garnishing with some freshly chopped parsley or basil leaves to add a pop of vibrant green and a fragrant lift. If you want to get a little extra fancy, a light drizzle of balsamic glaze can create a perfect balance between sweet and savory, making them a feast for both the eyes and palate.
As for drinks, these breadsticks are fantastic with a crisp, chilled white wine like Pinot Grigio or Sauvignon Blanc. If you prefer non-alcoholic options, a sparkling water with a hint of lemon or a freshly brewed iced tea pairs wonderfully. These breadsticks are incredibly versatile, making them ideal for casual weeknight dinners, cozy family gatherings, or even holiday parties, where they always receive compliments. I find them best served warm, right out of the oven, but they’re still delicious at room temperature if you’re prepping in advance.
Variations
I love experimenting with this recipe to suit different tastes and dietary needs. For example, if you want to boost the flavor, try stirring in some finely chopped sun-dried tomatoes or caramelized onions into the mix before baking. Adding herbs like rosemary or thyme can also give it a fresh twist.
If you’re gluten-free or keto, this recipe fits perfectly; cauliflower naturally keeps the breadsticks low in carbs. For a vegan version, I recommend replacing the eggs with a flaxseed egg (1 tablespoon ground flaxseed + 3 tablespoons water) and using vegan mozzarella cheese alternatives. Just keep in mind the texture might be slightly different, but still delicious.
For a different cooking method, I’ve occasionally finished these breadsticks on the grill after baking to add a subtle smoky flavor and crisp up the edges even more. It’s a fun way to make them feel extra special for summer cookouts or pizza nights!
Storage and Reheating
Storing Leftovers
When I have leftovers, I like to store them in an airtight container in the refrigerator. They usually keep well for up to 3 days. Make sure the breadsticks are completely cooled before sealing them to avoid any sogginess caused by steam.
Freezing
You absolutely can freeze these cheesy cauliflower breadsticks! I recommend laying them out on a baking sheet lined with parchment paper and freezing until solid (about 1-2 hours), then transferring them to a freezer-safe bag or container. They’ll last up to 2 months in the freezer without losing too much texture or flavor.
Reheating
To reheat, I find the best method is to preheat your oven to 350℉ and warm the breadsticks on a baking sheet for about 10 minutes, which helps restore their crispiness and melts the cheese just right. Avoid microwaving if possible, as this can make them soft or chewy, which is not quite as enjoyable.
FAQs
Can I use frozen cauliflower instead of fresh for this recipe?
Yes, you can, but it’s important to thaw and thoroughly drain the frozen cauliflower before using it. Excess water can make the breadsticks soggy, so squeezing out moisture with a towel helps maintain the best texture.
What if I don’t have a food processor to rice the cauliflower?
No worries! You can grate the cauliflower finely with a box grater, or pulse it in a blender in small batches. Just be careful not to over-process it into mush.
Can I add other cheeses to the recipe?
Absolutely! I like combining mozzarella with Parmesan for a sharper flavor or mixing in some cheddar for extra gooeyness and tang. Just keep the total cheese amount around the recipe’s recommendation to maintain the right binding and texture.
Is this recipe suitable for kids?
Definitely! The cheesy, flavorful breadsticks are usually a big hit with kids. You can make them more fun by cutting them into smaller, finger-friendly sizes and pairing with a mild marinara sauce for dipping.
How do I know when the breadsticks are done baking?
Look for a golden-brown color on the crust and a firm texture when you gently press the breadsticks. The cheese on top should be melted and bubbling after the final baking step. If they wobble or feel too soft, give them a few more minutes in the oven.
Conclusion
I’m genuinely excited for you to try this Cheesy Cauliflower Breadsticks Recipe because it’s one of those dishes that feels both indulgent and nourishing at the same time. It’s comforting, easy to make, and impressively versatile—perfect for sharing or enjoying as a special treat just for yourself. Happy baking and even happier eating!
PrintCheesy Cauliflower Breadsticks Recipe
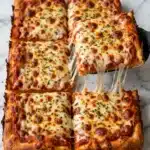
Delicious and healthy Cheesy Cauliflower Breadsticks made with riced cauliflower, mozzarella cheese, eggs, garlic, and oregano. These low-carb breadsticks offer a gluten-free alternative for pizza lovers, baked to a golden perfection with a gooey cheese topping.
- Prep Time: 15 minutes
- Cook Time: 35 minutes
- Total Time: 50 minutes
- Yield: 8 servings
- Category: Appetizer
- Method: Baking
- Cuisine: American
- Diet: Gluten Free
Ingredients
Cauliflower Base
- 4 cups cauliflower (riced, about 1 large head of cauliflower)
- 4 large eggs
- 2 cups mozzarella cheese (Tex Mex blend recommended)
- 3 teaspoons oregano
- 4 cloves garlic (minced)
- Salt and pepper (to taste)
Topping
- 1 cup mozzarella cheese (or more, for topping)
Instructions
- Preheat Oven: Preheat your oven to 425°F (220°C). Prepare two pizza pans or a large baking sheet by lining them with parchment paper for easy cleanup and to prevent sticking.
- Rice the Cauliflower: Chop the cauliflower into small florets and pulse them in a food processor until the texture resembles rice grains. This will help create the base for the breadsticks.
- Cook the Cauliflower: Place the riced cauliflower in a microwavable container with a lid and microwave for 10 minutes. Once done, let it cool enough to release steam but still warm.
- Mix the Dough: Transfer the cooked cauliflower to a large mixing bowl and add the eggs, 2 cups mozzarella cheese, oregano, minced garlic, salt, and pepper. Stir thoroughly to combine all ingredients into a dough-like mixture.
- Shape the Breadsticks: Divide the mixture into two equal parts. Spread and shape each portion onto the prepared baking sheets, either as a pizza crust or shaped rectangularly as breadsticks.
- Bake the Crust: Bake the crust for about 25 minutes or until it turns a nice golden brown and feels firm to the touch. This step ensures the base cooks through and isn’t soggy.
- Add Topping and Finish Baking: Remove the baked crusts from the oven, sprinkle evenly with the remaining 1 cup mozzarella cheese, then return to the oven and bake for another 5 minutes or until the cheese melts and bubbles.
- Slice and Serve: Once baked, remove from the oven, slice into breadsticks or pizza slices, and serve warm as a tasty snack or side dish.
Notes
- Make sure to properly rice the cauliflower to achieve a good base texture.
- Microwaving the cauliflower helps remove excess moisture, essential to prevent sogginess.
- You can use a Tex Mex cheese blend or pure mozzarella for a different flavor profile.
- These breadsticks are gluten-free and a great low-carb alternative to traditional breadsticks.
- Adjust seasoning like salt, pepper, and oregano according to taste.
- For a crispier crust, you can broil the cheese topping for an additional 1-2 minutes but watch closely to avoid burning.