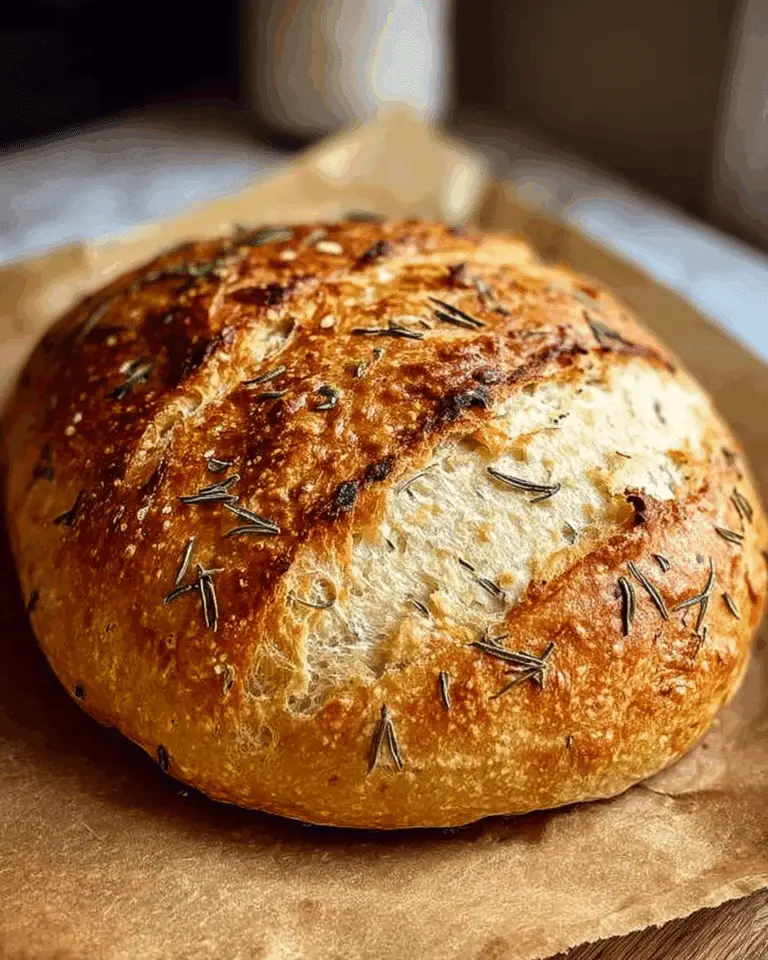
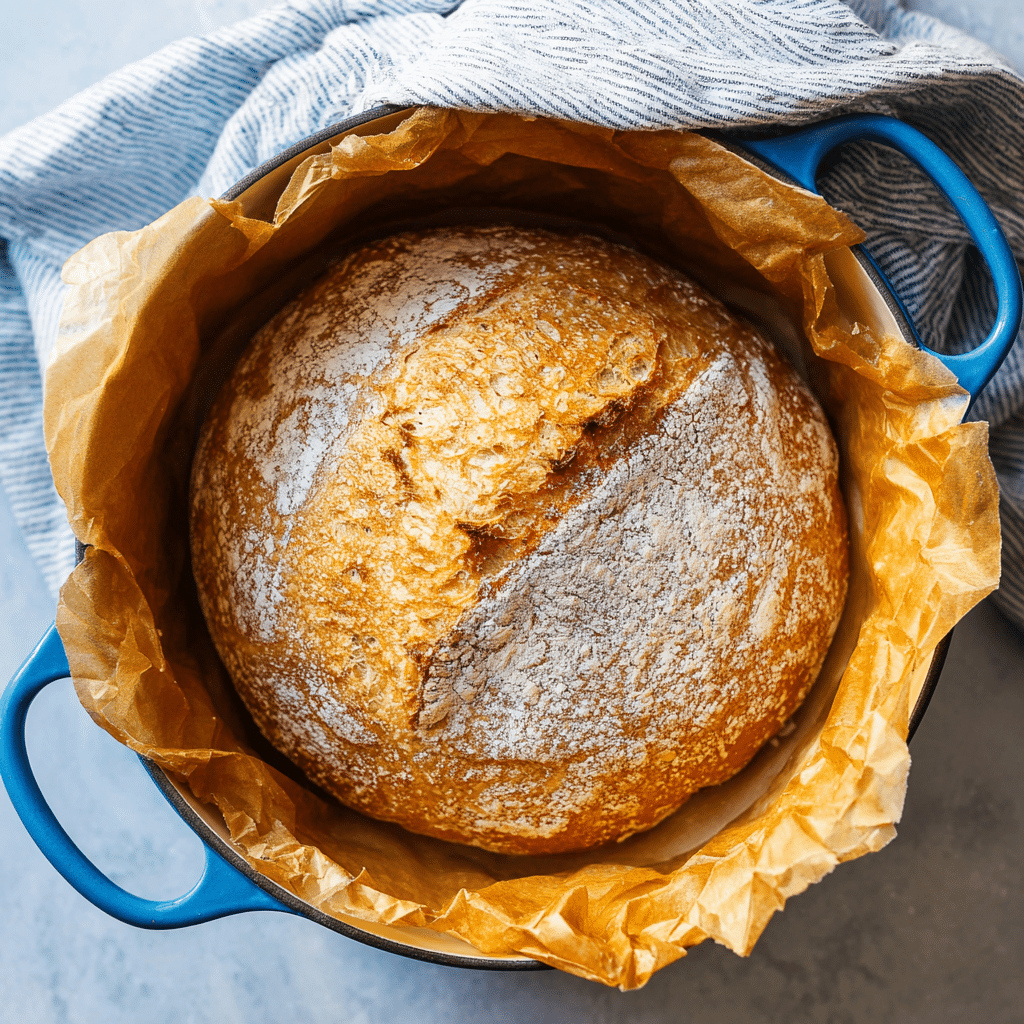
If you’ve ever dreamed of making your own bakery-style bread—with a chewy, golden crust and an airy, heavenly crumb—without needing hours of experience or special tools, you’re in for a real treat. The World’s Easiest Yeast Bread recipe – Artisan, NO KNEAD, truly lives up to its name! In just a few simple steps and with almost no effort, you can create a gorgeous loaf that rivals the best local bakeries. Whether you’re a newbie to breadmaking or a seasoned baker looking for something quick and reliable, this recipe guarantees delicious results every single time.
Ingredients You’ll Need
The ingredient list could not be simpler, but don’t be fooled—each plays a key role in creating the magic of this bread. You’ll find that every element shines through, working together to give you that unmistakable artisan bread texture, flavor, and color.
- Flour: Bread flour or all-purpose flour both work beautifully, but bread flour offers a slightly more chewy and bakery-style interior.
- Instant or rapid rise yeast: This yeast eliminates any complicated proofing; it’s the silent hero that guarantees that lovely rise and airy crumb.
- Cooking or kosher salt: Unlike ordinary table salt, these varieties offer a subtler, less “salty” taste and help enhance the bread’s overall flavor profile.
- Very warm tap water: Just the right temperature helps the yeast do its job; if it’s comfortable for your hand, it’s just perfect for your dough too.
- Flour for dusting: Just a sprinkle makes shaping your dough a breeze and keeps everything from sticking at the final stage.
How to Make World’s Easiest Yeast Bread recipe – Artisan, NO KNEAD
Step 1: Mix the Dough
Begin by grabbing a nice, big mixing bowl—bigger is better, since the dough will double in size. Combine the flour, instant yeast, and salt, then pour in the warm water. Use the handle of a wooden spoon to give everything a mighty stir. Expect a wet, slightly messy dough that’s too sticky to knead by hand, but not so runny that it pours out like batter. Don’t worry about neatness here; it comes together with minimal fuss.
Step 2: Let the Dough Rise
Cover your bowl with cling wrap or a plate to keep the moisture in, and let it sit at room temperature for about 2 to 3 hours. You’ll notice the dough grows, gets wonderfully bubbly on the surface, and jiggles like jelly when nudged. If it stalls, simply move the bowl to a warmer spot and watch the transformation.
Step 3: Optional—Refrigerate for Extra Flavor
If you want to deepen the bread’s flavor, you can pop the bowl in the refrigerator for up to 3 days after the initial rise. This slow fermentation brings out more complex notes and makes your loaf even more impressive. When ready to bake, let it come to room temperature while you preheat the oven.
Step 4: Preheat Your Oven and Dutch Oven
This step is crucial for creating that signature crust. Place your Dutch oven (or a heavy roasting pot with a lid) in the oven and preheat to a fiery 230°C (450°F). Preheating the pot creates a steamy environment, mimicking a professional bakery and giving your bread that irresistible crispy exterior.
Step 5: Shape the Dough
Sprinkle your work surface with a dusting of flour, tip the dough out, and sprinkle a little more flour on top. Using a dough scraper, gently fold in the sides—about six folds is perfect—to shape the dough into a rough round. Don’t stress over perfection; a slightly uneven shape means more crunchy ridges!
Step 6: Transfer Dough to Paper
Now, slide a piece of parchment paper next to your dough and flip the dough onto it, seam side down. This parchment makes transferring the dough into the hot pot safe and painless, plus it prevents sticking. Quickly nudge the dough to the center and reshape if needed.
Step 7: Bake to Perfection
Carefully remove the preheated Dutch oven from the oven, then lift the dough (parchment and all) into the pot. Cover, and bake for 30 minutes. After that, take off the lid and let it bake for another 12 minutes, allowing the crust to turn deep golden and develop that signature crunch.
Step 8: Cool Before Slicing
Wait at least 10 minutes (I know, this is the hardest part!) before you slice into your masterpiece. The cooling time helps set the crumb and ensures the interior stays dreamy and light.
How to Serve World’s Easiest Yeast Bread recipe – Artisan, NO KNEAD
Garnishes
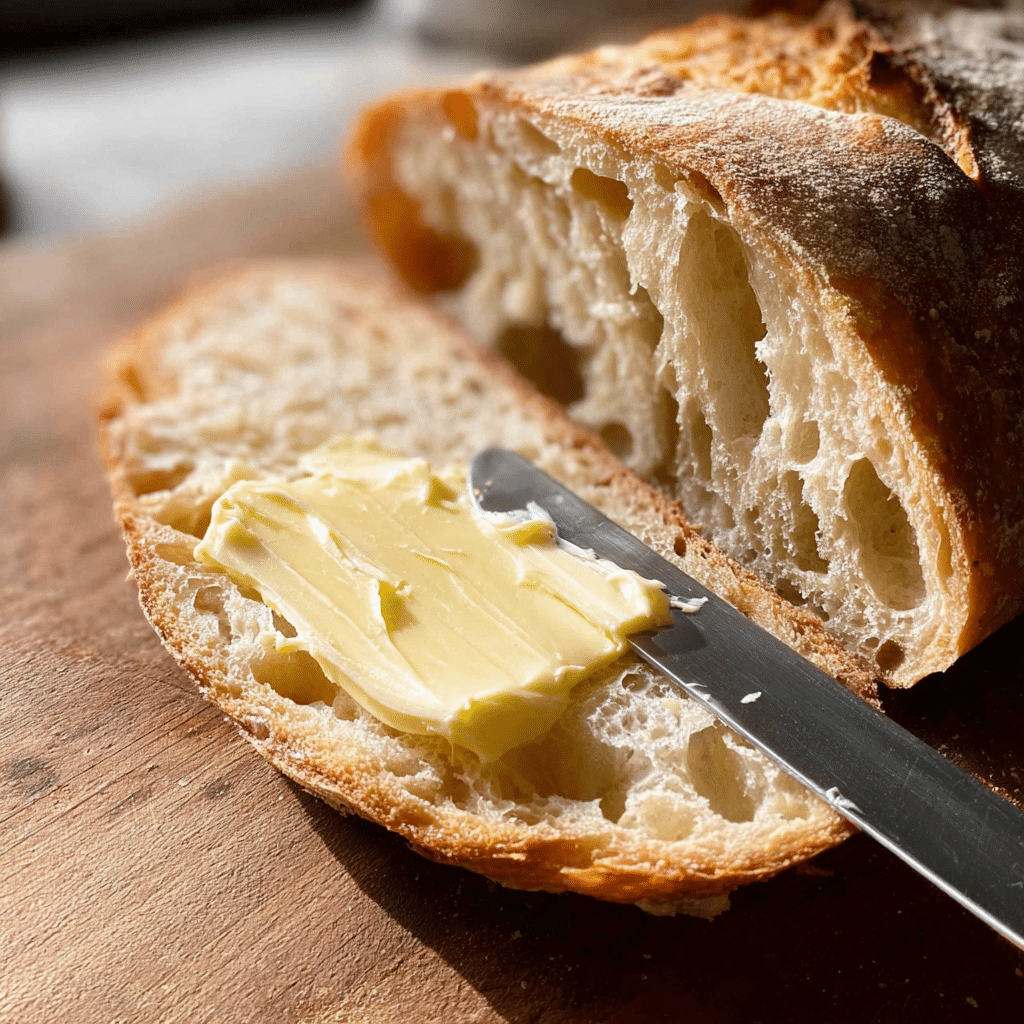
Just a swipe of good butter or a drizzle of olive oil on a warm slice is pure bliss, but you can also get creative with flaky sea salt, roasted garlic, or a touch of fresh herbs. These finishing touches complement the bread’s robust flavor and crunchy crust.
Side Dishes
This versatile loaf shines as a side for so many meals. Pair it with hearty stews, creamy soups, or crisp salads for that classic touch of comfort. The World’s Easiest Yeast Bread recipe – Artisan, NO KNEAD, is especially magical as a companion for cheese boards or antipasto platters.
Creative Ways to Present
For a rustic presentation, tear the loaf into big chunks and serve in a basket lined with a cloth napkin. Or, slice and toast pieces for perfect crostini. You can even hollow out small rounds and use them as edible soup bowls—guaranteed to wow your guests!
Make Ahead and Storage
Storing Leftovers
This bread stays impressively fresh for up to two days when kept in an airtight container or zip-top bag—especially if you’ve used bread flour. After that, a quick reheat or toast brings it right back to life. The crust may soften over time, but the flavor holds strong.
Freezing
The World’s Easiest Yeast Bread recipe – Artisan, NO KNEAD, freezes like a dream. Simply cool the loaf completely, wrap it tightly in foil, then slip it into a freezer-safe bag. It will stay fabulous for up to three months—just thaw at room temperature when you’re ready to indulge again.
Reheating
Warm, fresh bread is a treat any day. To restore that crispy crust, pop slices or whole loaves in a preheated oven at 180°C (350°F) for about 8–10 minutes. For a quick fix, you can even toast individual slices—just watch them closely so they don’t over-brown.
FAQs
Can I make this bread without a Dutch oven?
Absolutely! All you need is a sturdy roasting pan or even a metal baking tray with a boiling water-filled pan on the shelf below. This creates steam, which is key to producing that classic artisan crust.
Why is my dough so wet and sticky?
This dough is meant to be wet and sticky—it’s what helps create those gorgeous air pockets inside. If it seems too runny, add a bit more flour. Environmental factors like humidity and flour brand can subtly affect the texture, but it’s a very forgiving recipe.
Can I use whole wheat flour instead?
You can swap in whole wheat flour, but start with a little less because it’s more absorbent. You may need to add more water to get the right consistency, and the result will be heartier with a slightly nutty flavor.
What’s the best way to get a crunchy crust?
Preheating your Dutch oven or pan, using high heat, and keeping the lid on for the first part of baking all help trap steam and ensure that gorgeous, crackly finish that makes this bread irresistible.
How can I tell when the bread is done baking?
Look for a deep golden color all over. When tapped, the loaf should sound hollow. If you’re unsure, let it go a couple more minutes uncovered—the crust should be crisp and firm when it’s ready.
Final Thoughts
I genuinely can’t recommend the World’s Easiest Yeast Bread recipe – Artisan, NO KNEAD enough! Whether it’s your first loaf or your fiftieth, the joy of pulling this irresistible bread from your oven never fades. Give it a try and let your kitchen be filled with the mouthwatering aroma of fresh, homemade bread—you’ll never look back!
PrintWorld’s Easiest Yeast Bread recipe – Artisan, NO KNEAD Recipe
This easy no-knead artisan bread recipe will give you a crusty homemade bread with a chewy texture and big holes like sourdough. It’s forgiving and perfect for beginners.
- Prep Time: 5 minutes
- Cook Time: 40 minutes
- Total Time: 2 hours 45 minutes
- Yield: 10-12 slices
- Category: Bread
- Method: Baking
- Cuisine: Western
- Diet: Vegetarian
Ingredients
For the Dough:
- 3 cups (450g) bread or all-purpose flour
- 2 tsp instant or rapid rise yeast
- 2 tsp cooking/kosher salt
- 1 1/2 cups (375 ml) very warm tap water
Dough Shaping:
- 1 1/2 tbsp flour for dusting
Instructions
- Mix Dough: Combine flour, yeast, and salt. Add water and mix until incorporated.
- Rise: Cover and let rise for 2-3 hours until doubled.
- Preheat Oven: Place dutch oven in oven and preheat to 230°C/450°F.
- Shape Dough: Fold dough on floured surface and transfer to parchment paper.
- Bake: Bake covered, then uncovered until golden and crispy.
Notes
- Rise dough in the fridge for up to 3 days for better flavor.
- Store bread in an airtight container for freshness.
- Freeze cooked bread for up to 3 months.
Nutrition
- Serving Size: 1 slice
- Calories: 155 cal
- Sugar: 1g
- Sodium: 469mg
- Fat: 1g
- Saturated Fat: 1g
- Carbohydrates: 32g
- Fiber: 2g
- Protein: 5g

