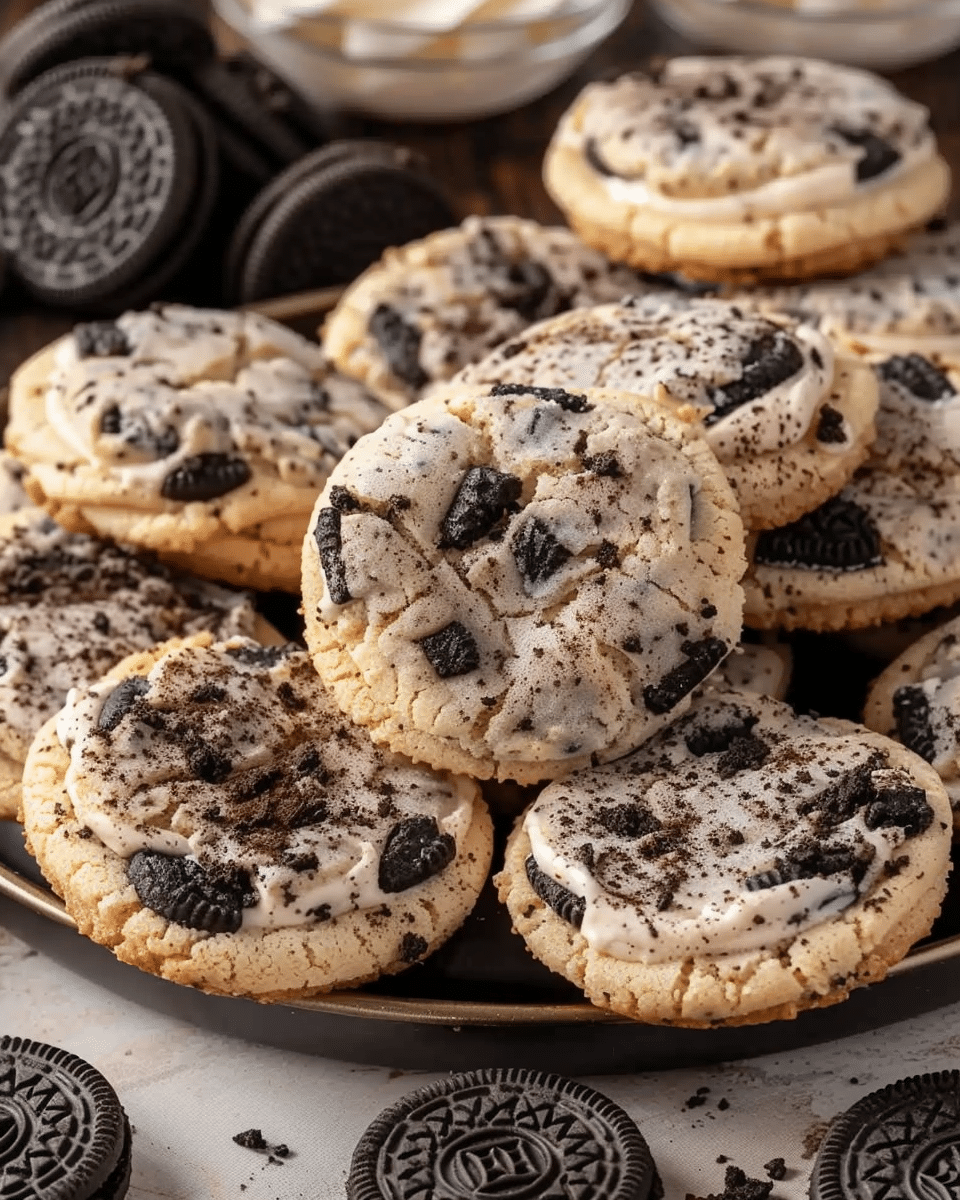
I’m thrilled to share this decadent twist on classic cookies—Oreo Cheesecake Cookies—that I couldn’t resist testing myself. They combine creamy cheesecake richness with chunks of Oreo cookies, resulting in soft, chewy treats that feel bakery-quality, but are surprisingly simple to make.

Why You’ll Love This Recipe
I love how these cookies strike the perfect balance—rich and creamy from the cream cheese, yet satisfyingly chewy with Oreo pieces in every bite. They’re beginner-friendly with minimal prep, and they hold their shape beautifully thanks to a dough chill before baking.
ingredients
(Here’s a tip: Check out the full list of ingredients and measurements in the recipe card below.)
-
8 oz block-style cream cheese, softened
-
1 cup unsalted butter, softened
-
1½ cups granulated sugar
-
1½ tsp vanilla extract
-
2 cups all-purpose flour
-
2½ cups original Oreo cookies, roughly chopped (about 18–20 whole cookies)
directions
-
Preheat oven to 350 °F and line a baking sheet with parchment.
-
In a large bowl, beat the cream cheese and butter on medium for 2–3 minutes until light and lump-free.
-
Add sugar and vanilla, beat for another 1–2 minutes until smooth.
-
Mix in flour on low speed just until incorporated—dough will be thick.
-
Fold in chopped Oreos gently to preserve chunks.
-
Cover dough and chill for 30–45 minutes until firm.
-
Using a 2‑Tbsp scoop, portion dough into balls on the sheet, spacing about 2″ apart. Flatten to ¼–½″ thickness. Return unused dough to fridge.
-
Bake 13–15 minutes or until edges just begin to turn golden. Let cookies rest on the baking sheet for 5 minutes, then transfer to a wire rack to cool completely.
-
Repeat with remaining dough.
Servings and timing
-
Yield: 36 cookies
-
Prep time: 10 minutes
-
Cook time: 13 minutes per batch
-
Total time: About 53 minutes (plus chilling)
Variations
I sometimes reserve an extra ½ cup chopped Oreos to press on top of each cookie before baking—it makes them look extra tempting. If I’m in the mood for a twist, I swap out original Oreos for a flavor like mint or birthday cake. Just avoid Double Stuffed or Thin Oreos, as they can affect texture and sweetness.
storage/reheating
-
Make‑ahead: I prep the dough and refrigerate it tightly sealed for up to 2 days.
-
Fridge: Store already baked cookies in an airtight container (layers separated by parchment) for up to 5 days.
-
Freezer:
-
Dough: Scoop and freeze balls on a tray, then transfer to a bag—good for up to 3 months.
-
Baked cookies: Cool completely, then freeze in airtight container for up to 3 months.
-
-
Reheat:
-
Microwave for 10–15 seconds for a soft center, or
-
Warm in a 300 °F oven for 5–7 minutes to refresh that oven-fresh feel. Frozen dough can go straight into the oven with just 2–3 minutes added to bake time.
-
FAQs
What if my dough is too sticky?
I just pop it back into the fridge for another 10–15 minutes—it firms up nicely and makes scooping easier.
Why are my cookies spreading too much?
Usually because I skipped chilling or overmixed. I always keep the dough cold, and I mix on low to keep it from getting too warm.
How do I get even distribution of Oreo pieces?
I gently fold them in with a spatula, making sure I don’t break them into crumbs—this gives each cookie nice chunks.
Can I use a handheld mixer instead of a stand mixer?
Absolutely—it works perfectly. I’ve found it blends the butter and cream cheese just as well.
Can I halve or double the recipe?
Yes! Halving works great. I don’t double it in one batch though—the bowl gets too full, and it’s hard to mix evenly.
Conclusion
I’m always amazed at how these cookies come together with just a handful of ingredients and simple steps. They’re soft, chewy, creamy, and perfect for sharing—or savoring solo. Give them a try and let me know how yours turned out!


I love your blog.. very nice colors & theme. Did you create this website yourself or did you hire someone to do it for you? Plz answer back as I’m looking to construct my own blog and would like to find out where u got this from. thank you