If you’ve ever tasted the golden, flaky results of a homemade pie crust: you’ll know there’s really no comparison to store-bought. Making your own crust might seem daunting, but I promise it’s one of those simple joys in life — the kind that fills your kitchen with anticipation and brings everyone running to the table. This recipe creates enough crust for a double-crust pie, and it’s the perfect starting point whether you’re baking a classic apple pie, a savory pot pie, or just craving that irresistible buttery crunch. There’s a certain magic in working the dough yourself, watching simple ingredients transform into something unforgettable.
Ingredients You’ll Need
This homemade pie crust: recipe relies on just a handful of pantry staples, but each one plays a crucial role in creating its flaky layers and buttery flavor. Let’s break down what you need and why it matters!
- All-purpose flour: The backbone of your dough, providing structure while keeping it tender.
- Salt: Boosts all the flavors and balances the richness of the butter beautifully.
- Sugar (optional): Adds a hint of sweetness for dessert pies, but you can skip it for savory recipes.
- Cold unsalted butter: This is your flakiness secret! Dice it up and keep it cold for perfect little layers.
- Ice water: Essential to bring it all together without melting the butter — keep some extra ice cubes handy.
How to Make homemade pie crust:
Step 1: Mix Dry Ingredients
In a large mixing bowl, add your flour, salt, and sugar (if using). Whisk together for an even distribution — it’s a simple step, but don’t skip it! This ensures every bite of your homemade pie crust: is perfectly seasoned and flavorful from the inside out.
Step 2: Cut in the Butter
It’s time for the magic! Add your cold, diced butter to the bowl. Using a pastry cutter or your fingertips, gently work the butter into the flour until the mixture looks like coarse, sandy crumbs with some pea-sized pieces. Those little butter pockets are what puff up into gorgeous flakiness once baked — try to work quickly to keep everything cold and prevent over-mixing.
Step 3: Add Water
Now, drizzle in ice water a tablespoon at a time, mixing gently after each addition. Use a fork or your hands to toss and hydrate the dough — stop as soon as it starts sticking together in shaggy clumps. The biggest trick with homemade pie crust: is to avoid adding too much water; you want a dough that just holds together without being sticky.
Step 4: Form the Dough
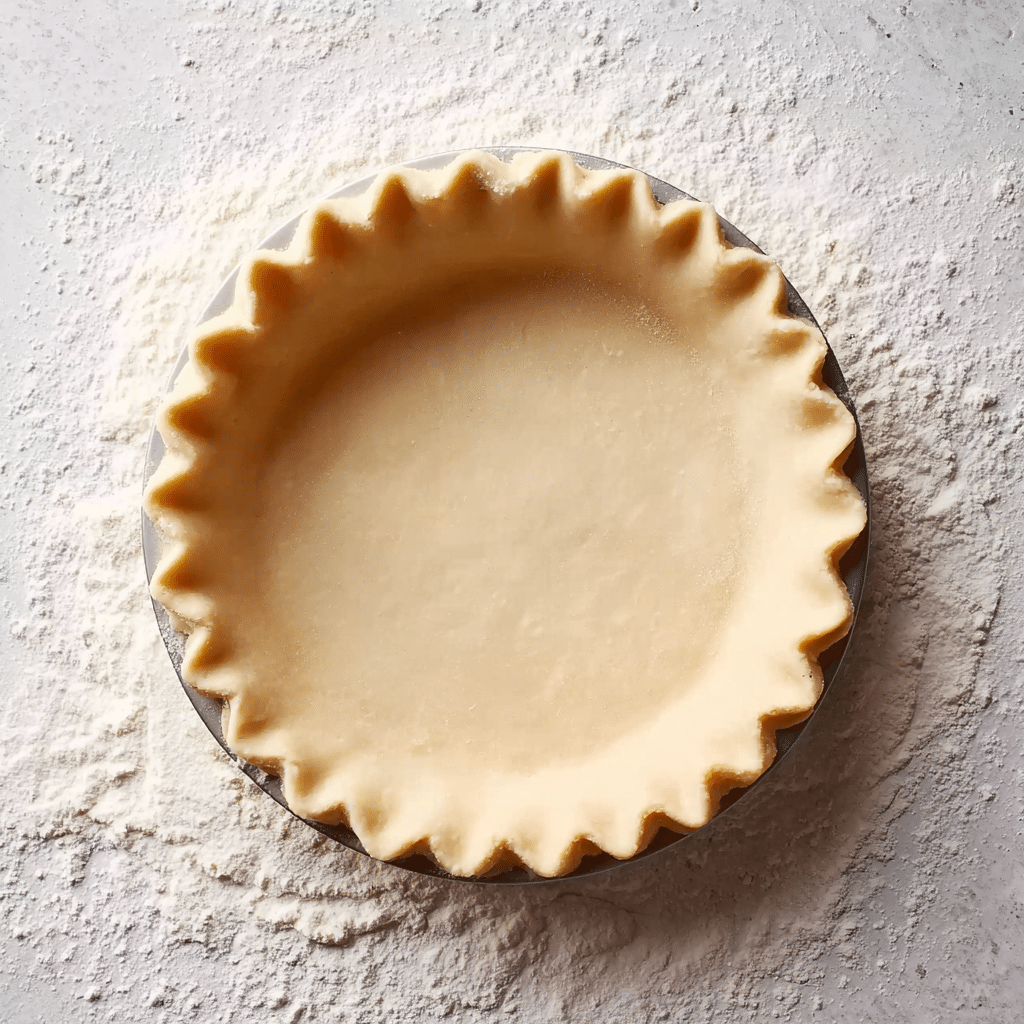
Turn the dough out onto a lightly floured surface and divide it in half. Shape each half into a flat disk about an inch thick (this makes rolling easier later). Wrap both tightly in plastic wrap and let them chill in the fridge for at least 30 minutes. This rest gives the gluten time to relax, making rolling a breeze — and ensures your homemade pie crust: turns out extra tender.
Step 5: Roll Out
Once chilled, unwrap a dough disk and place it on a floured surface. With a rolling pin, roll the dough from the center outward, rotating occasionally for even thickness. Aim for a circle slightly larger than your pie dish. If the dough cracks, just patch it gently — even imperfections bake up beautifully.
Step 6: Assemble Your Pie
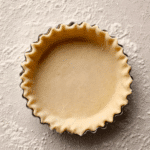
Gently lift your rolled-out crust into the pie dish, easing it into the corners. Fill with your chosen pie filling, then repeat the rolling process for the top if needed. Trim excess dough, crimp the edges for a pretty finish, and cut a few small vents if you’re making a double crust. The homemade pie crust: is now ready for the oven!
Step 7: Bake
Bake your pie according to your specific recipe’s instructions. Each filling is different, but always keep an eye on your crust for that perfectly golden color and irresistible aroma. You’ve earned it!
How to Serve homemade pie crust:
Garnishes
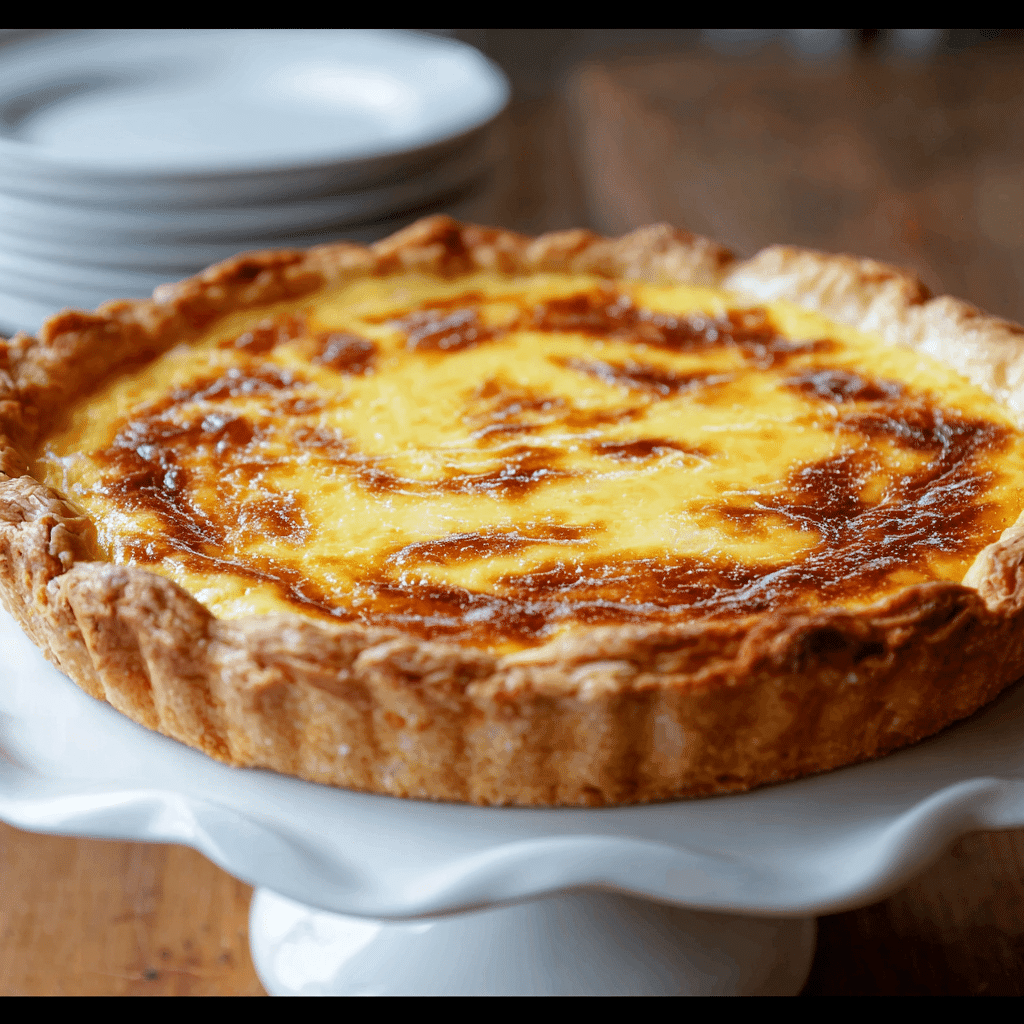
A homemade pie crust: deserves to be shown off! Before baking, brush the top with a little milk or beaten egg for shine, and sprinkle with sugar for a sparkly finish. After baking, a dollop of whipped cream or scoop of vanilla ice cream is always a win for sweet pies.
Side Dishes
If you’re serving a savory pie, consider pairing your homemade pie crust: creation with a crisp green salad, roasted vegetables, or simple coleslaw. Sweet pies pair beautifully with fresh berries or tangy citrus segments on the side, letting your pie shine as the star.
Creative Ways to Present
Don’t hesitate to have fun with your homemade pie crust: Try cutting decorative shapes from any leftover dough to lay on top, or braid the edges for a showstopping look. Mini hand pies, galettes, or even tartlets are all great options for using this versatile crust recipe.
Make Ahead and Storage
Storing Leftovers
Any leftover homemade pie crust: (unbaked) can be wrapped tightly and stored in the fridge for up to three days. Baked pie slices can be loosely covered and refrigerated; the crust may soften slightly but will still taste amazing.
Freezing
This recipe is freezer-friendly! Wrap unbaked dough disks well in plastic and then foil, and freeze for up to three months. Thaw overnight in the fridge when you’re ready for more pie magic. You can also freeze baked pies; just make sure they’re tightly wrapped to prevent freezer burn.
Reheating
For baked pies, warm slices in a 325°F (160°C) oven for 10-15 minutes to revive the flaky texture of your homemade pie crust:. Avoid microwaving if you can, as it can make the crust soggy.
FAQs
Why does everything need to stay cold when making pie crust?
Keeping your butter, water, and even your mixing bowl cold prevents the butter from melting into the flour, giving you those all-important pockets of flakiness when the homemade pie crust: bakes.
Can I use salted butter instead of unsalted?
You can use salted butter in homemade pie crust: if that’s what you have on hand, but remember to reduce or skip the added salt in the recipe to avoid it turning out too salty.
Is it okay to make this crust ahead of time?
Absolutely — homemade pie crust: loves a little rest! Make the dough up to three days ahead, keep it wrapped in the fridge, and it’ll be ready whenever inspiration (or craving) strikes.
What if I don’t have a pastry cutter?
No worries! Use your fingertips to rub the butter into the flour, or two knives to “cut” it in. Just make sure not to overwork the dough, as that will keep your homemade pie crust: light and flaky.
Do I need to blind-bake the crust?
For cream pies or any filling that doesn’t get baked, YES: line the crust with parchment and fill with pie weights, then bake before filling. For fruit or meat pies baked with the filling inside, blind baking isn’t usually necessary for this homemade pie crust: recipe.
Final Thoughts
Trying your own homemade pie crust: is a simple kitchen adventure that pays big, delicious dividends. With a little practice, you’ll be wowing yourself and anyone lucky enough to share dessert with you. Give it a try — every memorable pie starts with that first, buttery bite!
Printhomemade pie crust: Recipe
Learn how to make a delicious homemade pie crust that will elevate your pies to the next level. This flaky and buttery crust is perfect for both sweet and savory pies.
- Prep Time: 45 minutes
- Cook Time: 0 minutes
- Total Time: 45 minutes
- Yield: 1 double pie crust
- Category: Dessert
- Method: Baking
- Cuisine: American
- Diet: Vegetarian
Ingredients
Dry Ingredients:
- 2 ½ cups (315g) all-purpose flour
- 1 tsp salt
- 1 tbsp sugar (optional, for sweet pies)
Additional Ingredients:
- 1 cup (226g) cold unsalted butter, diced
- 6–8 tbsp ice water
Instructions
- Mix Dry Ingredients: In a large bowl, whisk together the flour, salt, and sugar (if using).
- Cut in the Butter: Add the cold, diced butter to the dry ingredients. Use a pastry cutter or your fingertips to mix until the mixture resembles coarse crumbs with pea-sized pieces of butter.
- Add Water: Drizzle in the ice water, one tablespoon at a time, mixing gently with a fork or your hands after each addition. Stop adding water as soon as the dough begins to come together but isn’t sticky.
- Form the Dough: Turn the dough out onto a floured surface and divide it in half. Shape each half into a flat disk, wrap in plastic wrap, and refrigerate for at least 30 minutes.
- Roll Out: Roll out the dough on a floured surface to fit your pie dish, rolling from the center outward.
- Assemble Your Pie: Use one crust for the bottom and one for the top (if making a double-crust pie). Trim and crimp edges as needed.
- Bake: Follow the baking instructions for your specific pie recipe.
Notes
- Keep all ingredients cold for a flakier crust.
- Chill the dough before rolling for best results.
Nutrition
- Serving Size: 1 slice of crust
- Calories: 160
- Sugar: 1g
- Sodium: 150mg
- Fat: 11g
- Saturated Fat: 7g
- Unsaturated Fat: 3g
- Trans Fat: 0g
- Carbohydrates: 14g
- Fiber: 0.5g
- Protein: 2g
- Cholesterol: 30mg

