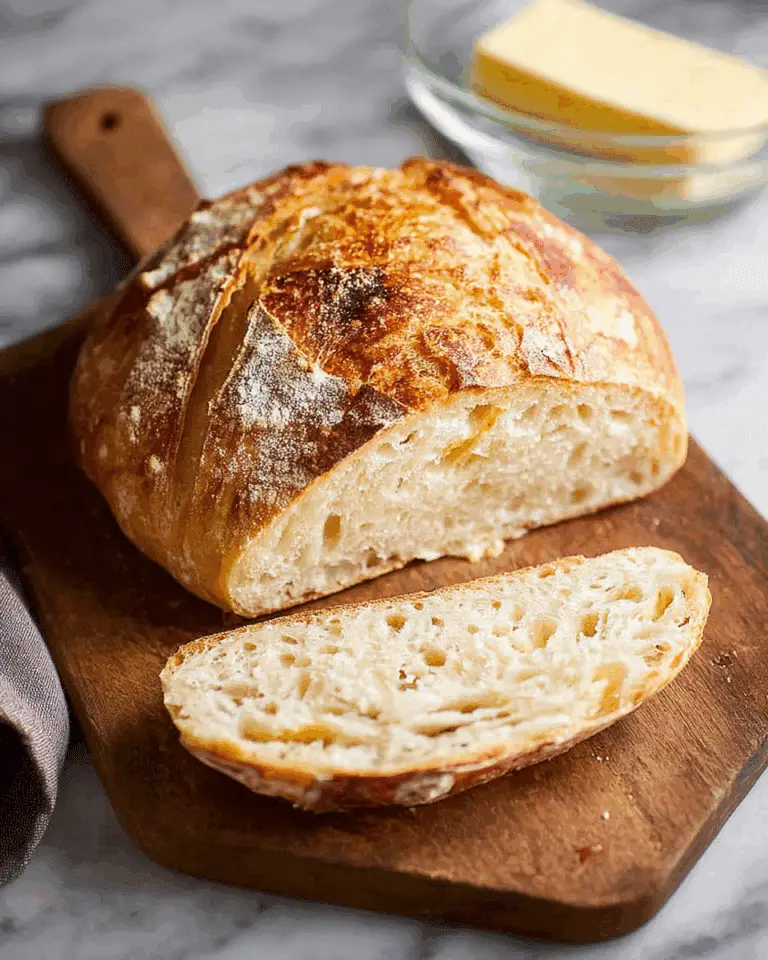
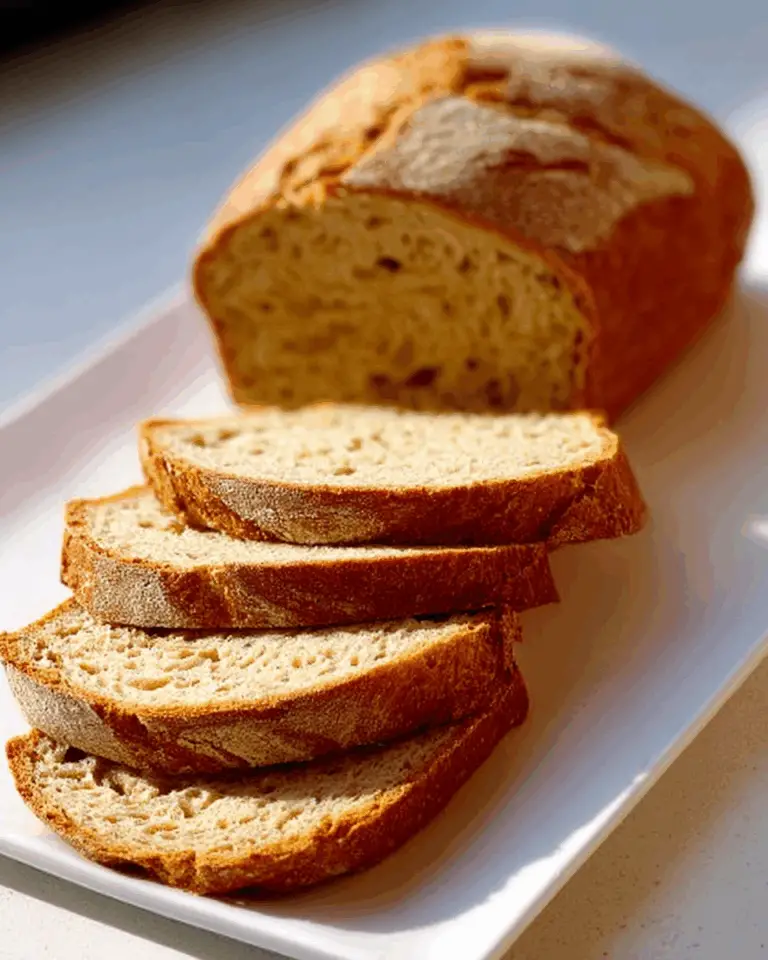
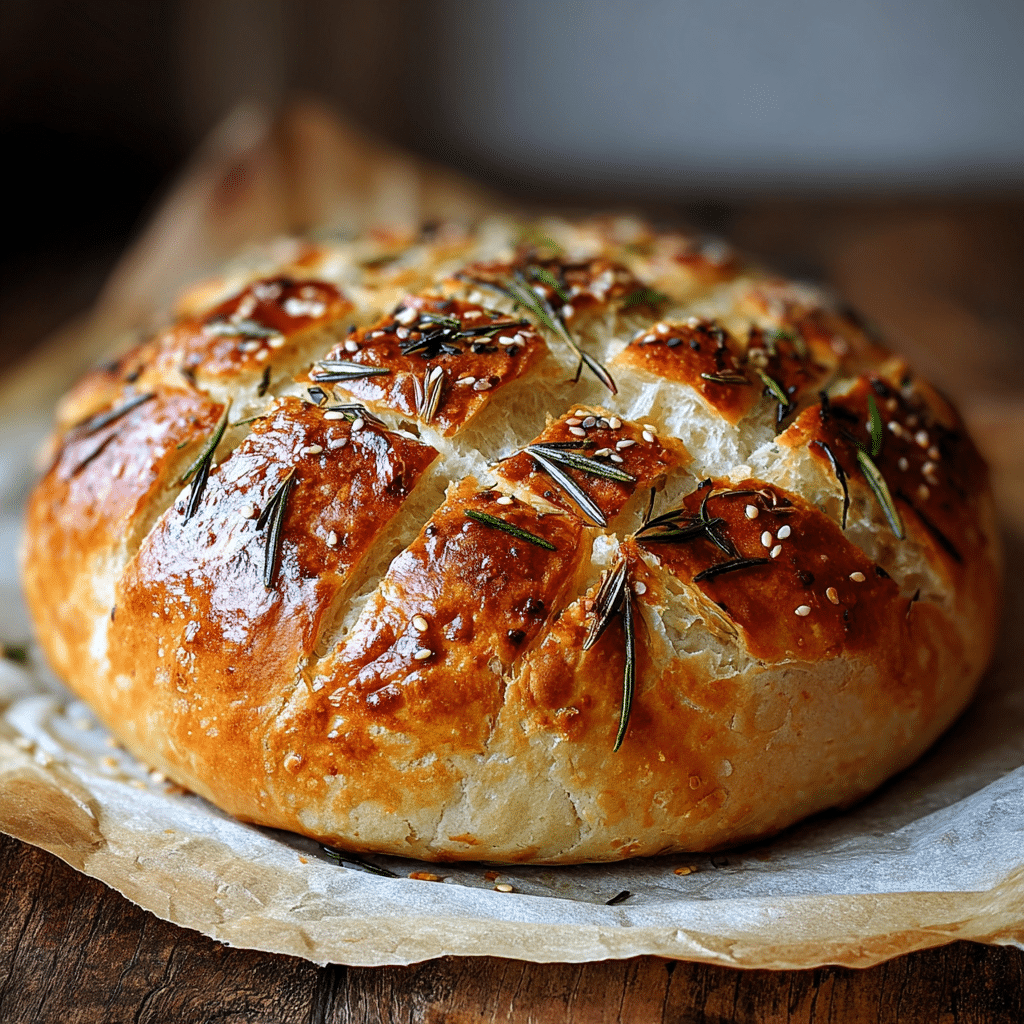
Imagine slicing into a golden, blistered loaf, the unmistakable crackle of crust giving way to chewy, aromatic crumb studded with sweet roasted garlic and rosemary. That’s the magic of this rustic bread recipe! It’s the epitome of easy homemade baking—no kneading, no fuss, just patience and a few humble ingredients. Bursting with flavors and begging for a smear of good butter, this rustic loaf is destined to upgrade your next meal, whether you’re serving a crowd or just treating yourself on a cozy afternoon.
Ingredients You’ll Need
One of the best things about this rustic bread is how it transforms simple pantry staples into something extraordinary. Each ingredient works together to deliver maximum flavor, earthiness, and that crave-worthy artisan texture. Here’s what you’ll need—and why you need it!
- Garlic: Roasting brings out the garlic’s mellow sweetness and infuses the entire loaf with a savory, addictive aroma.
- Extra-virgin olive oil: Just a drizzle over the garlic and into the dough adds luscious flavor and contributes to the bread’s golden crust.
- Coarse sea salt & freshly ground black pepper: The classic combo for seasoning the roasted garlic—don’t skip it!
- Water (room temperature, ~70°F / 21°C): The base for activating the yeast and bringing your rustic dough together—temperature matters for proper rise.
- Active dry yeast: The secret agent for lift and that airy open crumb you crave in artisan bread.
- Bread or all-purpose flour: Choose bread flour for extra chew, or all-purpose for a slightly lighter loaf—either way, your rustic bread will shine.
- Dried oregano: Adds a subtle herby depth, perfectly complementing the fresh rosemary.
- Kosher or fine sea salt: For seasoning the dough itself—a must for real bread flavor.
- Fresh rosemary: Chopped and sprinkled in, this fresh herb turns every bite of the loaf into something special.
- Roasted garlic cloves (smashed): These golden nuggets get dotted through the dough for that unmistakable rustic flavor.
How to Make rustic
Step 1: Roast the Garlic
Preheat your oven to 400°F (204°C). Slice your garlic head in half horizontally to expose all the cloves, then drizzle generously with olive oil and sprinkle with salt and freshly ground black pepper. Wrap tightly in foil and nestle into the oven for about 40 minutes, until the cloves are golden and caramelized. Let them cool, then pop those soft, buttery cloves from their skins—they’re pure rustic gold.
Step 2: Mix the Dough
While your kitchen fills with the scent of roasting garlic, get started on the dough. In a small bowl, sprinkle your yeast into the room-temperature water and let it bloom for 10 to 15 minutes—it should look creamy and a bit foamy. In a large mixing bowl, whisk together flour, salt, dried oregano, and chopped rosemary. Add in the yeast mixture, those luscious roasted garlic cloves (smashed slightly), and a drizzle of olive oil. Stir just until everything’s combined into a shaggy, sticky dough. That rustic messiness is a good thing!
Step 3: First Rise
Cover your bowl with a clean kitchen towel and set it somewhere cozy at room temperature. Now, go live your life: let the dough sit and ferment for 8 to 10 hours—or overnight—until it’s puffy and doubled in size. This slow rise is what gives your rustic bread that crave-worthy, chewy texture and deep flavor.
Step 4: Shape and Cold Ferment
Turn the dough out onto a floured surface (it’ll be sticky—flour your hands, too). Gently shape it into a ball, keeping as much air inside as you can for that rustic crumb. Transfer dough, seam-side up, to a well-floured bowl or proofing basket. Cover and pop into the fridge for 1 to 24 hours (even up to 48, if you want!). This extra cold ferment ramps up both flavor and texture, making your loaf unmistakably rustic.
Step 5: Preheat Oven & Score
About 45 minutes before baking, heat your oven to 450°F (232°C) with a heavy lidded Dutch oven inside. When ready to bake, gently invert your cold dough ball onto a sheet of parchment paper so it’s seam-side down. Use a sharp blade to score the top—classic slashes look gorgeous and help your rustic bread expand as it bakes.
Step 6: Bake
Carefully transfer your dough—parchment paper and all—into the hot Dutch oven. Cover with the lid and bake for 30 minutes, then remove the lid for the final 15 to 20 minutes so the crust can develop that golden, crunchy finish. The rustic aroma will let you know it’s almost done!
Step 7: Cool & Slice
Once your loaf is beautifully brown and crackling, lift it onto a wire rack. The hardest part: wait at least one hour before slicing! Letting your rustic loaf cool ensures the inside sets and slices up perfectly, every time.
How to Serve rustic
Garnishes
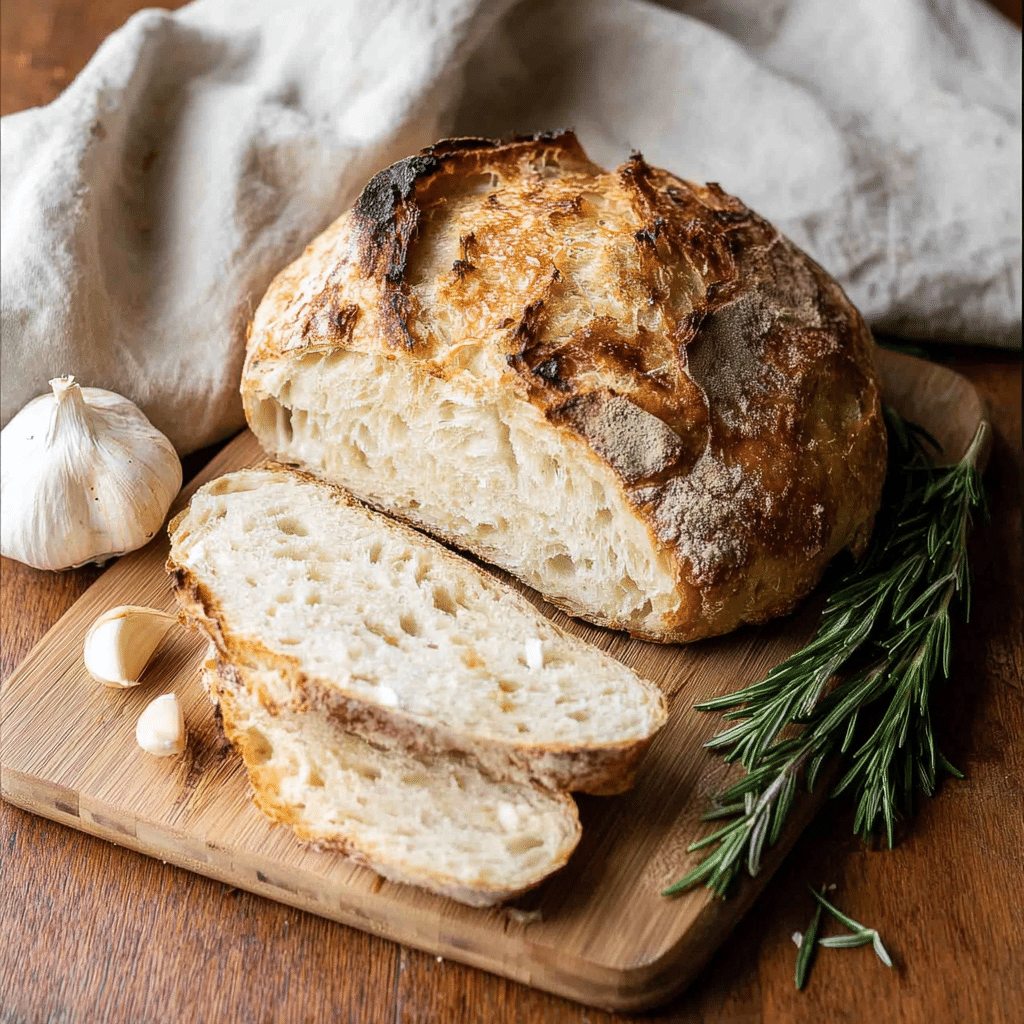
A warm loaf of rustic bread deserves something extra on top. Try a scattering of flaky sea salt and a few extra rosemary leaves as soon as it comes out of the oven for a burst of herbal aroma and eye-catching appeal. If you want to go all-in, brush the top with a little extra olive oil to accentuate that golden color!
Side Dishes
This rustic loaf is incredibly versatile at the table. Serve it alongside hearty soups or stews—think tomato basil, minestrone, or a creamy potato chowder. It’s also fantastic with a platter of roasted vegetables, charcuterie, or sharp, nutty cheeses. Honestly, a thick slice is perfect with nothing more than good olive oil for dipping.
Creative Ways to Present
Lean into that rustic charm by presenting the loaf on a chunky wooden board lined with parchment, surrounded by bowls of flavored butters or infused oils. For a dinner party, slice the bread just before serving and fan it out so everyone can see that gorgeous crumb dotted with garlic and rosemary. Little touches like a few fresh herb sprigs go a long way in setting the rustic mood.
Make Ahead and Storage
Storing Leftovers
Keep your rustic bread as fresh as possible by wrapping cooled leftovers in a cotton or linen bread bag, or simply wrapping in a clean kitchen towel. Store at room temperature and enjoy within 2 to 3 days. For maximum vibrancy, avoid airtight containers—they can soften the crust you worked so hard to achieve.
Freezing
This rustic bread freezes beautifully. To freeze, let the loaf cool completely, then either wrap the whole thing or slice and wrap individual portions in plastic wrap followed by foil. Stash in the freezer for up to 3 months. When rustic cravings hit, just pull out what you need!
Reheating
To refresh slices, pop them into a 350°F (177°C) oven for about 8 to 10 minutes or toaster oven until warmed through and slightly crisped. If reheating a whole loaf, tent with foil and let it warm up for 15 to 20 minutes, removing the foil in the last five to get that signature rustic crust back.
FAQs
Can I use instant yeast instead of active dry?
Absolutely! Substitute the same amount of instant yeast and skip the blooming step. Just mix it straight into the dry ingredients. Your rustic loaf will rise beautifully either way.
What if I don’t have a Dutch oven?
No Dutch oven? No problem. You can use any heavy-duty lidded pot that’s oven-safe to 450°F. Alternatively, bake directly on a preheated pizza stone and pop an extra pan of hot water in the oven for steam—your rustic bread will still boast a crisp crust.
Can I add other herbs or flavorings?
Of course! Rustic bread loves experimentation. Try swapping in thyme, sage, or even sun-dried tomatoes. As long as the total add-ins don’t weigh down the dough, let your cravings guide you.
Why is cold fermenting important?
The overnight fridge rest is where the rustic magic happens! It slows down the yeast, developing deeper flavor and a chewy, open crumb. Even a few hours makes a noticeable difference in the bread’s texture and taste.
How do I know if the bread is done baking?
Your rustic loaf is ready when the crust is deeply golden and it sounds hollow when tapped on the bottom. If you want to be exact, the internal temperature should hit around 200°F (93°C). That’s artisan perfection, every time.
Final Thoughts
If you’ve never baked a rustic loaf at home, this could be your new kitchen tradition. Jump in, enjoy the process, and get ready to wow yourself and everyone you share it with—there’s nothing quite as satisfying as tearing into homemade rustic bread fresh from your own oven!
Printrustic Recipe
Easy Roasted Garlic Rosemary Artisan Bread is a crusty, chewy, and flavorful homemade loaf made with a no-knead, rustic recipe. The bread is loaded with the rich taste of roasted garlic and fragrant rosemary, perfect for any occasion.
- Prep Time: 20 minutes
- Cook Time: 50 minutes
- Total Time: 12 hours
- Yield: 12 servings
- Category: Bread, Baking
- Method: Baking
- Cuisine: Artisan
- Diet: Vegetarian
Ingredients
For the Bread Dough:
- 1 whole head garlic
- 1 tablespoon extra-virgin olive oil (divided)
- Coarse sea salt & freshly ground black pepper
- 1½ cups water (room temperature, ~70°F / 21°C)
- 1 teaspoon active dry yeast
- 3 cups bread or all-purpose flour (plus more for dusting)
- ½ teaspoon dried oregano
- 1 teaspoon kosher or fine sea salt
- 2 teaspoons finely chopped fresh rosemary (plus more for topping)
- 1 head roasted garlic cloves (smashed)
Instructions
- Roast the Garlic: Preheat oven to 400°F (204°C). Cut the garlic head in half, drizzle exposed cloves with olive oil, sprinkle with salt and pepper, and wrap in foil. Roast for 40 minutes, then cool and remove cloves from skins.
- Mix the Dough: In a small bowl, dissolve yeast in room-temp water and let sit for 10–15 minutes. In a large bowl, combine flour, salt, oregano, and rosemary. Add yeast water, roasted garlic, and olive oil. Mix with spatula until sticky.
- First Rise: Cover the bowl with a clean towel and let rise at room temperature for 8–10 hours, until doubled in size.
- Shape and Cold Ferment: Turn dough onto floured surface and gently shape into a ball. Place seam-side up in a floured bowl or basket, cover, and refrigerate 1–24 hours (up to 48 for deeper flavor).
- Preheat Oven & Score: Preheat oven to 450°F (232°C) with a Dutch oven inside. Remove dough from fridge, invert onto parchment paper (seam-side down), and score top with a sharp blade.
- Bake: Place dough with parchment into preheated Dutch oven. Cover and bake for 30 minutes. Uncover and bake another 15–20 minutes until golden brown.
- Cool & Slice: Remove from Dutch oven and cool on wire rack at least 1 hour before slicing.
Notes
- Overnight cold ferment enhances flavor and texture—don’t skip it!
Nutrition
- Serving Size: 1 slice
- Calories: 180 kcal
- Sugar: 0 g
- Sodium: 290 mg
- Fat: 0.5 g
- Saturated Fat: 3 g
- Unsaturated Fat: 0 g
- Trans Fat: 0 g
- Carbohydrates: 31 g
- Fiber: 1 g
- Protein: 5 g
- Cholesterol: 0 mg

