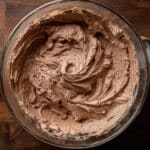
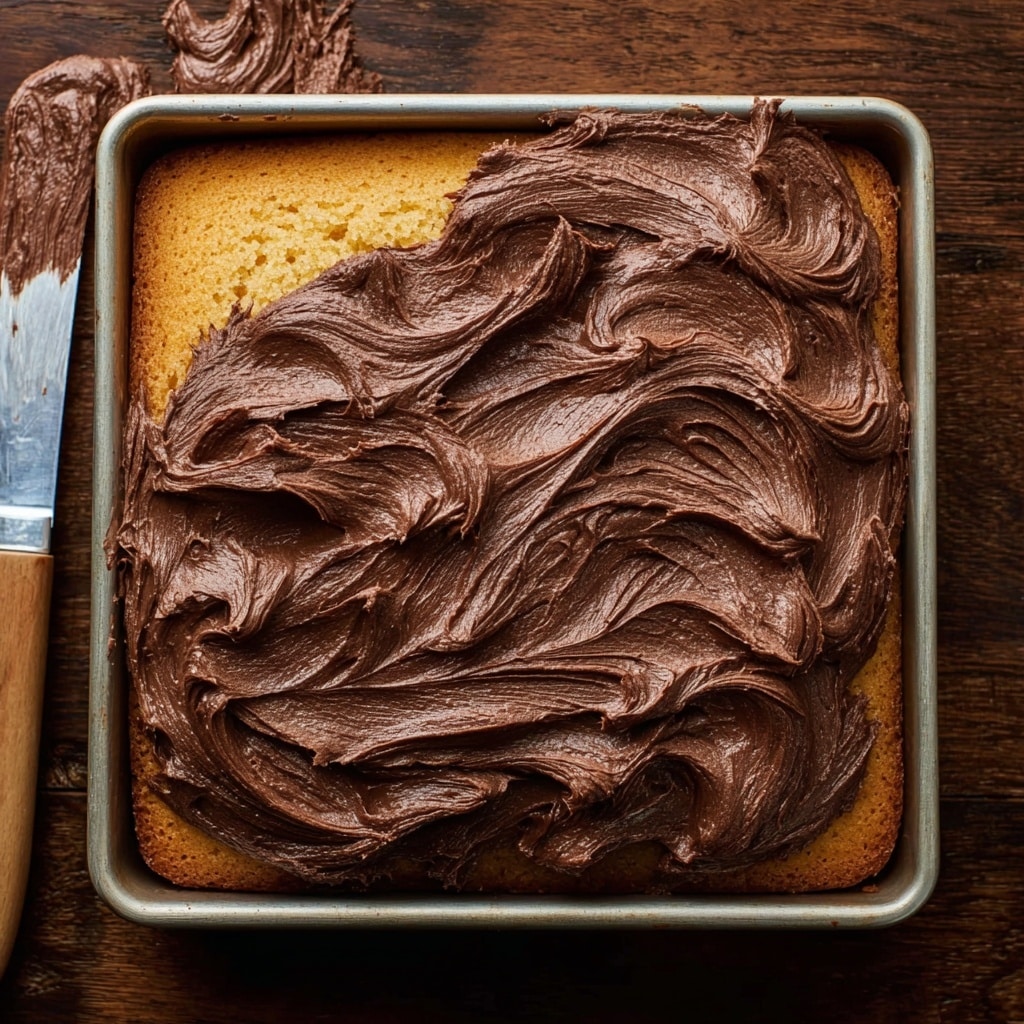
Chocolate Ermine Frosting takes your desserts to the next level with its pillow-soft texture and deep chocolate flavor. Unlike traditional buttercreams, this recipe delivers a luscious, glossy frosting that’s never gritty or overly sweet — perfect for anyone who loves the timeless charm of old-fashioned cakes with a modern chocolate twist. Whether you’re spreading it generously on cupcakes, slathering it between cake layers, or just sneaking a spoonful for yourself (no judgment!), Chocolate Ermine Frosting promises a melt-in-your-mouth finish you’ll dream about after the last bite.
Ingredients You’ll Need
Each ingredient in this recipe plays a simple but crucial role in achieving that luxuriously creamy Chocolate Ermine Frosting. From the velvet base to the rich chocolate tones, here’s why each component matters and how it impacts the flavor and texture.
- Whole milk: Lends a creamy, rich base and is essential for that signature silky consistency.
- All-purpose flour: Thickens the milk and creates the unique pudding-like base that sets this frosting apart.
- Unsalted butter (room temperature): Makes the frosting indulgently smooth and helps it whip up to a cloud-like texture.
- Granulated sugar: Sweetens just enough to enhance the chocolate while letting it shine—no powdered sugar grittiness here.
- Dutch-processed cocoa powder: Brings a deep, full-bodied chocolate taste with a beautiful dark hue.
- Vanilla extract: Rounds out the chocolate with a slightly floral, aromatic note.
How to Make Chocolate Ermine Frosting
Step 1: Cook the Milk and Flour
In a medium saucepan set over medium heat, whisk together the milk and flour. You’ll want to keep the whisk moving steadily for 3 to 5 minutes until the mixture thickens to a very dense, pudding-like consistency. Don’t walk away—the magic happens fast! When it’s ready, it should coat the back of a spoon with no lumps in sight.
Step 2: Cool the Base
Take the saucepan off the heat and let the mixture cool fully to room temperature. If you notice it turning a bit lumpy while it cools, don’t panic; that’s normal and it will smooth out again later in the process. Cooling is key—adding hot mixture to your butter can turn even the most promising chocolate ermine frosting into a runny mess!
Step 3: Cream Butter, Sugar, and Cocoa Powder
In the bowl of a stand mixer with the paddle attachment, combine the room-temperature unsalted butter, granulated sugar, and cocoa powder. Start at low speed so you don’t end up with a chocolate cloud in your kitchen, then increase to medium and beat until the mixture is light, fluffy, and evenly combined (about 2 to 3 minutes). Scrape down the bowl to ensure everything gets incorporated.
Step 4: Add the Cooled Milk Mixture
Scoop in the cooled milk and flour base with the rest of your ingredients. Beat on medium-high speed for another 2 to 3 minutes—watch as everything comes together in a transformation from layered to luscious. Pause to scrape down the sides of the bowl if needed; you want every bite of this chocolate ermine frosting as silky as possible.
Step 5: Switch Attachments and Finish with Vanilla
Swap to the whisk attachment and pour in the vanilla. Now’s the time for patience! Whip the frosting on high for 8 to 10 minutes, letting it become irresistibly light, creamy, and completely smooth. This final step gives your chocolate ermine frosting its signature airy texture and glossy finish. You won’t believe the transformation until you see (and taste) it for yourself!
How to Serve Chocolate Ermine Frosting
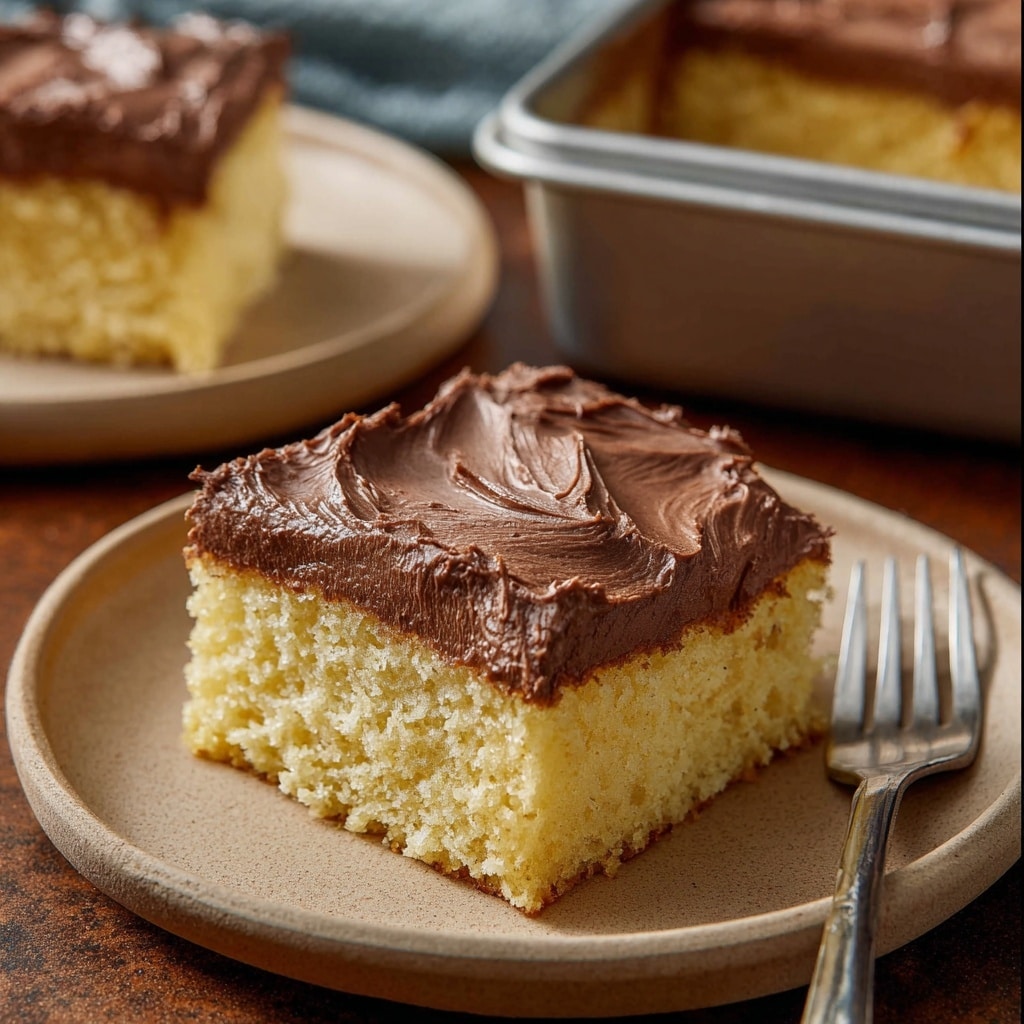
Garnishes
Top your cakes and cupcakes with an extra flourish by sprinkling chocolate shavings, curls, or even toasted nuts on the freshly piped frosting. A delicate shower of flaky sea salt can add a grown-up twist, while colorful sprinkles are perfect for birthdays and celebrations. This chocolate ermine frosting pairs beautifully with anything that adds crunch, color, or a hint of saltiness.
Side Dishes
Pair your frosted delights with a scoop of vanilla ice cream, a tangy berry compote, or even just a hot mug of coffee for a classic café experience at home. If you’re serving a celebration cake, consider plating slices alongside plump strawberries or juicy raspberries to complement the chocolate’s richness with a fruity pop.
Creative Ways to Present
Let your imagination run wild with this chocolate ermine frosting! Try piping delicate rosettes on cupcakes, creating dramatic swirls atop a sheet cake, or sandwiching it between chocolate cookies for an irresistible whoopie pie. For an impressive finish, layer your favorite cake with alternating layers of frosting and berries or crushed candy. The velvety texture holds intricate piping patterns beautifully, so go ahead—play pastry chef!
Make Ahead and Storage
Storing Leftovers
If you have any chocolate ermine frosting left (lucky you!), transfer it to an airtight container and refrigerate for up to one week. Before using, let it sit at room temperature for 30 to 60 minutes, then re-whip briefly to restore its fluffy, spreadable texture.
Freezing
Chocolate ermine frosting freezes exceptionally well. Scoop it into a freezer-safe container, pressing plastic wrap directly onto the surface before sealing with a lid. Freeze for up to three months. Thaw overnight in the refrigerator, then bring to room temperature and whip it again until light and airy.
Reheating
If your frosting stiffens up after chilling or freezing, simply let it rest at room temperature until soft. For the silkiest results, use a mixer to re-whip it for 1-2 minutes before spreading or piping. There’s no need to heat it on the stove or microwave—gentle room temperature and a good whisk are all you need to revive its cloud-like consistency.
FAQs
What makes Chocolate Ermine Frosting different from other chocolate frostings?
Chocolate ermine frosting stands out because it starts with a cooked milk and flour base, which makes it extra smooth and creamy without relying on powdered sugar. The result is a lighter, less sweet frosting with a beautiful glossy finish and that distinct old-fashioned charm.
Can I make chocolate ermine frosting ahead of time?
Absolutely! This frosting actually keeps very well. Simply store it in an airtight container in the refrigerator for up to a week. When you’re ready to use it, let it come to room temperature and give it a quick re-whip for the best texture.
Will this frosting hold up well for piping and decorating?
Yes! Chocolate ermine frosting is wonderfully sturdy yet soft, making it an excellent choice for piping everything from basic swirls to intricate designs. Just be sure not to handle it in a too-warm kitchen, as the butter base can soften if left in the heat.
Can I use regular cocoa powder instead of Dutch-processed?
You can, but Dutch-processed cocoa powder gives a deeper, smoother chocolate flavor and a darker color. If you use regular cocoa powder, expect a lighter flavor and hue, but it will still taste delicious.
Is Chocolate Ermine Frosting suitable for people who don’t like super-sweet frosting?
Definitely! One of the best parts about chocolate ermine frosting is its balanced sweetness. The cooked flour-milk base tempers the sugar, resulting in a silky chocolate frosting that even “not-too-sweet” fans love.
Final Thoughts
If you’re looking to upgrade your chocolate frosting game, Chocolate Ermine Frosting is a must-try. It’s one of those delightful recipes that surprises and impresses every time, turning even simple bakes into showstoppers. Give it a whirl—you’re in for a treat that might just earn a permanent spot in your baking repertoire!
PrintChocolate Ermine Frosting Recipe
A delightful recipe for Chocolate Ermine Frosting, a silky smooth chocolate frosting that pairs perfectly with cakes and cupcakes. Made by combining a cooked milk and flour mixture with butter, sugar, cocoa powder, and vanilla extract, this frosting is rich and luxurious.
- Prep Time: 15 minutes
- Cook Time: 5 minutes
- Total Time: 20 minutes
- Yield: 2 cups
- Category: Dessert
- Method: Mixing, Whisking, Beating
- Cuisine: American
- Diet: Vegetarian
Ingredients
For the milk mixture:
- 1 cup (245 g) whole milk
- 5 tablespoons all-purpose flour
For the frosting:
- 1 cup (2 sticks / 227 g) unsalted butter, room temperature
- 1 cup (200 g) granulated sugar
- ½ cup (59 g) Dutch-processed cocoa powder
- 1 teaspoon vanilla extract
Instructions
- Cook the milk mixture: In a medium saucepan over medium heat, whisk together the milk and flour. Cook for 3-5 minutes until thickened.
- Cool the mixture: Remove from heat and let it cool to room temperature.
- Cream butter and sugar: In a stand mixer, cream together butter, sugar, and cocoa powder until fluffy.
- Combine ingredients: Add the cooled milk mixture to the bowl and beat until light and fluffy.
- Finalize the frosting: Switch to the whisk attachment, add vanilla, and mix until smooth and creamy.
Notes
- Ensure the milk mixture is completely cooled before adding to the butter mixture.
- For a richer flavor, use high-quality cocoa powder.
Nutrition
- Serving Size: 1 tablespoon
- Calories: 70
- Sugar: 6g
- Sodium: 20mg
- Fat: 5g
- Saturated Fat: 3g
- Unsaturated Fat: 2g
- Trans Fat: 0g
- Carbohydrates: 7g
- Fiber: 1g
- Protein: 1g
- Cholesterol: 15mg

