Meet the Cannoli Cream Pie – A No-Bake Dessert Dream: a luscious, velvety pie that captures all the charm of classic Italian cannoli, but with none of the fuss. Imagine layers of creamy ricotta and mascarpone, luscious chocolate chips, and the irresistible crunch of a graham cracker crust, all coming together in a matter of minutes. If you’re seeking a showstopping treat that requires practically zero effort and absolutely no oven time, you’re about to discover your new favorite crowd-pleaser.
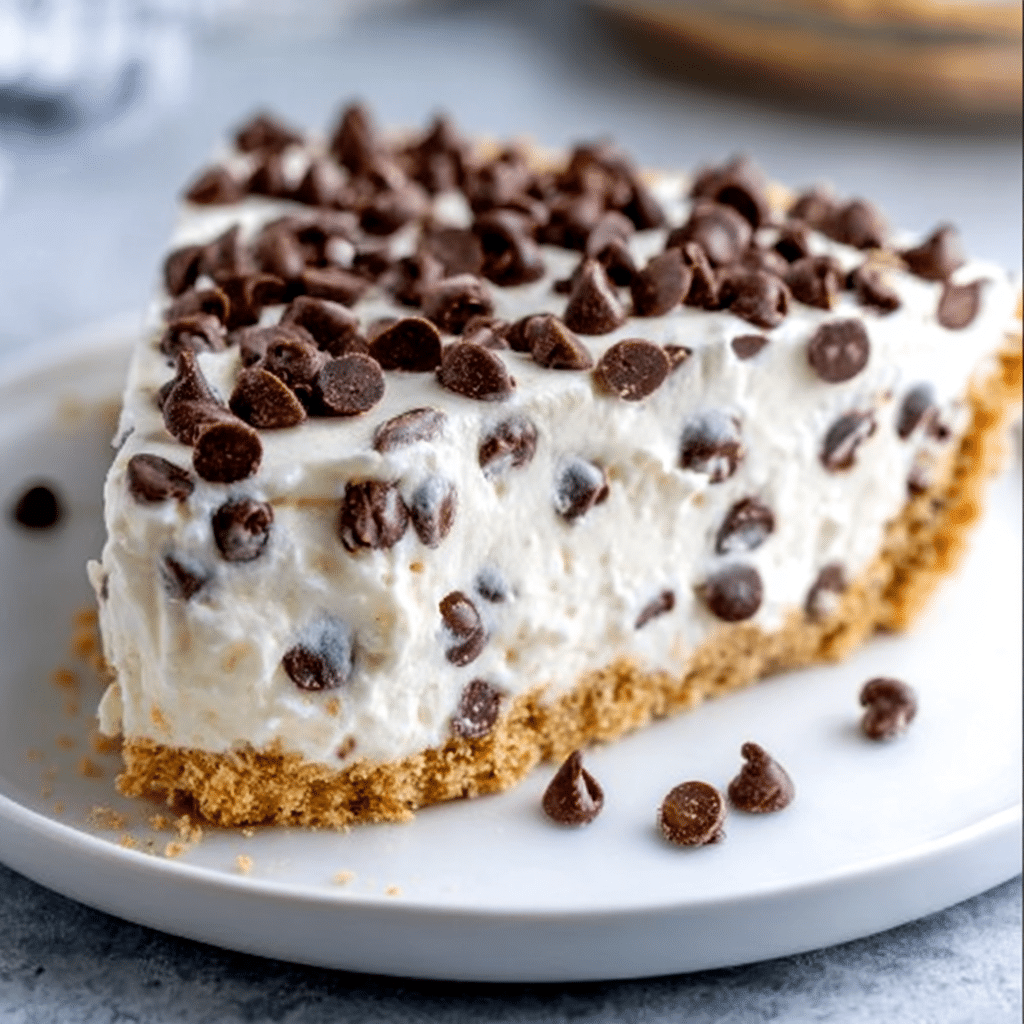
Ingredients You’ll Need
This recipe leans on a few simple, fuss-free ingredients, but each plays a starring role in making this Cannoli Cream Pie – A No-Bake Dessert Dream truly unforgettable. Every bite delivers a perfectly balanced blend of creamy, crunchy, and chocolatey elements.
- Pre-made graham cracker pie crust: The ultimate shortcut for buttery crunch and a reliable foundation that holds the creamy filling beautifully.
- Ricotta cheese: Provides that signature cannoli fluffiness and subtle, milky sweetness.
- Mascarpone or cream cheese, softened: Adds luxurious smoothness and a slight tang to the filling.
- Powdered sugar: Blends in seamlessly, lending gentle sweetness without any graininess.
- Vanilla extract: Infuses the filling with fragrant, warm flavor reminiscent of bakery-fresh cannoli.
- Cinnamon (optional): A pinch wakes up the whole dessert with cozy, classic notes.
- Mini chocolate chips, divided: Pops of rich chocolate are folded into the filling and sprinkled on top for double the delight.
- Whipped topping for garnish (optional): Elevates your pie with cloud-like swirls on each slice.
How to Make Cannoli Cream Pie – A No-Bake Dessert Dream
Step 1: Prepare the Creamy Cannoli Filling
In a large bowl, combine the ricotta, mascarpone or cream cheese, powdered sugar, vanilla extract, and a sprinkle of cinnamon if you’re using it. Beat everything together on medium speed until the mixture is silky smooth and completely blended. This is where the magic begins—smooth, thick, and irresistible, it will have you licking the spatula!
Step 2: Add Chocolate Chips to the Filling
Gently fold in 1 cup of the mini chocolate chips, making sure they’re evenly distributed throughout the creamy mixture. These little bursts of chocolate mimic the classic cannoli experience and create a delightful texture surprise in every bite.
Step 3: Fill the Pie Crust
Transfer the rich cannoli filling into your ready-made graham cracker crust. Use a spatula to spread it evenly, taking care to smooth the top all the way to the edges. The crust offers the perfect, no-hassle base for all that pillowy filling.
Step 4: Finish with Chocolate Chips
Sprinkle the reserved 1/4 cup of mini chocolate chips generously over the top of your pie. This gives your Cannoli Cream Pie – A No-Bake Dessert Dream a finishing touch that’s almost too pretty to slice—almost!
Step 5: Chill to Set
Place your pie in the refrigerator and let it chill for at least 4 hours, or even overnight if you have time. This rest allows the pie to firm up, making slicing a breeze and enhancing the flavors so every bite is heaven.
Step 6: Garnish and Serve
Once chilled, slice up your pie, add a swirl of whipped topping if you like, and get ready for the oohs and aahs. Serve it cold for the most refreshing and delightful dessert experience.
How to Serve Cannoli Cream Pie – A No-Bake Dessert Dream
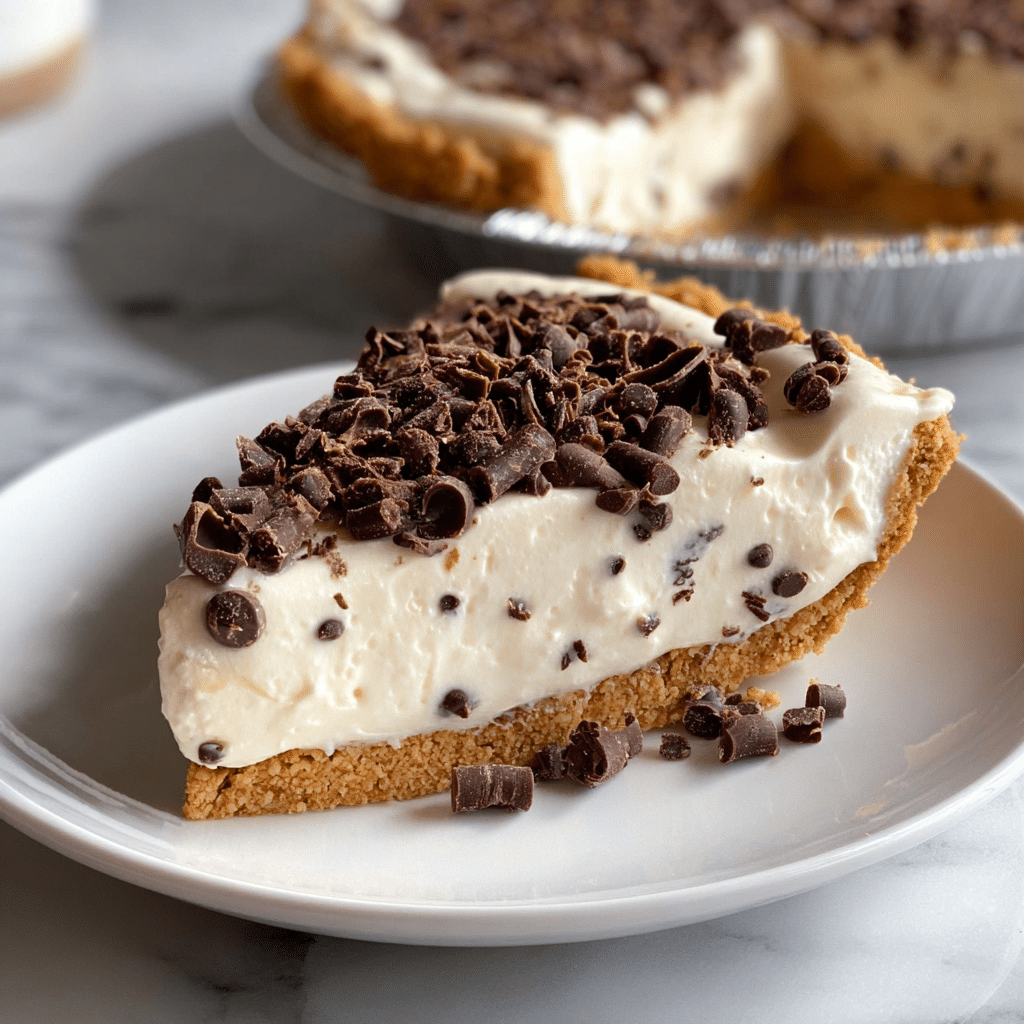
Garnishes
A dollop of whipped topping transforms each slice into a true bakery treat. For a bit of extra flair, try dusting with powdered sugar, adding a twist of orange zest, or placing a few extra mini chocolate chips or even chopped pistachios right before serving. These finishing touches make your Cannoli Cream Pie – A No-Bake Dessert Dream look as dreamy as it tastes.
Side Dishes
As rich and creamy as this pie is, it goes wonderfully with something light—think an after-dinner espresso, a glass of dessert wine, or even a bowl of fresh berries. These simple sides make each forkful feel perfectly balanced and keep the spotlight on the star of the show.
Creative Ways to Present
If you’re looking to wow at a party, consider serving slices on colorful plates with a drizzle of chocolate or caramel sauce. You can also cut the pie into bite-sized squares for a stunning dessert tray, or layer the filling in parfait glasses with broken pieces of graham cracker for a modern, deconstructed spin. Cannoli Cream Pie – A No-Bake Dessert Dream is so versatile, you can dress it up or down for any occasion!
Make Ahead and Storage
Storing Leftovers
Once everyone’s had a slice (or two), cover the pie tightly with plastic wrap or transfer individual slices to an airtight container. It will stay delicious in the fridge for up to four days, with the texture holding up beautifully.
Freezing
If you’re planning ahead or find yourself with extra pie, Cannoli Cream Pie – A No-Bake Dessert Dream can be frozen! Just wrap tightly and store for up to one month. Thaw overnight in the fridge for best results, and enjoy that creamy texture just as much as when it was fresh.
Reheating
No reheating required for this cool, creamy delight! If the pie’s been frozen, allow it to thaw in the refrigerator before serving. This ensures the filling retains its luscious consistency and the crust stays crisp.
FAQs
Can I use full-sized chocolate chips instead of mini?
You can, but mini chocolate chips distribute more evenly through the creamy filling and make each bite sweeter and more balanced. If all you have are full-sized chips, give them a quick chop before adding.
What’s the best way to achieve a super smooth filling?
Make sure to use well-drained ricotta cheese and softened mascarpone or cream cheese. Beating the mixture thoroughly until no lumps remain is key to achieving a silky-smooth and irresistible cannoli filling.
Is there a way to make this pie gluten-free?
Absolutely! Simply use a gluten-free graham cracker crust, which is now easy to find at most grocery stores, and double-check your chocolate chips for any gluten-containing additives.
Can I add other flavors to the filling?
Definitely—this pie loves personal twists. Try folding in a little orange zest, chopped pistachios, or even a splash of almond extract for a unique upgrade on the classic Cannoli Cream Pie – A No-Bake Dessert Dream formula.
What if I don’t like ricotta?
If ricotta isn’t your favorite, you can use all mascarpone or cream cheese for a milder, ultra-creamy result. Just know that ricotta is what gives the dessert its signature cannoli flavor!
Final Thoughts
There’s nothing quite like the moment you slice into a chilled Cannoli Cream Pie – A No-Bake Dessert Dream and serve it to eager friends or family—the smiles say it all. I hope you’ll treat yourself to this effortless, decadent dessert soon. Once you try just one bite, it’ll quickly become a cherished favorite in your own kitchen!
PrintCannoli Cream Pie – A No-Bake Dessert Dream Recipe
Indulge in the heavenly combination of creamy cannoli filling with a crispy graham cracker crust in this delightful Cannoli Cream Pie. This no-bake dessert is a dream come true for cannoli lovers!
- Prep Time: 15 minutes
- Total Time: 4 hours 15 minutes
- Yield: 8 servings
- Category: Dessert
- Method: No-Bake
- Cuisine: Italian
- Diet: Vegetarian
Ingredients
Pie Crust:
- 1 pre-made graham cracker pie crust
Filling:
- 1 cup ricotta cheese
- 1 cup mascarpone or cream cheese, softened
- 1/2 cup powdered sugar
- 1 teaspoon vanilla extract
- 1/2 teaspoon cinnamon, optional
- 1 and 1/4 cups mini chocolate chips, divided
- Whipped topping for garnish, optional
Instructions
- In a large bowl, beat together ricotta, mascarpone or cream cheese, powdered sugar, vanilla, and cinnamon until smooth. Gently fold in 1 cup of the mini chocolate chips.
- Spoon the filling into the pie crust and spread evenly.
- Sprinkle the remaining chocolate chips on top.
- Chill in the fridge for at least 4 hours or overnight until set.
- Slice, garnish with whipped topping if desired, and serve cold.
Nutrition
- Serving Size: 1 slice
- Calories: 370


