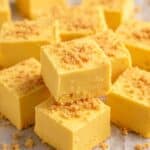
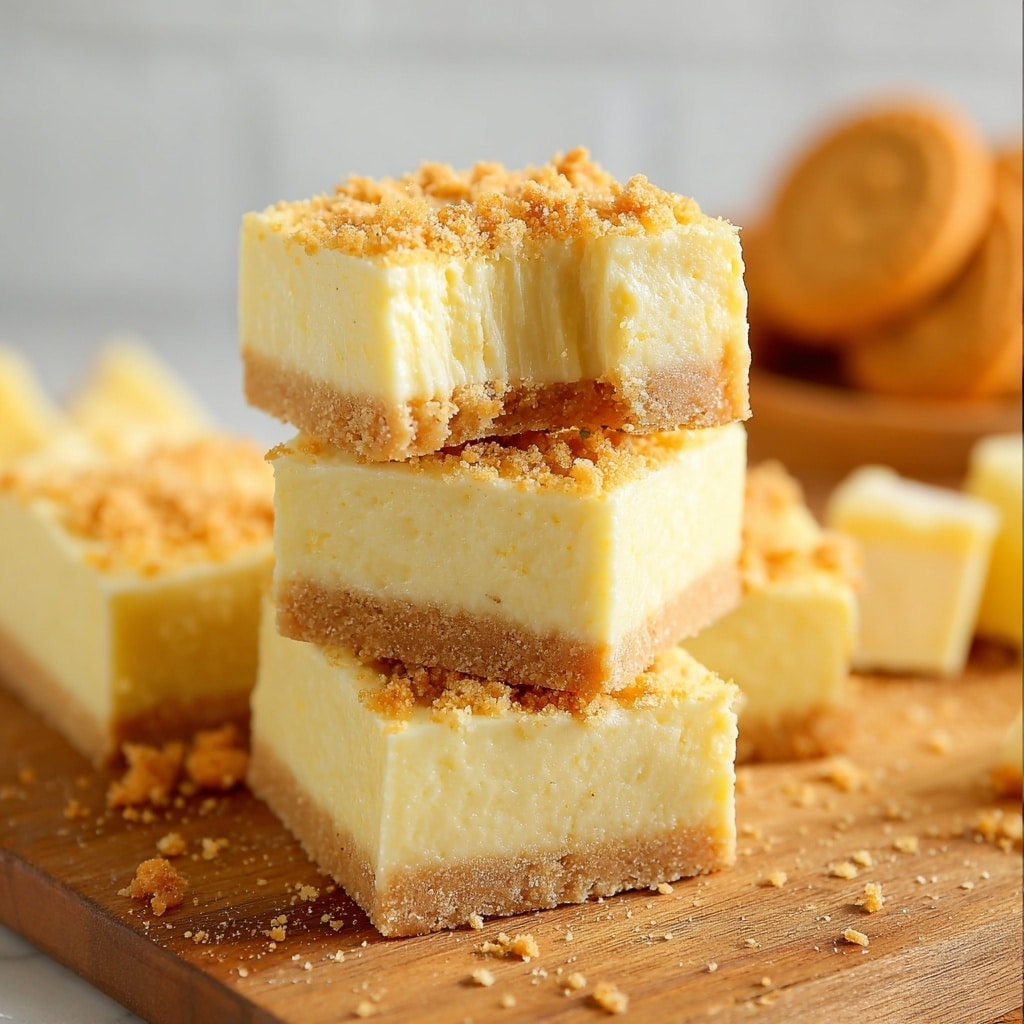
Get ready to swoon over Banana Fudge, a confection that blends classic creamy fudge with nostalgic banana flavor and a sunny pop of color. If you’ve ever loved the gooey richness of fudge but craved something playful and fruity, you’re in for a treat. This recipe is as fun to make as it is to eat, with layers of flavor that remind you of banana pudding and candy shop delights—all wrapped up in a luscious square. Whether you’re sharing these at a party or sneaking a piece with your coffee, Banana Fudge is about to be your new sweet obsession.
Ingredients You’ll Need
The beautiful thing about Banana Fudge is how a handful of pantry staples can come together for pure dessert magic. Each ingredient plays a key role, from building up that signature velvety base to infusing every bite with banana bliss and sunshine-y color. Here’s what you need and why:
- Banana flavoring: Brings that beautiful, unmistakable sweet banana note to every bite—don’t be tempted to skip it!
- Yellow food color gel: Adds instant cheer and makes it look as bright and inviting as it tastes; gel works best for vibrant, even color.
- Salted sweet cream butter: Gives classic fudge richness, with a touch of savoriness to balance the sweetness.
- Half and half: Keeps the fudge luscious and creamy, helping everything meld together smoothly.
- Heavy cream: Adds an extra dose of silkiness, making each square melt in your mouth.
- Clear vanilla flavoring: Enhances all the flavors and helps maintain that beautiful yellow color.
- Granulated sugar: Sweetens the fudge and forms its signature texture—don’t skimp on the measuring!
- White baking chips: Lend a gentle, creamy undertone that lets the banana shine through.
- Marshmallow fluff: Gives the fudge its irresistible chew and that pillowy-soft mouthfeel.
- Crushed Nilla wafers (optional garnish): Adds hints of crunch and nostalgia, like banana pudding on top of fudge!
How to Make Banana Fudge
Step 1: Prep Your Pan
Start by lining a 9×9-inch baking dish with parchment paper, ensuring the paper stretches up all four sides. This trick makes it a breeze to lift out the finished fudge later. Lightly spritz the parchment with nonstick spray so nothing sticks, then set the pan aside. You’re already halfway to fudge magic!
Step 2: Mix Flavor and Color
In a small glass bowl, combine your banana flavoring and yellow food color gel. Glass is great for mixing because it won’t stain, but a yellow or even disposable bowl works too. Stir until it’s smooth and set this sunshine-y blend aside.
Step 3: Melt the Creamy Base
Place your butter, half and half, heavy cream, and clear vanilla flavoring in a sturdy saucepan (3 to 4-quart size is perfect). Warm everything up over medium heat, stirring constantly. The butter will melt and the mixture will start to look creamy and dreamy—keep stirring to avoid burning.
Step 4: Add and Simmer the Sugar
Next, pour in the granulated sugar. Stir as the mixture comes to a simmer, which takes about 6 to 7 minutes. You want the sugar fully dissolved and the mixture just starting to bubble. Let it simmer (still stirring) for another 3 minutes, then take it off the heat. This step lays the foundation for that traditional fudge texture.
Step 5: Melt White Baking Chips
Immediately add in all the white baking chips. Pop a lid on your saucepan and let the heat work for about 3 to 4 minutes. After this rest, stir well until the chips are smoothly melted—hello, creamy fudge base!
Step 6: Add the Marshmallow Fluff
Now, scoop in the marshmallow fluff and stir until it’s completely integrated. The mixture should look glossy and so tempting—resist the urge to dip in (for now)!
Step 7: Incorporate Banana Flavor and Color
Pour the banana flavor and yellow gel mixture into your fudge base. Stir well so the entire mixture takes on that signature bright banana shade. No pale spots allowed; you want a uniform, sun-kissed yellow throughout.
Step 8: Spread and Garnish
Using a silicone or offset spatula, spread the Banana Fudge into your prepared dish, smoothing into every corner. Sprinkle the crushed Nilla wafers over the top for extra flair. Cover the pan loosely with foil.
Step 9: Cool and Slice
Let the fudge set at room temperature for 30 minutes before transferring to the refrigerator. Chill for at least four hours to let everything firm up beautifully. When you’re ready, lift out the fudge with the parchment handles, then use a sharp knife to slice it into 25 perfect squares. Wipe your knife between cuts for crisp edges—presentation matters!
How to Serve Banana Fudge
Garnishes
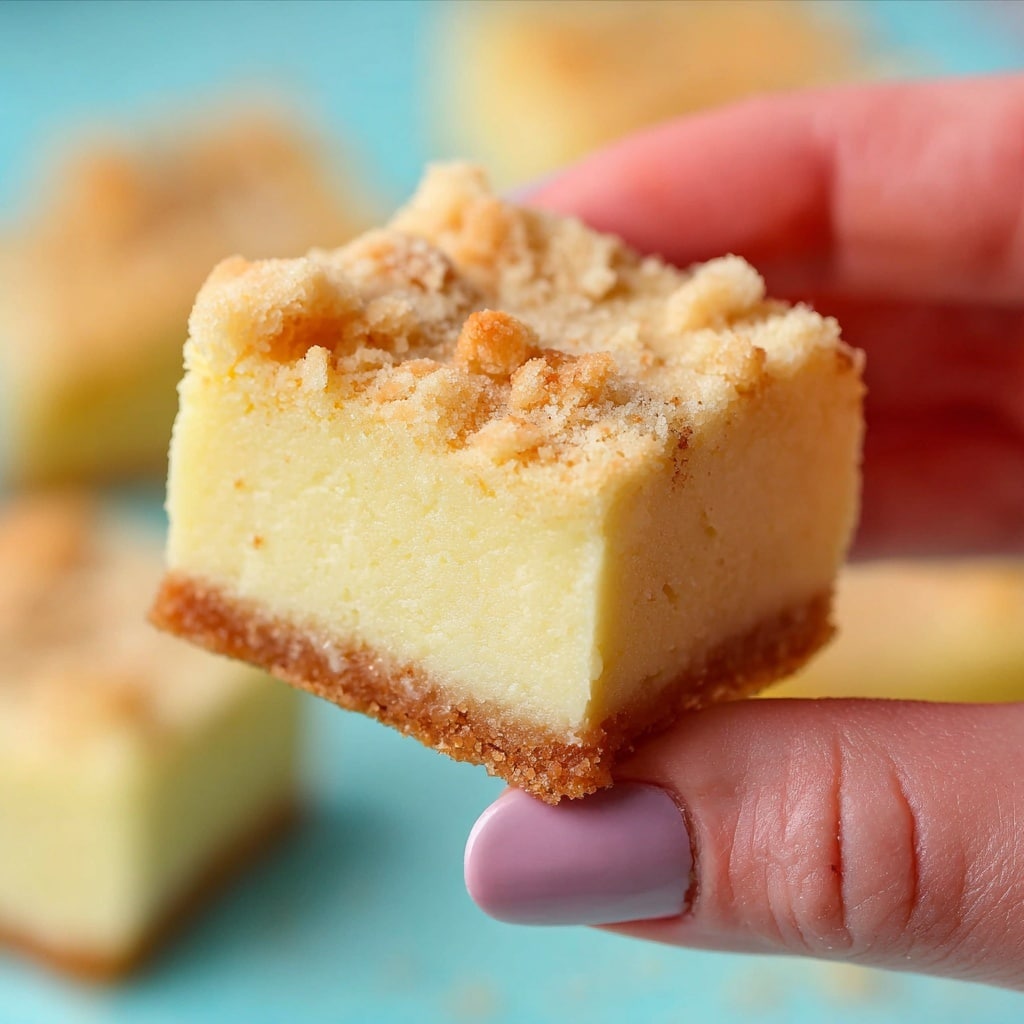
A sprinkle of crushed Nilla wafers echoes banana pudding and gives each piece a nostalgic crunch. For extra wow factor, you could drizzle a little white chocolate or even top with banana chips for crunch and color contrast. A delicate touch of flaky sea salt might surprise you by enhancing the sweetness!
Side Dishes
Banana Fudge is a star all on its own, but it honestly shines even brighter alongside creamy vanilla ice cream or a simple scoop of whipped cream. For something fun, serve it with dark-roasted coffee or hot chocolate. The contrast between rich fudge and a warm beverage is pure comfort. At parties, arrange it with fresh strawberries or other berries for a bright, refreshing note.
Creative Ways to Present
Try packaging squares of Banana Fudge in candy boxes for gift-giving, or stack them in mason jars with a cheery ribbon. Dress up a dessert tray at your next celebration with alternating rows of Banana Fudge and classic chocolate fudge for a stunning color pop. Or, serve each piece atop mini cupcake liners for an extra elegant touch at any gathering.
Make Ahead and Storage
Storing Leftovers
To keep your Banana Fudge tasting its best, store it in an airtight container in the refrigerator. This will keep it fresh for up to a week and preserves its creamy, luscious texture. To prevent pieces from sticking together, place parchment or wax paper between layers.
Freezing
Banana Fudge freezes like a dream! Once cut, place the squares in a freezer-friendly airtight container or zip-top bag, separating layers with parchment. Fudge keeps its flavor and texture for up to two months—just let it come to room temperature before serving for the best bite.
Reheating
No real reheating needed, but if you want a softer, chewier Banana Fudge, let individual slices sit at room temperature for 10–15 minutes before enjoying. Avoid microwaving, as this can melt or scorch the candy. Straight from the fridge or even slightly chilled is wonderful, especially on a warm day!
FAQs
Can I use mashed bananas instead of banana flavoring?
For this fudge recipe, banana flavoring is key because it brings concentrated, consistent banana taste without adding moisture that could mess with the creamy texture. Mashed bananas can cause the fudge to seize, so stick with the extract for perfect results.
How can I get super-clean cuts for my fudge squares?
The secret is using a large, sharp knife and wiping it off between each cut. This prevents smudging, lets the beautiful yellow color shine, and gives your Banana Fudge pieces picture-perfect edges every time.
Is there a way to make this fudge dairy-free?
Yes! Swap out the butter for a vegan baking alternative, use dairy-free white chips and marshmallow fluff, and replace the half and half and heavy cream with a rich plant-based option, such as coconut cream. The final texture may be a little softer, but it will still be delicious.
Does Banana Fudge have to be refrigerated?
Refrigeration helps keep the fudge firm and fresh, especially since it contains cream and butter. If your kitchen is cool, short-term counter storage is okay, but for longer storage or warm climates, definitely refrigerate to preserve both flavor and texture.
What can I use instead of Nilla wafers for garnish?
Feel free to get creative! Graham cracker crumbs, shortbread cookie bits, or even cinnamon sugar make great alternative toppings. You could also leave off the garnish entirely and just enjoy that creamy banana flavor on its own.
Final Thoughts
If you’re craving a dessert that’s both playful and downright irresistible, Banana Fudge is just the ticket. It’s the kind of recipe you’ll want to bring out for birthdays, picnics, or an extra-special weeknight treat. Give it a try—you’ll be amazed how fast it disappears!
PrintBanana Fudge Recipe
Indulge in the creamy sweetness of homemade banana fudge with a delightful banana flavor and a hint of yellow color, creating a treat that will captivate your taste buds.
- Prep Time: 5 minutes
- Cook Time: 15 minutes
- Total Time: 4 hours 50 minutes
- Yield: 25 pieces of fudge
- Category: Dessert
- Method: Mixing, Heating, Chilling
- Cuisine: American
- Diet: Vegetarian
Ingredients
For the Fudge:
- 2 teaspoons banana flavoring
- ½ teaspoon yellow food color gel
- ¾ cup salted sweet cream butter
- ½ cup half and half
- ⅓ cup heavy cream
- 1 teaspoon clear vanilla flavoring
- 3 cups granulated sugar, plus 2 tablespoons
- 1¾ cups white baking chips
- 7 ounces marshmallow fluff
- 2 tablespoons crushed Nilla wafers, optional garnish
Instructions
- Prepare the Baking Dish: Line a 9×9-inch baking dish with parchment paper, ensuring it covers all sides and spray with nonstick cooking spray.
- Mix Banana Flavoring: Combine banana flavoring and yellow food color gel in a small bowl and set aside.
- Heat Fudge Ingredients: In a saucepan, melt butter, half and half, heavy cream, and vanilla. Add sugar, simmer, then add white baking chips and let melt.
- Add Marshmallow Fluff: Stir in marshmallow fluff until fully incorporated.
- Incorporate Banana Flavor: Mix in the banana extract mixture until color is uniform.
- Spread Fudge: Spread the fudge into the prepared dish, sprinkle with crushed Nilla wafers, and cover.
- Chill: Let the fudge cool at room temperature for 30 minutes, then refrigerate for at least four hours. Cut into squares before serving.
Notes
- A glass or non-staining bowl is recommended for mixing.
- Stir continuously when heating ingredients to prevent burning.
- For clean cuts, wipe the knife between each slice.
Nutrition
- Serving Size: 1 piece
- Calories: 262 kcal
- Sugar: 34g
- Sodium: 54mg
- Fat: 12g
- Saturated Fat: 7g
- Unsaturated Fat: 4g
- Trans Fat: 0.2g
- Carbohydrates: 39g
- Fiber: 1g
- Protein: 1g
- Cholesterol: 21mg

