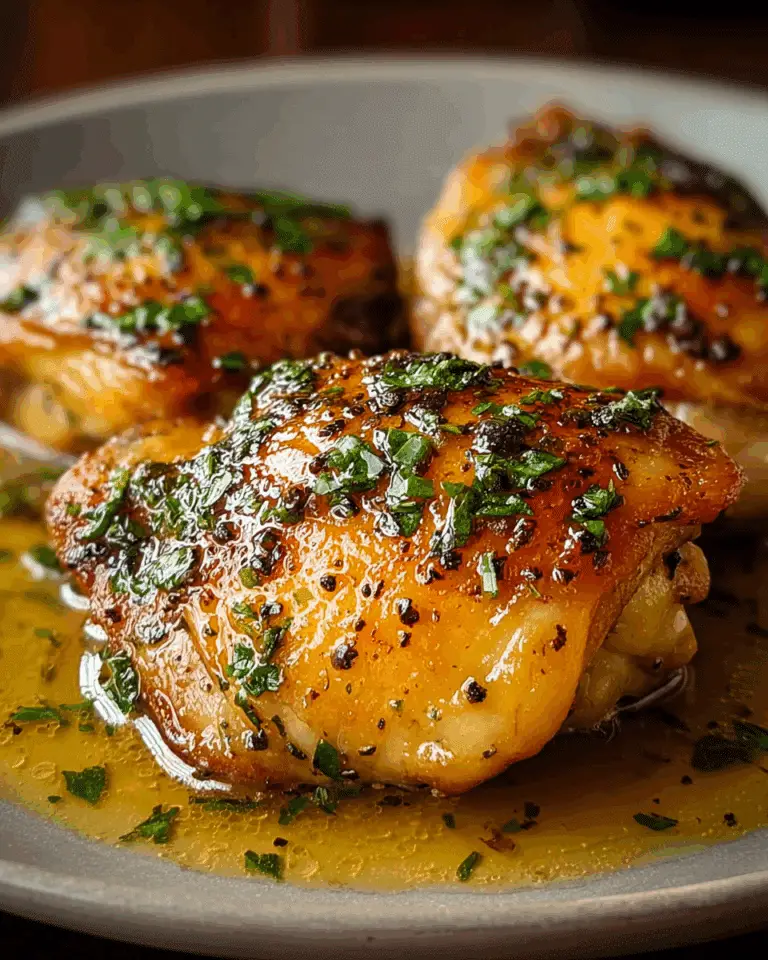
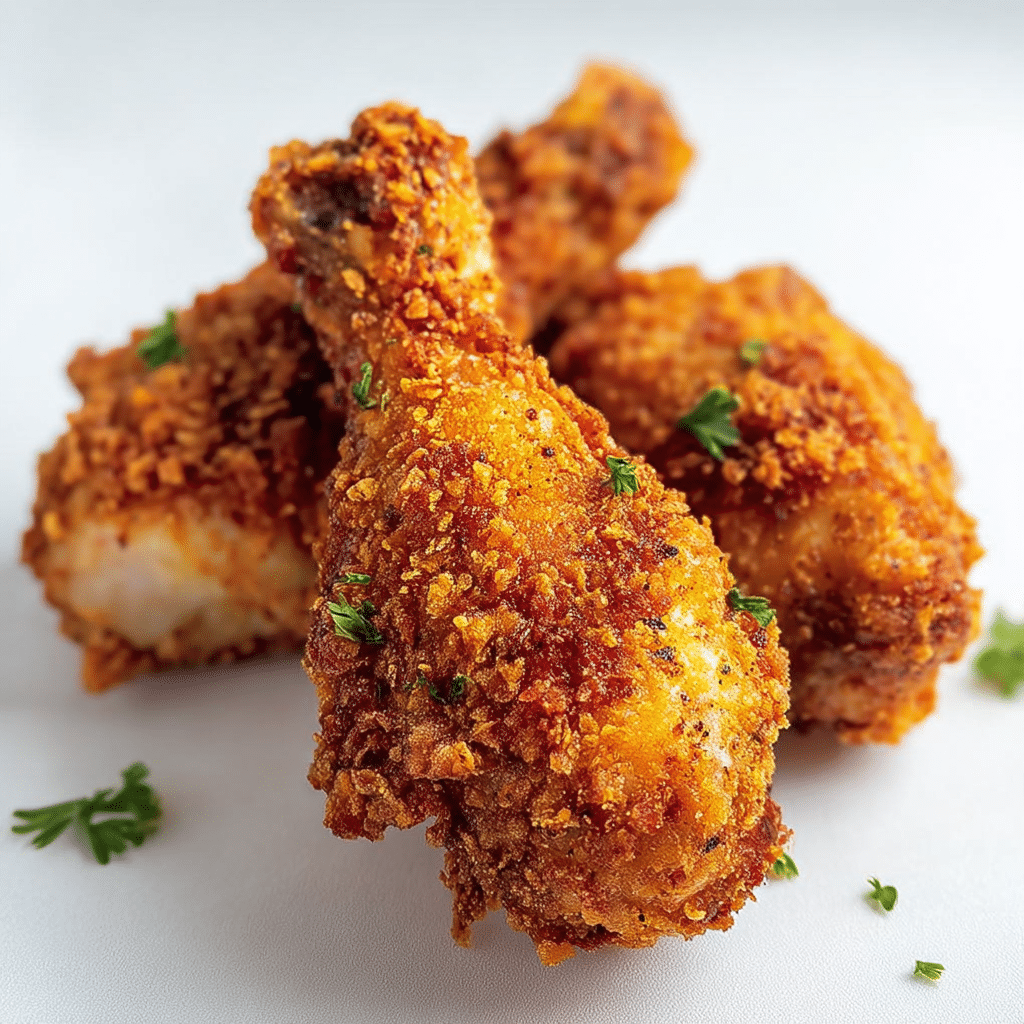
There’s just something magical about biting into a piece of Baked Fried Chicken: it’s all the thrill of crispy, golden goodness without the mess (or guilt!) of deep-frying. This recipe delivers that signature crunch with perfectly seasoned, juicy chicken tucked inside, making it a true weeknight hero. Whether you’re feeding a family, or just want to treat yourself to a classic comfort food done right, this Baked Fried Chicken belongs on your dinner table.
Ingredients You’ll Need
With just a handful of pantry staples and an easy marinade, every ingredient in Baked Fried Chicken plays a key role—no shortcuts here! Each one is chosen for maximum flavor and texture, making this dish both simple and deeply satisfying.
- Chicken breasts: Boneless, skinless, and cut into thirds for even cooking and crisp crust on each piece.
- All-purpose flour: The base for your crunchy coating; it sticks beautifully to the chicken for that fried chicken feel.
- Salt: Plain salt seasons the flour and helps highlight all the other flavors.
- Seasoned salt (like Lawry’s): Adds a burst of savory, herby goodness to every bite—don’t skip this!
- Black pepper: Just the right amount for gentle heat and balance.
- Paprika: Provides both pretty color and a subtle smokiness to round out the seasoning.
- Butter: Melts in the pan to create a luscious, golden crust that calls back to classic fried chicken.
- Buttermilk: The secret to juicy, tender chicken every single time. It’s the marinade you didn’t know you needed.
How to Make Baked Fried Chicken
Step 1: Marinate the Chicken in Buttermilk
This step is the foundation of seriously tender Baked Fried Chicken. Soak your chicken strips in a generous bowl of buttermilk, making sure each piece is fully submerged. Pop it in the fridge for 20 to 30 minutes. The buttermilk breaks down the chicken just enough to make every bite juicy and flavorful, while also ensuring the coating sticks like a dream.
Step 2: Prepare the Seasoned Flour Mixture
While the chicken is marinating, whip up your flour mixture. Combine the flour, salt, seasoned salt, black pepper, and paprika completely—using a big mixing bowl or a zip-top bag to make it easy. This step is crucial because it’s where Baked Fried Chicken gets its irresistible crust and signature flavor.
Step 3: Melt the Butter in the Pan
Cut the butter into pieces and scatter them in a 9×13-inch baking pan. Pop the pan into your preheated 400°F oven just until the butter is melted and bubbling, then tilt the pan gently to coat the bottom thoroughly. If you’re worried about sticking, add a quick spritz of cooking spray for extra insurance. This layer of butter helps create that mouthwatering, crispy exterior.
Step 4: Dredge the Chicken
Lift each piece of chicken out of the buttermilk, letting the excess drip off. Drop them into the flour mixture and coat every inch—don’t be shy. This extra attention makes your Baked Fried Chicken truly crave-worthy, with a thick, even crust on every strip. Work in batches if needed to keep everything tidy and well-coated.
Step 5: Arrange and Bake
Place your coated chicken pieces in the prepared pan, leaving a bit of space between each. This ensures they crisp up, not steam. Bake for 20 minutes in your hot oven. Then, flip each piece carefully so you get that beautiful golden color all around, and bake for another 20 minutes. By the end, your chicken will be crispy on the outside, juicy on the inside, and ready to steal the show.
How to Serve Baked Fried Chicken

Baked Fried Chicken Garnishes
The right garnish brings out the best in your Baked Fried Chicken. Try a sprinkle of chopped fresh parsley for a bright finish, a flurry of flaky sea salt for even more crunch, or a few thin lemon wedges on the side to squeeze over just before digging in. These little touches take your meal from comfort food to true showstopper.
Side Dishes
Baked Fried Chicken is just begging for some classic sides. Think creamy mashed potatoes, tangy coleslaw, or roasted corn on the cob. For something lighter, a crisp green salad with a sharp vinaigrette is wonderful, too. There’s no wrong way to round out your plate—just choose what makes you happiest.
Creative Ways to Present
If you want to shake things up, try serving Baked Fried Chicken family-style on a big platter, nestled into a mound of buttery biscuits. Or, tuck chicken strips into warm sandwich rolls with spicy mayo and pickles for a Southern-inspired chicken sandwich night. You can even slice leftovers onto salads for a lunch that’ll have everyone jealous at the office.
Make Ahead and Storage
Storing Leftovers
If you find yourself with extra Baked Fried Chicken—lucky you! Let it cool to room temperature, then place it in an airtight container in the fridge. It’ll keep well for up to 3 days, making it perfect for easy lunches or quick dinners later in the week. Just be sure to line your container with a paper towel so the crust stays as crisp as possible.
Freezing
Baked Fried Chicken freezes beautifully. Once cooled completely, arrange chicken pieces on a baking sheet and freeze until solid before transferring to a freezer bag. This way, pieces won’t stick together and will reheat more evenly. Stash them for up to 2 months and reheat straight from the freezer for a homemade meal whenever you need it.
Reheating
To bring back the just-baked crunch, reheat Baked Fried Chicken in a 400°F oven for 10 to 15 minutes. Place pieces on a wire rack set over a baking sheet so air circulates all around and the coating crisps up again. Avoid the microwave—it softens the crust and can make the chicken tough.
FAQs
Can I use thighs or drumsticks instead of chicken breasts?
Absolutely! Bone-in or boneless thighs and drumsticks work well with Baked Fried Chicken, just keep in mind that bone-in cuts may require a bit more time in the oven to cook all the way through. As always, check for an internal temperature of 170°F before serving.
What if I don’t have buttermilk?
No problem! You can make a quick substitute by combining a cup of regular milk with a tablespoon of lemon juice or vinegar. Let it sit for 5 minutes, then use it just as you would buttermilk for the marinade. The result is still fabulously tender chicken.
Can I make this recipe gluten-free?
You sure can. Swap the all-purpose flour for your favorite gluten-free flour blend (a 1:1 blend works best) and make sure your seasoned salt and any other additions are gluten-free as well. The chicken will still come out crunchy and delicious.
How do I know when the chicken is done?
The quickest way is to use a meat thermometer—look for an internal temp of 170°F in the thickest part of each piece. The coating should also be crispy and golden all over. If you don’t have a thermometer, cut into a thick piece: the juices should run clear with no pink showing.
Can I add other spices to the flour?\
Of course! The flour mixture is your palette. For some heat, try a pinch of cayenne or chili powder. Dried herbs like thyme or oregano can add even more flavor, or a hint of garlic powder for extra savory depth. Make Baked Fried Chicken truly your own.
Final Thoughts
If you’ve been craving a batch of golden, flavorful chicken without frying, this is the recipe that’ll win you over. Invite some friends, make a big pan of Baked Fried Chicken, and watch it disappear—there’s simply nothing more comforting or crowd-pleasing. You’re just one bake away from a new favorite!
PrintBaked Fried Chicken Recipe
This recipe for Baked Fried Chicken gives you all the crispy goodness of fried chicken without the hassle of deep frying. Juicy chicken strips are coated in a seasoned flour mixture and baked to perfection, resulting in a deliciously crunchy exterior with tender meat inside.
- Prep Time: 40 minutes
- Cook Time: 40 minutes
- Total Time: 1 hour 20 minutes
- Yield: 6 servings
- Category: Main Dish
- Method: Baking
- Cuisine: American
- Diet: Non-vegetarian
Ingredients
For the Chicken:
- 6 boneless, skinless chicken breasts, cut into thirds
- Buttermilk
For the Coating:
- 1 cup all-purpose flour
- 1/2 teaspoon salt
- 1 tablespoon seasoned salt (such as Lawry’s)
- 3/4 teaspoon black pepper
- 2 teaspoons paprika
- 1/4 cup (1/2 stick) butter
Instructions
- Marinate the Chicken: Place the chicken strips in a bowl of buttermilk. Cover and refrigerate for 20–30 minutes.
- Preheat the Oven: Preheat the oven to 400°F (200°C).
- Prepare the Coating: In a large resealable plastic bag or mixing bowl, combine the flour, salt, seasoned salt, pepper, and paprika. Mix thoroughly.
- Melt the Butter: Cut the butter into pieces and place in a 9×13-inch baking pan. Put the pan in the oven to melt the butter.
- Coat the Chicken: Remove the chicken from the buttermilk, letting the excess drip off. Coat each piece thoroughly in the flour mixture.
- Bake the Chicken: Arrange the coated chicken pieces in the prepared pan. Bake for 20 minutes, then turn each piece over. Bake for another 20 minutes, or until the internal temperature reaches 170°F and the coating is crispy and golden.
- Serve: Serve hot and enjoy!
Nutrition
- Serving Size: 1 serving
- Calories: 350
- Sugar: 1g
- Sodium: 800mg
- Fat: 12g
- Saturated Fat: 5g
- Unsaturated Fat: 6g
- Trans Fat: 0g
- Carbohydrates: 20g
- Fiber: 1g
- Protein: 35g
- Cholesterol: 100mg


