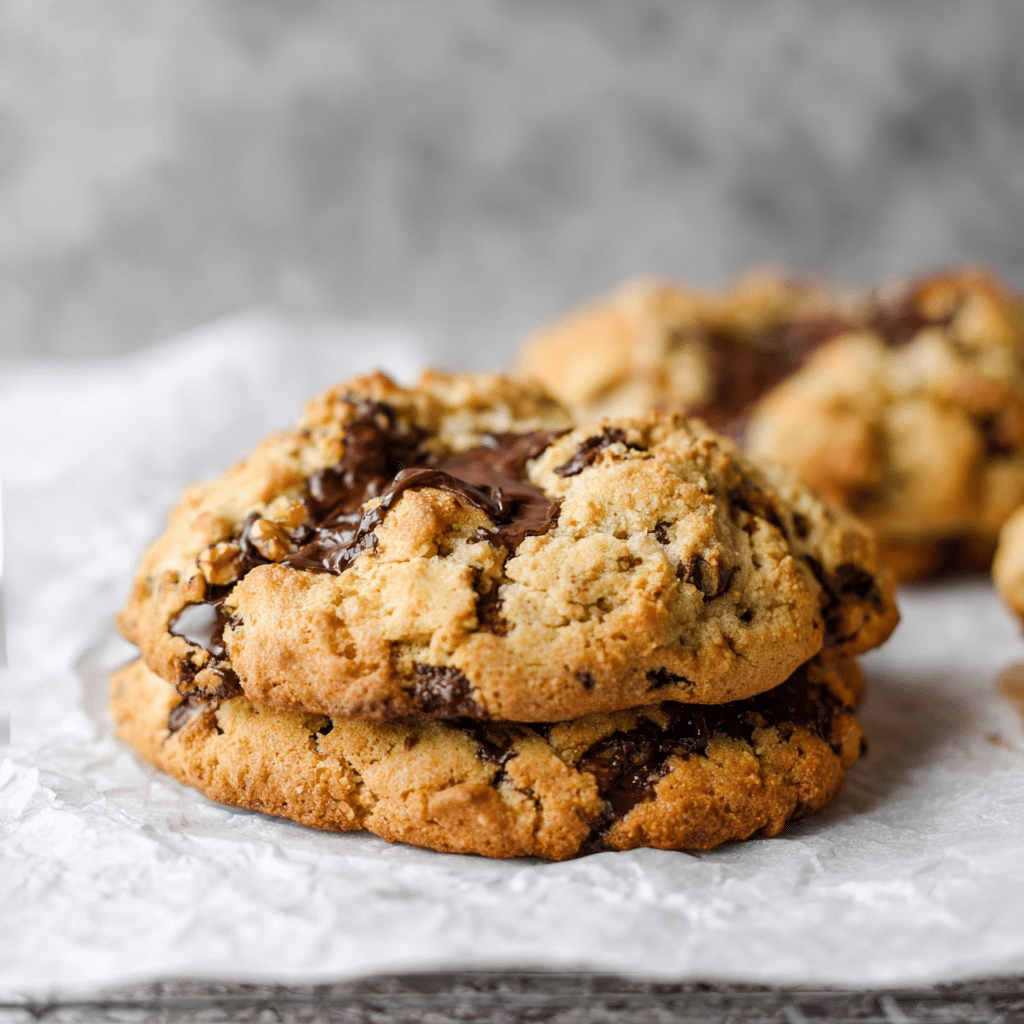
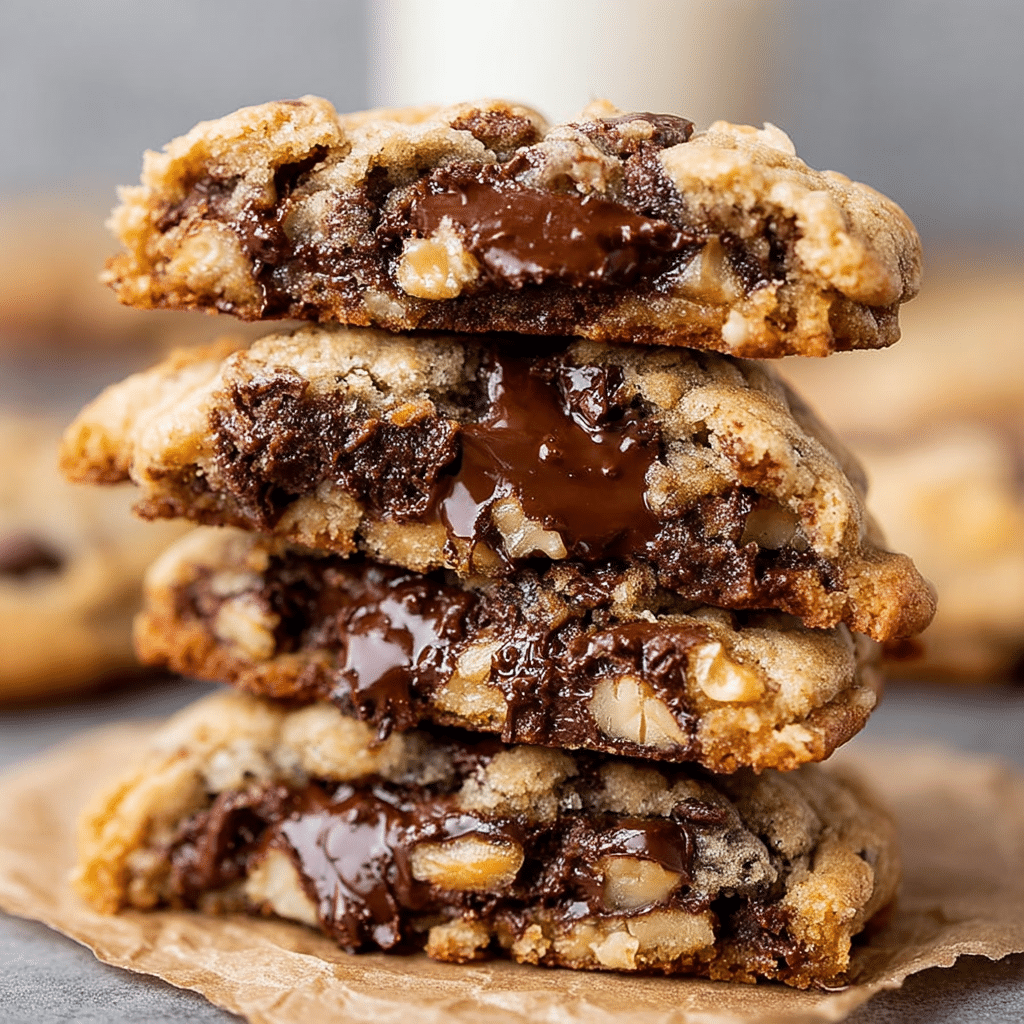
There’s something utterly irresistible about a homemade tray of Gooey Chocolate Chip Cookies, YES PLEASE! These aren’t your average cookies—they’re thick, soft, and boast gooey, melty centers jam-packed with pockets of rich chocolate and a touch of crunchy walnut. Every bite delivers that perfect contrast: crisp edges giving way to an indulgently soft middle. Whether you’re baking for a special occasion or just a Tuesday pick-me-up, this recipe promises sweet satisfaction for everyone lucky enough to snag one fresh from the oven.
Ingredients You’ll Need
Baking the perfect batch of cookies starts with familiar, everyday ingredients. Each plays a vital role in achieving those delightful, gooey bites and that bakery-style tenderness you crave. Here’s what you’ll gather to make these cookies truly special:
- Unsalted butter: Softened butter creates a tender crumb and adds deliciously rich flavor.
- Light brown sugar: This brings chewy, moist texture and a hint of caramel undertone to each bite.
- Granulated sugar: Essential for crisp edges and balancing sweetness.
- Large egg: The egg helps bind everything together and adds structure.
- Pure vanilla extract: Just a tablespoon brings big, aromatic flavor—don’t skimp!
- All-purpose flour: Provides the essential base and lovely, soft cookie crumb.
- Cornstarch: Two tablespoons are the secret to thick, ultra-soft centers—don’t skip it!
- Baking powder: Lifts the cookies for a soft rise.
- Baking soda: Gives a touch of spread and that signature golden finish.
- Salt: Just enough to balance all that sweetness and make flavors pop.
- Semi-sweet chocolate chips: A generous 12 ounces ensures every bite bursts with gooey melted chocolate.
- Walnut pieces: Half a cup brings a toasty crunch and pairs beautifully with chocolate.
How to Make Gooey Chocolate Chip Cookies, YES PLEASE!
Step 1: Cream the Butter and Sugars
Start with your butter at room temperature—soft, but not melty. Beat it together with both the brown and granulated sugars until the mixture is creamy, fluffy, and lighter in color. This infuses air and makes for a cookie with that signature chewy exterior and soft center we all love in Gooey Chocolate Chip Cookies, YES PLEASE!
Step 2: Add the Egg and Vanilla
Crack in the egg and pour in the vanilla extract. Beat again until everything is smooth and just combined. The egg brings moisture and helps bind the dough, while vanilla elevates the aroma and rounds out all those sweet notes.
Step 3: Mix the Dry Ingredients
In a separate bowl, whisk together the flour, cornstarch, baking powder, baking soda, and salt. This step ensures even distribution, so your cookies rise properly and have a soft, pillowy interior.
Step 4: Combine Wet and Dry Ingredients
Slowly add the dry mixture to your wet ingredients, mixing just until a dough forms. Be careful not to overmix, which could make the cookies tough instead of tender. Scrape down the bowl to make sure everything gets incorporated.
Step 5: Fold in Chocolate Chips and Walnuts
Gently stir in the semi-sweet chocolate chips and walnut pieces. The key here is to fold—not beat—so you don’t crush the chocolate or nuts. Now your dough will be chock-full of melty, gooey goodness and delightful crunch in every bite of Gooey Chocolate Chip Cookies, YES PLEASE!
Step 6: Chill the Dough
Let the dough chill in the refrigerator for at least 30–60 minutes. This small wait is worth it! Chilled dough spreads less, leading to thicker cookies brimming with gooey centers. If you can, make the dough a day ahead for even better flavor and texture.
Step 7: Bake Until Perfectly Golden
Preheat your oven to 350°F (175°C). Scoop generous portions of dough onto a lined baking sheet, spacing them out so they have room to spread. Bake for 10–12 minutes—just until the edges are lightly golden and set, but the centers are still soft and puffy. Let them rest on the pan for a few minutes before transferring to a cooling rack, where they will finish setting and become irresistibly gooey.
How to Serve Gooey Chocolate Chip Cookies, YES PLEASE!
Garnishes
Give your Gooey Chocolate Chip Cookies, YES PLEASE! a finishing sprinkle of flaky sea salt while they’re still warm for extra flavor and eye-catching contrast. You can also lightly dust with powdered sugar or drizzle a little melted chocolate on top if you’re feeling fancy!
Side Dishes
Nothing partners better than an ice-cold glass of milk—or, for grown-ups, a cup of dark roast coffee or creamy hot chocolate. For dessert spreads, serve alongside fresh berries, a bowl of vanilla ice cream, or tangy citrus wedges to balance the sweetness.
Creative Ways to Present
Loved by guests and family alike, play up the “YES PLEASE!” with fun ways to share: stack them in mason jars tied with ribbon, assemble mini cookie towers with a scoop of ice cream sandwiched between, or pile high on a rustic wooden board for a charming centerpiece at your next gathering.
Make Ahead and Storage
Storing Leftovers
Leftover Gooey Chocolate Chip Cookies, YES PLEASE! keep beautifully. Let cookies cool completely, then store in an airtight container at room temperature for up to four days. They’ll stay soft and gooey, with chocolatey pockets just as tempting as day one.
Freezing
Want fresh cookies whenever the craving hits? Freeze baked cookies—or just the dough! Shape scoops of dough and freeze on a baking sheet, then transfer to a freezer bag. Bake from frozen, adding a minute or two to the baking time for gooey, “just-made” treats whenever you need them.
Reheating
Bring back that fresh-baked magic by warming the cookies in a 300°F (150°C) oven for about 3–5 minutes or a quick 10–15 seconds in the microwave. The chocolate will re-melt, and you’ll rediscover those warm, gooey centers all over again.
FAQs
Can I skip the nuts or substitute them?
Absolutely! If walnuts aren’t your thing or you have allergies to consider, simply leave them out or swap for pecans, almonds, or even toasted coconut. The cookies will still have that classic Gooey Chocolate Chip Cookies, YES PLEASE! texture and taste.
Why do I need to chill the cookie dough?
Chilling the dough helps control the spread, resulting in thicker, taller cookies with gooey centers. It also allows time for flavors to meld, bringing out those iconic brown sugar and vanilla notes in every bite.
Can I make the dough ahead of time?
Yes! The dough can be made up to 48 hours in advance. Keep it covered in the fridge until you’re ready to bake, and expect even deeper flavor and better texture. Perfect for parties or prepping dessert in advance!
How do I get my cookies extra gooey in the middle?
The key is to pull them out when the edges are just barely golden and the centers look soft and slightly underbaked. They’ll firm up as they cool but stay perfectly gooey inside—truly the hallmark of Gooey Chocolate Chip Cookies, YES PLEASE!
Do I need to use parchment paper or can I bake right on the pan?
Parchment paper or a silicone baking mat is strongly recommended. It helps prevent sticking and encourages even browning, so your cookies lift easily and maintain their gorgeous, gooey shape every single time.
Final Thoughts
Baking a batch of Gooey Chocolate Chip Cookies, YES PLEASE! truly feels like an act of love—one you share with every hand that reaches into the cookie jar. Try this recipe, gather your favorite people, and get ready for endless requests for “just one more.” Happy baking!
PrintGooey Chocolate Chip Cookies, YES PLEASE! Recipe
These Gooey Chocolate Chip Cookies are a delightful treat that will satisfy any sweet tooth. With a perfect balance of sweetness and gooey texture, these cookies are a must-try for any chocolate lover.
- Prep Time: 15 minutes
- Cook Time: 10-12 minutes
- Total Time: 25-27 minutes
- Yield: Makes about 24 cookies
- Category: Dessert
- Method: Baking
- Cuisine: American
- Diet: Vegetarian
Ingredients
Dry Ingredients:
- 2 cups all-purpose flour
- 2 tablespoons cornstarch
- 1 teaspoon baking powder
- 1/2 teaspoon baking soda
- 1/2 teaspoon salt
Wet Ingredients:
- 1/2 cup unsalted butter
- 3/4 cup packed light brown sugar
- 1/4 cup granulated sugar
- 1 large egg
- 1 tablespoon pure vanilla extract
Additional:
- 12 ounces semi-sweet chocolate chips
- 1/2 cup walnut pieces
Instructions
- Preheat the Oven: Preheat your oven to 350°F (175°C) and line a baking sheet with parchment paper.
- Cream Butter and Sugars: In a mixing bowl, cream together the butter, brown sugar, and granulated sugar until light and fluffy.
- Add Wet Ingredients: Mix in the egg and vanilla extract until well combined.
- Combine Dry Ingredients: In a separate bowl, whisk together the flour, cornstarch, baking powder, baking soda, and salt.
- Combine Wet and Dry: Gradually add the dry ingredients to the wet ingredients, mixing until a smooth dough forms.
- Add Mix-Ins: Gently fold in the chocolate chips and walnut pieces.
- Scoop and Bake: Using a cookie scoop, place dough onto the prepared baking sheet and bake for about 10-12 minutes, or until the edges are lightly golden.
- Cool and Enjoy: Allow the cookies to cool on the baking sheet for a few minutes before transferring to a wire rack to cool completely. Enjoy these gooey chocolate chip cookies with a glass of milk!
Notes
- You can refrigerate the cookie dough for a few hours or overnight for a richer flavor.
- Feel free to customize these cookies with your favorite mix-ins like nuts, dried fruits, or different types of chocolate chips.
Nutrition
- Serving Size: 1 cookie
- Calories: 180
- Sugar: 12g
- Sodium: 120mg
- Fat: 8g
- Saturated Fat: 5g
- Unsaturated Fat: 3g
- Trans Fat: 0g
- Carbohydrates: 25g
- Fiber: 1g
- Protein: 2g
- Cholesterol: 20mg


