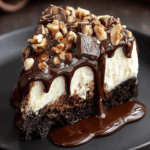
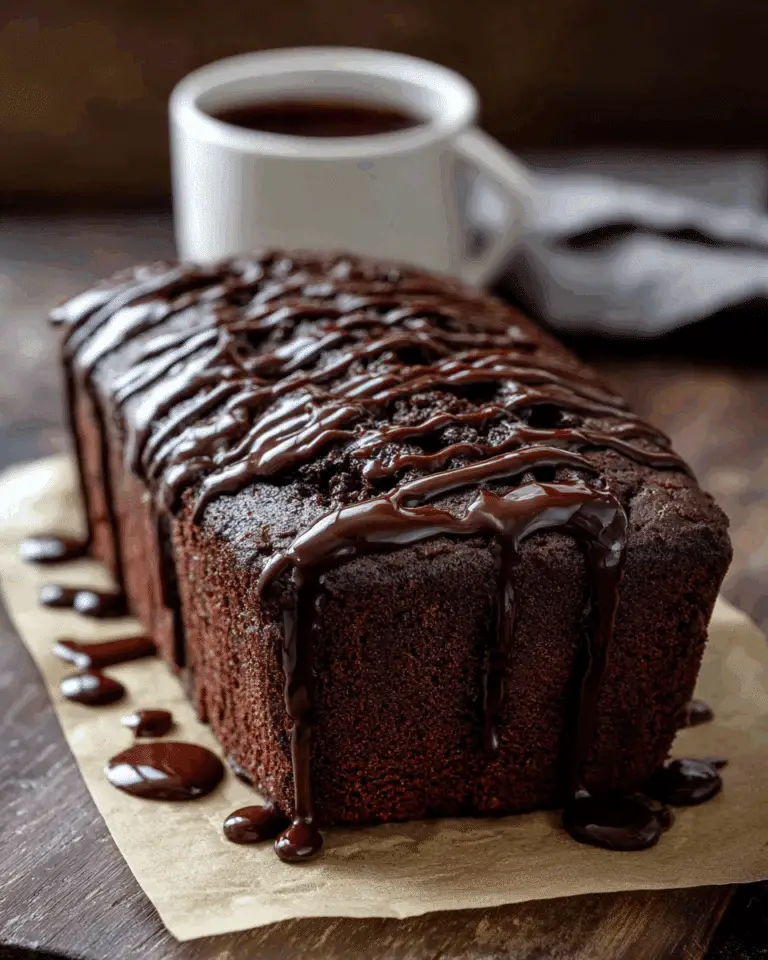
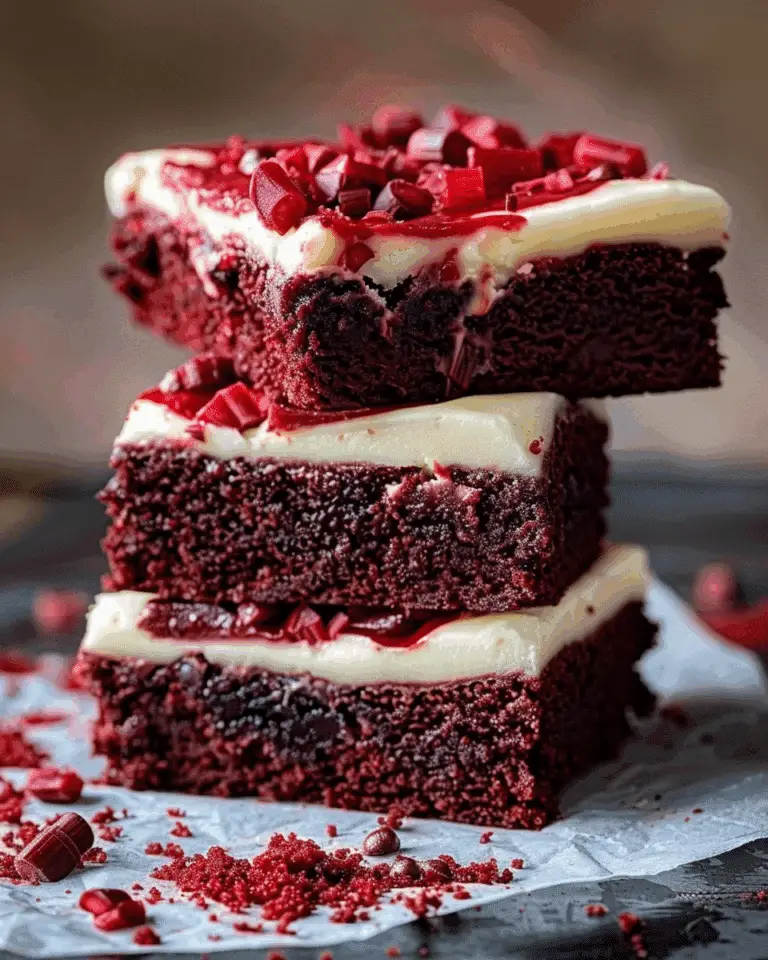
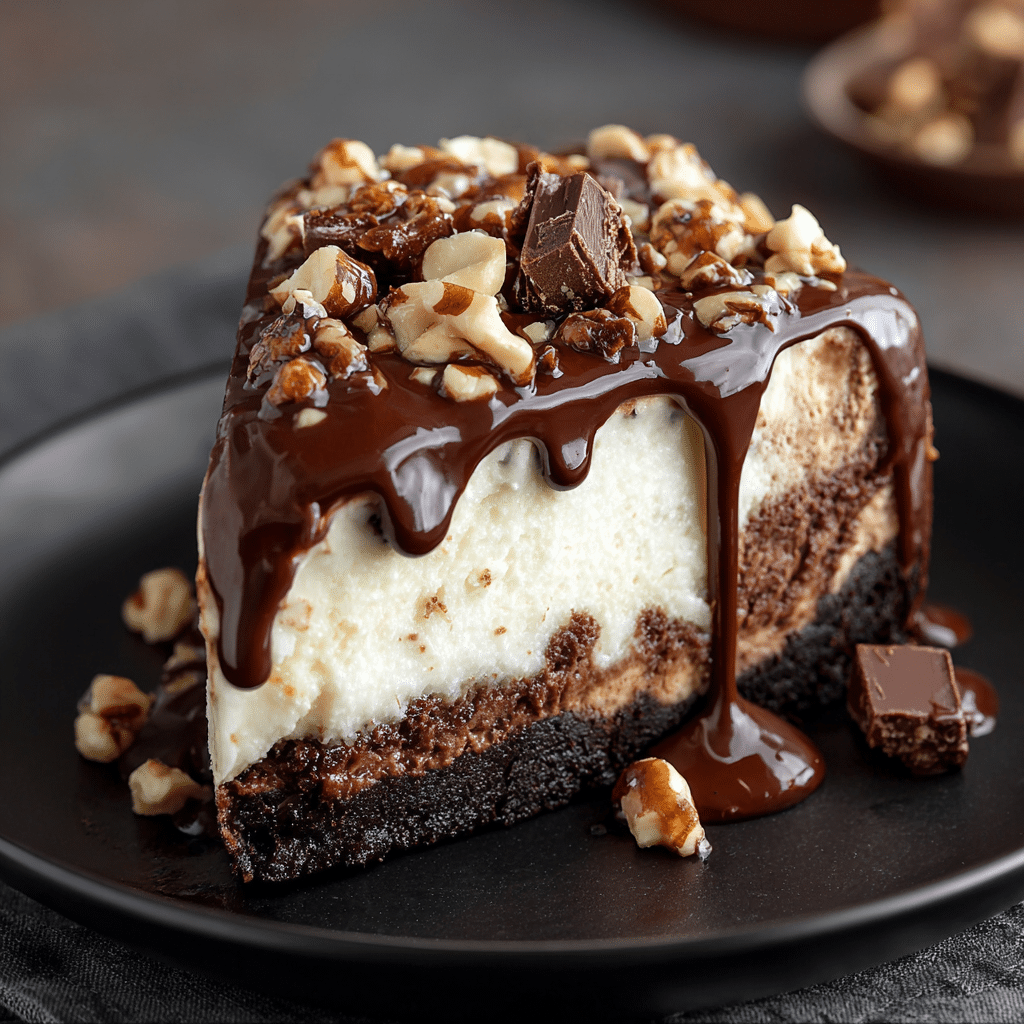
Get ready to make dessert dreams come true! This Chocolate-Vanilla Dream Dessert is a showstopping treat: layers of fluffy chocolate and vanilla pudding, billowy whipped topping, and a buttery pecan-graham cracker crust, all working in perfect harmony. If you love silky textures, nostalgic flavors, and a bit of crunch, this is your new favorite sweet. And let’s talk about those party tricks—Lightly coat a 9×13-inch glass baking dish with cooking spray, and watch how easily you slice and serve picture-perfect squares to eager guests. It’s a make-ahead masterpiece destined to steal the dessert table spotlight!
Ingredients You’ll Need
You’ll be amazed at how a handful of ordinary ingredients come together for such extraordinary flavor. Each component builds a layer of taste and texture—from the golden crunch of graham crackers to the creamy comfort of pudding. Ready to see what you’ll need?
- Melted margarine: Gives the crust its essential richness and helps bind the graham cracker crumbs together.
- Chopped pecans: Toasted for an irresistibly nutty, aromatic crunch that elevates the base.
- Graham cracker crumbs: A nostalgic, slightly sweet foundation that adds sturdy structure to each square.
- Cream cheese: Softened and whipped into the creamy layer for a tangy-smooth contrast to the sweet layers above.
- Confectioners sugar: Blends seamlessly into the cream cheese, providing delicate sweetness and a melt-in-your-mouth feel.
- Frozen whipped topping, thawed: Adds a pillowy, stable lift to both the cream cheese layer and the dreamy topping.
- Instant chocolate pudding mix: The king of chocolate creaminess—choose a high-quality mix for best results.
- Instant vanilla pudding mix: Brings comforting warmth and an elegant pale layer, perfect against the chocolate.
- Milk: Use very cold milk for quick-setting, thick puddings that won’t slide around during layering.
- Unsweetened chocolate, melted: A simple but striking garnish—drizzle or shave for a professional finish.
How to Make Lightly coat a 9×13-inch glass baking dish with cooking spray
Step 1: Prepare the Baking Dish
Before you do anything else, lightly coat a 9×13-inch glass baking dish with cooking spray. This not only keeps the layers in place when slicing but also ensures your beautiful squares slide right out—no sticking, no mess, just pure dessert bliss. Prep matters!
Step 2: Toast the Pecans
Spread your chopped pecans out on a baking sheet and toast them for 5–7 minutes in a 350°F oven. You’ll know they’ve hit peak flavor when their nutty aroma fills your kitchen and they start to deepen in color—don’t skip this step! It adds so much dimension to your crust.
Step 3: Build the Crust
In a mixing bowl, combine the graham cracker crumbs, those wonderfully toasted pecans, and the melted margarine. Mix until it feels like wet sand and holds together when pinched. Transfer the mixture to your prepared dish—remember to lightly coat a 9×13-inch glass baking dish with cooking spray first! Press the crust in firmly, making sure it’s even and about a ¼-inch thick. A measuring cup works wonders here. Chill for 15 minutes to set.
Step 4: Make the Cream Cheese Layer
Beat the softened cream cheese until it’s velvety smooth, then gradually work in the confectioners sugar for luscious sweetness. Once combined, gently fold in 1½ cups of thawed whipped topping. Think light, airy, and utterly decadent. Spread this over your chilled crust, smoothing into every corner for a sturdy, creamy base.
Step 5: Layer the Chocolate Pudding
Whisk the chocolate pudding mix with 1½ cups of very cold milk for exactly 2 minutes. You want it thick but pourable, perfect for a neat slice. Pour this over your cream cheese layer and spread gently to avoid mixing. Let it set for at least 5 minutes to firm up before the next step.
Step 6: Add the Vanilla Pudding Layer
Repeat the pudding magic with the vanilla mix and remaining 1½ cups milk. Once thickened, carefully pour and spread it on top of the chocolate pudding. Gentle hands are key—don’t rush! This layer needs a quick 5 minutes to chill and set, locking in those clean lines.
Step 7: Whipped Topping & Chocolate Garnish
Spread the rest of your whipped topping (about 2½ cups) over the vanilla layer, creating soft swoops and swirls for extra flair. Now, get fancy! Drizzle the melted unsweetened chocolate in a zig-zag—or, if you’re feeling ambitious, shave it into curls across the top for restaurant-worthy style. Refrigerate at least 4 hours (overnight is even better!) so the dessert fully sets and flavors marry beautifully.
Step 8: Serve Like a Pro
For neat squares that show off every stunning layer, use a sharp knife dipped in hot water and wiped clean between cuts. Once you wow your guests, you’ll be glad you took the time to lightly coat a 9×13-inch glass baking dish with cooking spray—it really guarantees a flawless finish!
How to Serve Lightly coat a 9×13-inch glass baking dish with cooking spray
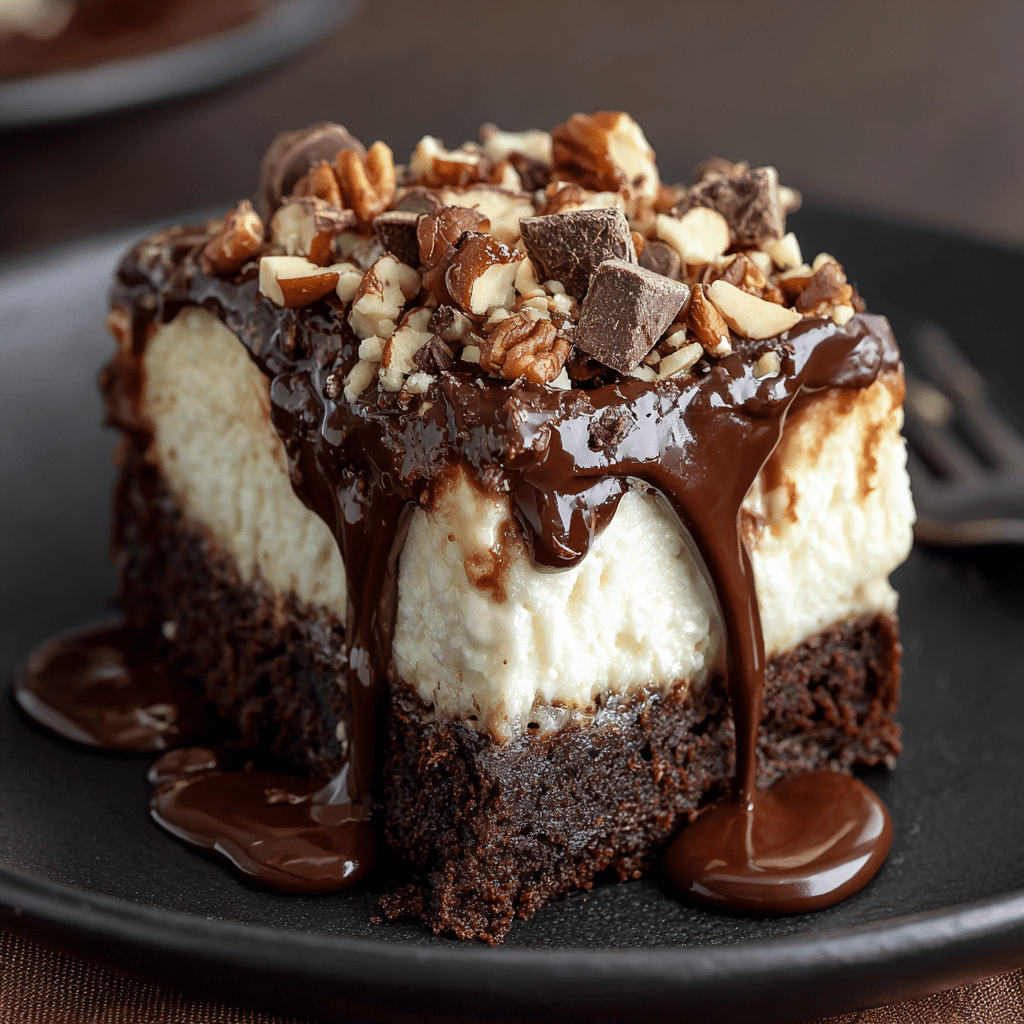
Garnishes
Let your creativity shine! After you lightly coat a 9×13-inch glass baking dish with cooking spray and reveal those beautiful dessert squares, add extra chocolate curls, chopped toasted pecans, or a dusting of cocoa powder. Even a dollop of whipped cream piped on top gives it bakery-fresh style.
Side Dishes
Pair this dreamy dessert with something fresh—think a bowl of juicy berries or a citrus fruit salad to cut the richness. A mug of strong coffee or a glass of cold milk also brings out the deep chocolate and creamy vanilla layers in just the right way.
Creative Ways to Present
Try individual parfait-style servings in glass cups to show off those gorgeous layers, or cut your squares extra small for a mini dessert platter at parties. Every time you lightly coat a 9×13-inch glass baking dish with cooking spray and slice with care, you get stunning presentation—and everyone can grab a piece with zero fuss!
Make Ahead and Storage
Storing Leftovers
Cover the dessert tightly with plastic wrap or a fitted lid and keep it chilled in the refrigerator. It will stay fresh and delicious for up to 4 days, with every layer maintaining its flavor and texture. The crust even gets a little softer, making the whole bite melt-in-your-mouth perfection.
Freezing
If you need to prep ahead, you can freeze individual squares or the entire dessert (just don’t add the whipped topping or chocolate garnish until after thawing). Wrap well in plastic wrap, then foil, and freeze for up to a month. Place in the fridge overnight to thaw before serving and finishing with the topping.
Reheating
No reheating required! This dessert is meant to be enjoyed cold, straight from the fridge. If serving after freezing, let it come up to a chilled temperature in the refrigerator—never at room temperature, since the creamy layers are happiest and safest when cold.
FAQs
Can I use butter instead of margarine in the crust?
Absolutely! Butter swaps in perfectly for margarine and brings even more delicious, golden richness to the base. Just melt it and use the same amount for fabulous results.
What if I don’t have graham cracker crumbs?
You can substitute with crushed vanilla wafers or digestive biscuits. The flavor will shift slightly, but the texture remains satisfying and sturdy, especially if you still lightly coat a 9×13-inch glass baking dish with cooking spray before pressing them in.
Can I make this dessert gluten-free?
Yes! Simply use gluten-free graham crackers or your favorite gluten-free cookie crumbs for the crust. Just make sure every other product (like pudding mix) is certified gluten-free to cover all your bases.
How do I prevent the layers from mixing when spreading?
Be gentle and use an offset spatula for best control. If your puddings are slightly set, they’ll spread more easily without sinking or mixing with the cream cheese. Always chill each layer for a few minutes before adding the next.
Is it possible to make this dessert a day in advance?
Making it ahead is encouraged! After you lightly coat a 9×13-inch glass baking dish with cooking spray and assemble everything, letting it chill overnight actually enhances the flavors and ensures neat, clean slices for serving.
Final Thoughts
If you’re searching for your next crowd-pleasing sweet, this is it. Each luscious layer brings something unique to the table, and with the clever trick to lightly coat a 9×13-inch glass baking dish with cooking spray, you’ll serve up slices that look as heavenly as they taste. I hope you give this Chocolate-Vanilla Dream Dessert a try—let it be your new go-to for celebrations, family dinners, or anytime you need a little magic in your day!
PrintLightly coat a 9×13-inch glass baking dish with cooking spray Recipe
Indulge in layers of creamy chocolate and vanilla pudding atop a buttery pecan crust. This Chocolate-Vanilla Dream Dessert is make-ahead perfection for any gathering!
- Prep Time: 30 minutes
- Cook Time: 7 minutes
- Total Time: 4 hours 37 minutes
- Yield: 12-15 servings
- Category: Dessert
- Method: Baking
- Cuisine: American
- Diet: Vegetarian
Ingredients
For the Crust:
- 1/2 cup melted margarine
- 1 cup chopped pecans
- 1 1/2 cups graham cracker crumbs
For the Cream Cheese Layer:
- 1 package (8 oz) cream cheese
- 1 cup confectioners sugar
- 4 cups frozen whipped topping, thawed
For the Pudding Layers:
- 1 package (3.9 oz) instant chocolate pudding mix
- 1 package (3.4 oz) instant vanilla pudding mix
- 3 cups milk
- 1 square (1 oz) unsweetened chocolate, melted
Instructions
- Prepare your baking dish: Lightly coat a 9×13-inch glass baking dish with cooking spray. This ensures easy serving later.
- Toast the pecans: Spread chopped pecans on a baking sheet and toast at 350°F for 5-7 minutes until fragrant and slightly darkened. You’ll know they’re ready when you can smell their rich, nutty aroma filling your kitchen.
- Layer 1: Crust
- Create the crust base: In a medium bowl, combine graham cracker crumbs, toasted pecans, and melted margarine. Mix until the texture resembles wet sand and holds together when pressed between your fingers.
- Form the crust: Press the mixture firmly and evenly into the bottom of your prepared dish using the flat bottom of a measuring cup. The crust should be compact and uniform, about ¼-inch thick. Refrigerate for 15 minutes to set.
- …
Notes
- Make sure to chill the dessert for at least 4 hours to set properly.
- Use a sharp knife dipped in hot water for clean, precise cuts.
Nutrition
- Serving Size: 1 serving
- Calories: 380 kcal
- Sugar: 24g
- Sodium: 320mg
- Fat: 25g
- Saturated Fat: 12g
- Unsaturated Fat: 10g
- Trans Fat: 0g
- Carbohydrates: 35g
- Fiber: 2g
- Protein: 4g
- Cholesterol: 30mg

