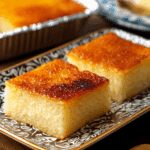
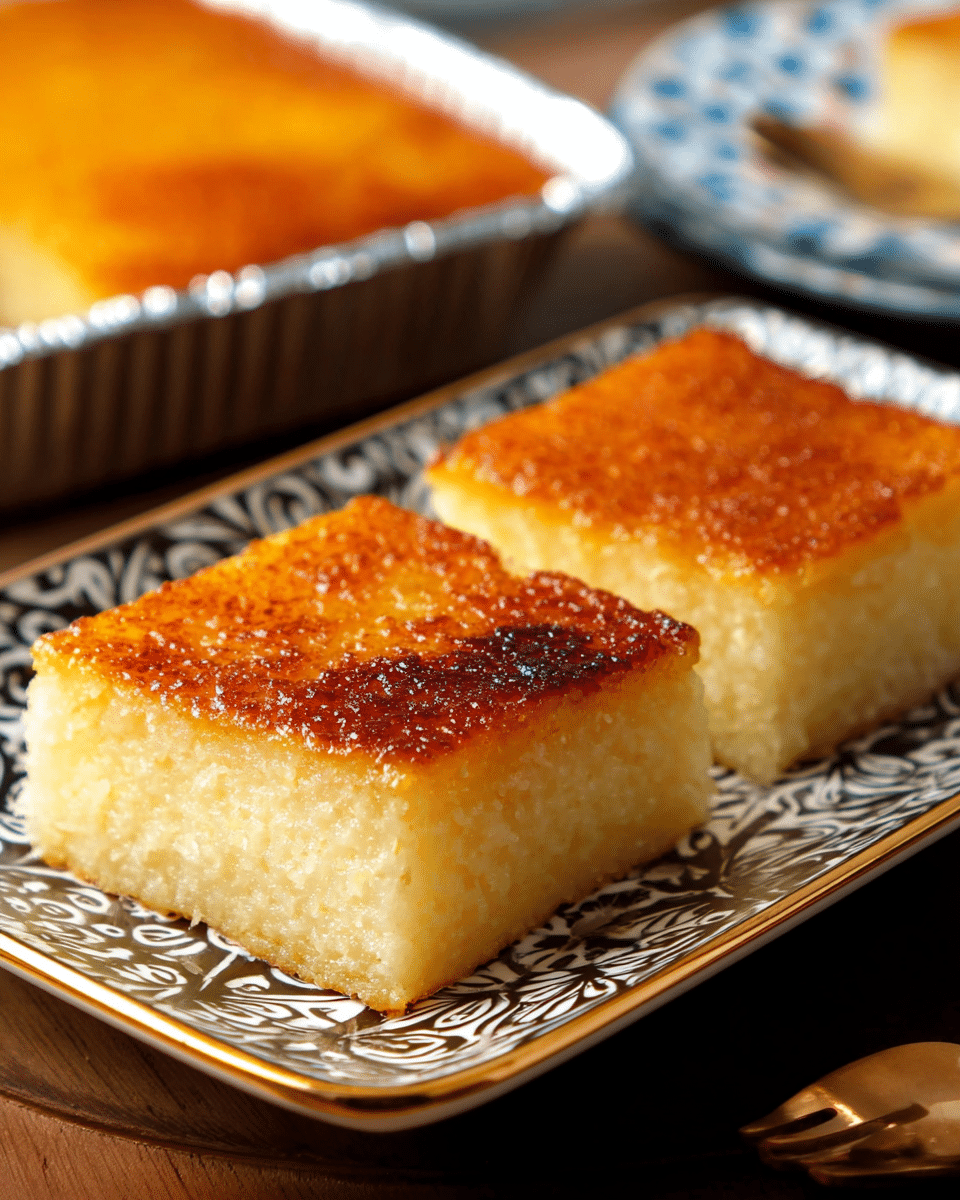
Cassava Cake is a beloved Filipino dessert that absolutely shines with its chewy texture, rich coconut flavor, and caramelized, slightly custardy topping. It’s something I eagerly look forward to at any family celebration or merienda, and every bite brings instant nostalgia. Whether you’re new to Filipino treats or grew up with these sweet cakes at every holiday, this recipe is the kind of warm, homey comfort that instantly invites folks to gather around the table.
Ingredients You’ll Need
You’ll be amazed by how a handful of classic pantry staples can create a dessert as delicious as Cassava Cake. Each ingredient adds its own irresistible layer — from creamy coconut milk to that hint of sweet, buttery richness — making every bite deeply satisfying.
- Fresh Cassava (about 4 cups): The star of the show, this tropical root gives the cake its signature chewiness and subtle sweetness.
- Coconut Milk (1 cup for the base; ½ cup for the topping): Lends creaminess and that classic tropical aroma that instantly comforts.
- Large Eggs (2 for the base; 1 for the topping): Help bind everything together and create a subtly custardy bite.
- Melted Butter (¼ cup): Adds rich, buttery undertones to balance the sweetness.
- Evaporated Milk (1 can, 370ml): Infuses extra creaminess and moisture for that lovely soft crumb.
- Condensed Milk (1 can, 390g; ½ cup for the topping): Sweetens the cake and the topping, while adding a luscious, milky depth.
- Grated Cheese (optional): A generous sprinkle on top adds a salty, melty contrast that’s a Filipino favorite twist.
How to Make Cassava Cake
Step 1: Prep the Cassava
If you’re starting with fresh cassava, peel off the tough skin and remove the fibrous core in the center. Give the roots a good wash, then grate them finely using a box grater or food processor. For the best texture, gently squeeze out some excess juice through a fine sieve. Don’t go overboard — leave a little moisture for that perfect chewy bite.
Step 2: Mix the Batter
In a large mixing bowl, combine the grated cassava with coconut milk, eggs, evaporated milk, condensed milk, and melted butter. Stir everything together until it’s super smooth and evenly mixed. You’ll notice the batter has a naturally thick but pourable consistency — exactly what we’re looking for.
Step 3: Prepare the Pan and Bake
Grease your baking pan generously with butter, margarine, or a bit of oil to avoid sticking later. Pour in your cassava mixture and smooth it out to about an inch thick. Slide the pan onto the center rack of your preheated oven at 175°C (350°F). Bake for 45 to 60 minutes, depending on thickness, until the edges look set and the center is mostly firm.
Step 4: Make the Cassava Cake Topping
While the cake bakes, whip up that iconic topping. In a separate bowl, mix together coconut milk, condensed milk, and an egg (or two egg yolks for extra richness). Blend well until it’s silky and glossy — this will set into a golden, slightly wobbly layer that makes Cassava Cake extra indulgent.
Step 5: Top and Finish Baking
After about 50 minutes, carefully pull your cake from the oven. Pour the prepared topping over the firm base and spread it evenly. Sprinkle a generous layer of grated cheese on top if you’d like that classic salty-sweet finish. Return it to the oven for another 15 to 20 minutes, or use the broiler for a bubbly, lightly browned top. Your kitchen will soon smell irresistible!
How to Serve Cassava Cake
Garnishes
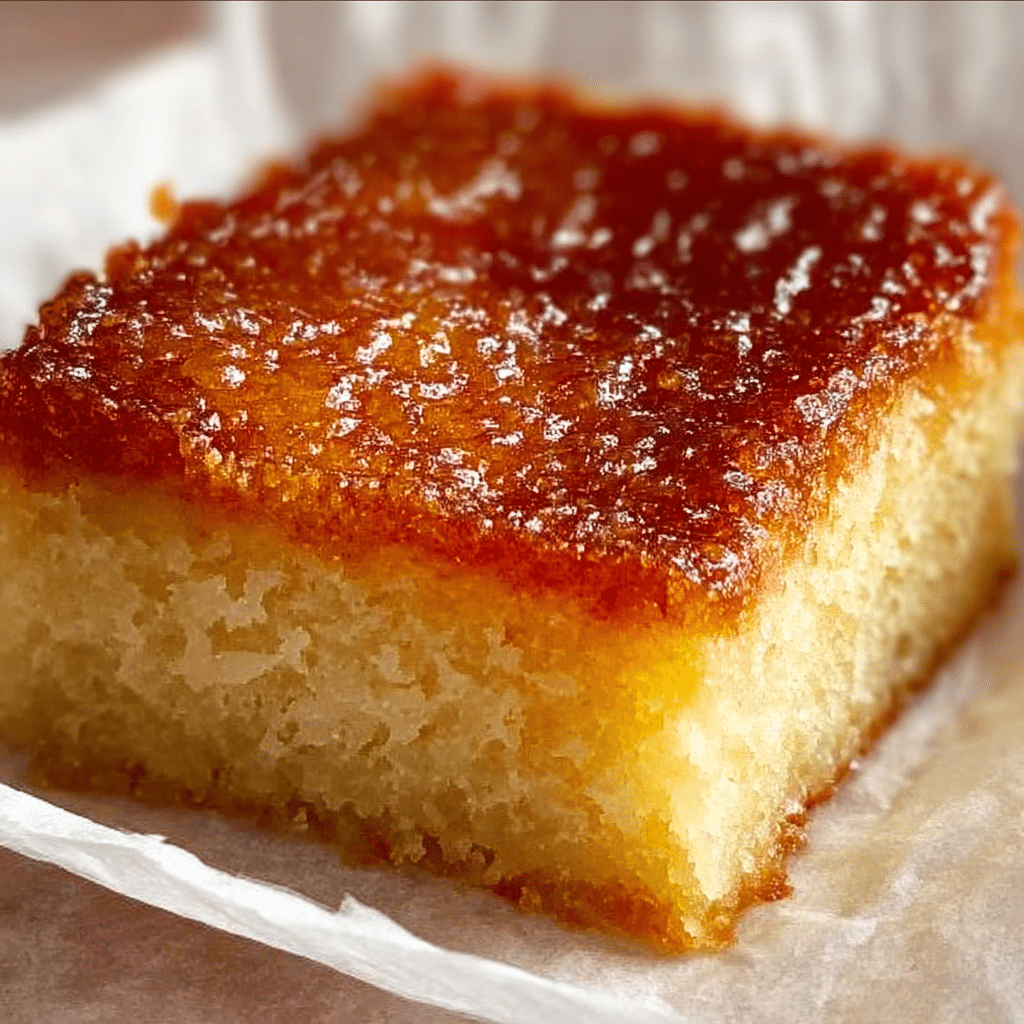
Classic Cassava Cake absolutely loves a flourish of freshly grated cheese on top. For extra dazzle, try a sprinkle of toasted coconut flakes or even a fine dusting of powdered sugar for special occasions. If you want to make your presentation pop, a few extra shreds of coconut or some vibrant pandan leaves on the platter will never go amiss.
Side Dishes
This cake can be a showstopping dessert on its own, but it’s also wonderful alongside a hot cup of coffee or jasmine tea. For a full-on Filipino merienda spread, serve it with savory snacks like lumpia or pancit for a perfect balance of sweet and savory.
Creative Ways to Present
Cut your Cassava Cake into elegant squares or diamonds for a party tray, or use small ramekins for individual mini-cakes at gatherings. For an eye-catching twist, try topping each piece with a sliver of mango, or plating it with a drizzle of extra condensed milk for a touch of decadence.
Make Ahead and Storage
Storing Leftovers
Keep any leftover Cassava Cake wrapped tightly in plastic wrap or in an airtight container in the fridge. It will stay moist and tasty for up to five days, so you can enjoy a slice (or two) whenever you have a craving.
Freezing
Cassava Cake freezes beautifully! Slice it first for easy portioning, then wrap individual pieces in plastic wrap and foil. Store in the freezer for up to two months. Thaw overnight in the fridge before serving, and it’ll taste just as wonderful as the day you baked it.
Reheating
For that freshly-baked magic, gently reheat slices in the microwave for about 20 seconds, or warm them in a low oven until heated through. This brings back the gooey, melt-in-your-mouth texture that makes Cassava Cake so unbeatable.
FAQs
Can I use frozen grated cassava instead of fresh?
Absolutely! Frozen grated cassava is a fantastic shortcut and works beautifully here. Just thaw it thoroughly first and drain any excess liquid before mixing it with other ingredients.
Is there a dairy-free option for Cassava Cake?
You can easily make this cake dairy-free by swapping evaporated milk and condensed milk for coconut evaporated milk and coconut condensed milk, both of which are now easier to find in many supermarkets or Asian groceries.
Why does my Cassava Cake sometimes turn out soggy?
Excess moisture from the cassava could be the culprit. Make sure to squeeze out just enough juice from the grated root, but don’t make it bone-dry. The cake should be moist but hold its shape once cooled.
Can I skip the cheese topping?
Yes! While grated cheese offers that well-loved sweet-salty finish, feel free to leave it off if you prefer a classic, purely sweet Cassava Cake. It’s delicious either way.
Can I double this recipe for a larger gathering?
Go for it! Double all the ingredients and use a larger baking pan. Keep in mind, a thicker cake may need a slightly longer baking time, so keep a close watch as it cooks.
Final Thoughts
Cassava Cake truly captures the heart of Filipino comfort food: gooey, rich, and never too fussy. Gather your ingredients and give it a try — I promise each slice will be both comforting and irresistibly delicious. Happy baking!
PrintCassava Cake Recipe
Delicious and moist cassava cake topped with a creamy, sweet mixture and optional cheese topping. This Filipino dessert is a favorite for special occasions and gatherings.
- Prep Time: 30 minutes
- Cook Time: 1 hour 15 minutes
- Total Time: 1 hour 45 minutes
- Yield: 1 9×13-inch cake
- Category: Dessert
- Method: Baking
- Cuisine: Filipino
- Diet: Vegetarian
Ingredients
Cassava Cake
- 1 kilo Fresh Cassava (around 4 cups)
- 1 cup coconut milk (250ml)
- 2 large eggs
- ¼ cup melted butter (or margarine)
- 1 can evaporated milk (370ml)
- 1 can condensed milk (390g)
For Toppings
- ½ cup coconut milk
- 1 large eggs (or 2 egg yolks)
- Grated cheese (optional)
- ½ cup condensed milk
Instructions
- Prepare the Cassava: Peel, grate, and drain the cassava.
- Preheat Oven: Preheat the oven to 175°C or 350°F.
- Mix Ingredients: Combine cassava, coconut milk, eggs, evaporated milk, condensed milk, and melted butter.
- Bake: Pour the mixture into a greased pan and bake for 45-60 minutes.
- Prepare Toppings: Mix coconut milk, condensed milk, and egg for the toppings.
- Add Toppings: Pour the topping mixture over the baked cassava, sprinkle with cheese (optional).
- Finish Baking: Bake for an additional 15-20 minutes or broil for 10 minutes until the top is light brown and bubbly.
If you are using fresh cassava, peel and remove the root part in the middle. Wash then grate using fine grater (for smoother texture). Using a fine sieve, squeeze some of the excess juice. Do not squeeze too hard. Just enough to remove excess juice.
After 50 minutes, get the cassava cake from the oven. Pour the toppings on the top of the baked cassava. Sprinkle with grated cheese. NOTE: Make sure that the cassava is firm and cooked before putting the topping.
Notes
- Ensure cassava is fully cooked before adding toppings.
- Adjust sweetness according to preference.
Nutrition
- Serving Size: 1 slice
- Calories: 320
- Sugar: 20g
- Sodium: 180mg
- Fat: 12g
- Saturated Fat: 8g
- Unsaturated Fat: 3g
- Trans Fat: 0g
- Carbohydrates: 45g
- Fiber: 1g
- Protein: 6g
- Cholesterol: 60mg

