
I absolutely adore making this Easy No Knead Bread Recipe because it feels like magic every time I watch simple ingredients transform into a crusty, golden loaf with almost zero effort. The flavor is wonderfully rustic and naturally developed thanks to a long, slow rise that brings out deep, yeasty notes and a chewy crumb. It’s now my go-to bread when I want a fresh-baked loaf without the fuss or the usual kneading drama.
Why You’ll Love This Easy No Knead Bread Recipe
What really hooks me about this recipe is the incredible depth of flavor and texture it delivers without demanding any complicated techniques. The crust turns perfectly crispy with a beautiful golden color, while the inside stays soft and airy. I love that I can prep it quickly, then just let it do its thing overnight. When I wake up, there’s this gorgeous dough ready to bake, filling my kitchen with that warm, comforting scent of fresh bread. It’s so satisfying and genuinely feels like a treat, especially when it’s all homemade.
This recipe stands out because it’s accessible to everyone. Whether you’re a novice in the kitchen or a seasoned baker, you don’t need fancy equipment or endless steps. No special skills are required, and yet the result looks and tastes like something from an artisan bakery. It’s perfect for family dinners, casual lunch sandwiches, or even impressing guests during holiday gatherings. I’ve also found it’s a fantastic way to slow down and enjoy the process without being rushed — something that’s rare in today’s hustle culture.
Ingredients You’ll Need
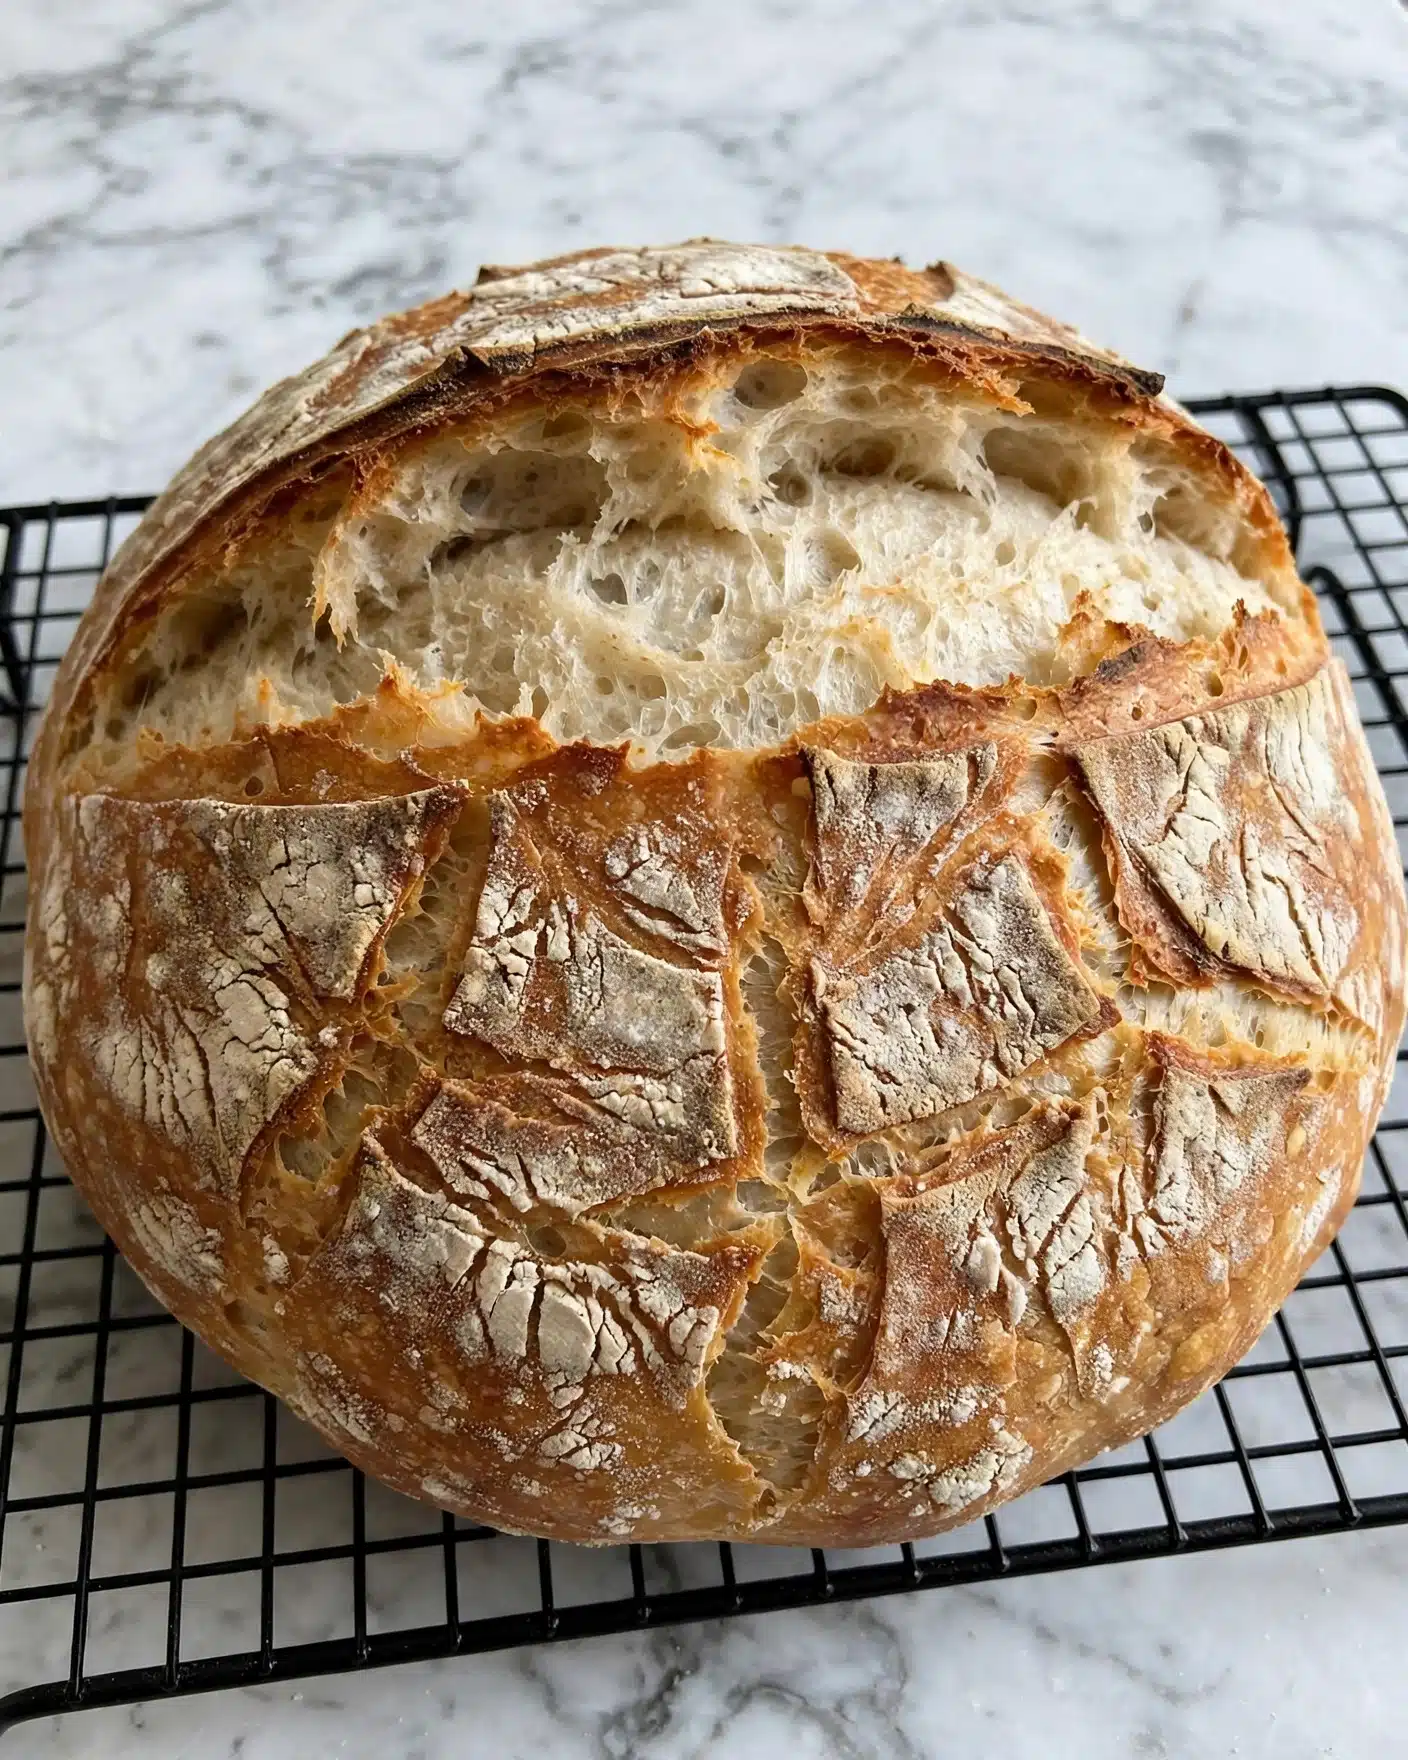
The beauty of this Easy No Knead Bread Recipe lies in its simplicity. With just a handful of basic pantry staples, each ingredient plays a vital role in creating the perfect texture, flavor, and crust that make this bread so irresistible.
- 3 cups all-purpose flour: The foundation providing structure and chewiness to the bread.
- 1 ¾ teaspoon salt: Enhances flavor and helps control yeast activity for even rising.
- ½ teaspoon active dry yeast: Brings life to the dough, though no prior activation is needed.
- 1 ½ cups water (110°F to 115°F): Hydrates the dough perfectly for fermentation and soft crumb.
Directions
Step 1: Start by mixing the flour, salt, and yeast together in a large bowl. Then pour in the warm water and stir with a spatula or wooden spoon until everything is evenly combined into a shaggy dough. Don’t worry about kneading — this dough is loose and sticky, which is exactly what you want for that airy texture.
Step 2: Cover the bowl tightly with plastic wrap and let it rise at room temperature or inside your turned-off oven for 12 to 24 hours. I usually aim for about 18 hours—it’s long enough for the dough to develop flavor without rushing, giving you that signature tang and softness.
Step 3: When you’re ready to bake, preheat your oven to 450°F and place a cast iron pot with its lid inside to heat up as well. This helps create a steamy environment which crisps up the crust beautifully. Once the oven is hot, carefully take out the pot using oven mitts.
Step 4: Flour your hands well and sprinkle some flour on the dough in the bowl. Gently lift the dough and shape it roughly into a ball. You can either drop it directly into the hot cast iron pot or place it on parchment paper first and then lower both paper and dough into the pot. The parchment paper can prevent sticking but might slightly affect crust browning on the sides.
Step 5: Cover the pot and bake for 30 minutes. Then remove the lid and continue baking for another 15 to 20 minutes, until the loaf is a gorgeous golden brown and sounds hollow when tapped. Remove the bread carefully from the pot and let it cool completely on a rack before slicing — this is key for the crumb to set inside.
Servings and Timing
This recipe yields about 10 servings, perfect for sharing with family or friends. The active prep time is quick — roughly 10 minutes to mix everything together. Then it requires a long resting period of about 12 to 24 hours for the best flavor development, followed by roughly an hour of baking and cooling time. Altogether, you’re looking at about 18 hours and 50 minutes from start to finish, mostly hands-off.
How to Serve This Easy No Knead Bread Recipe
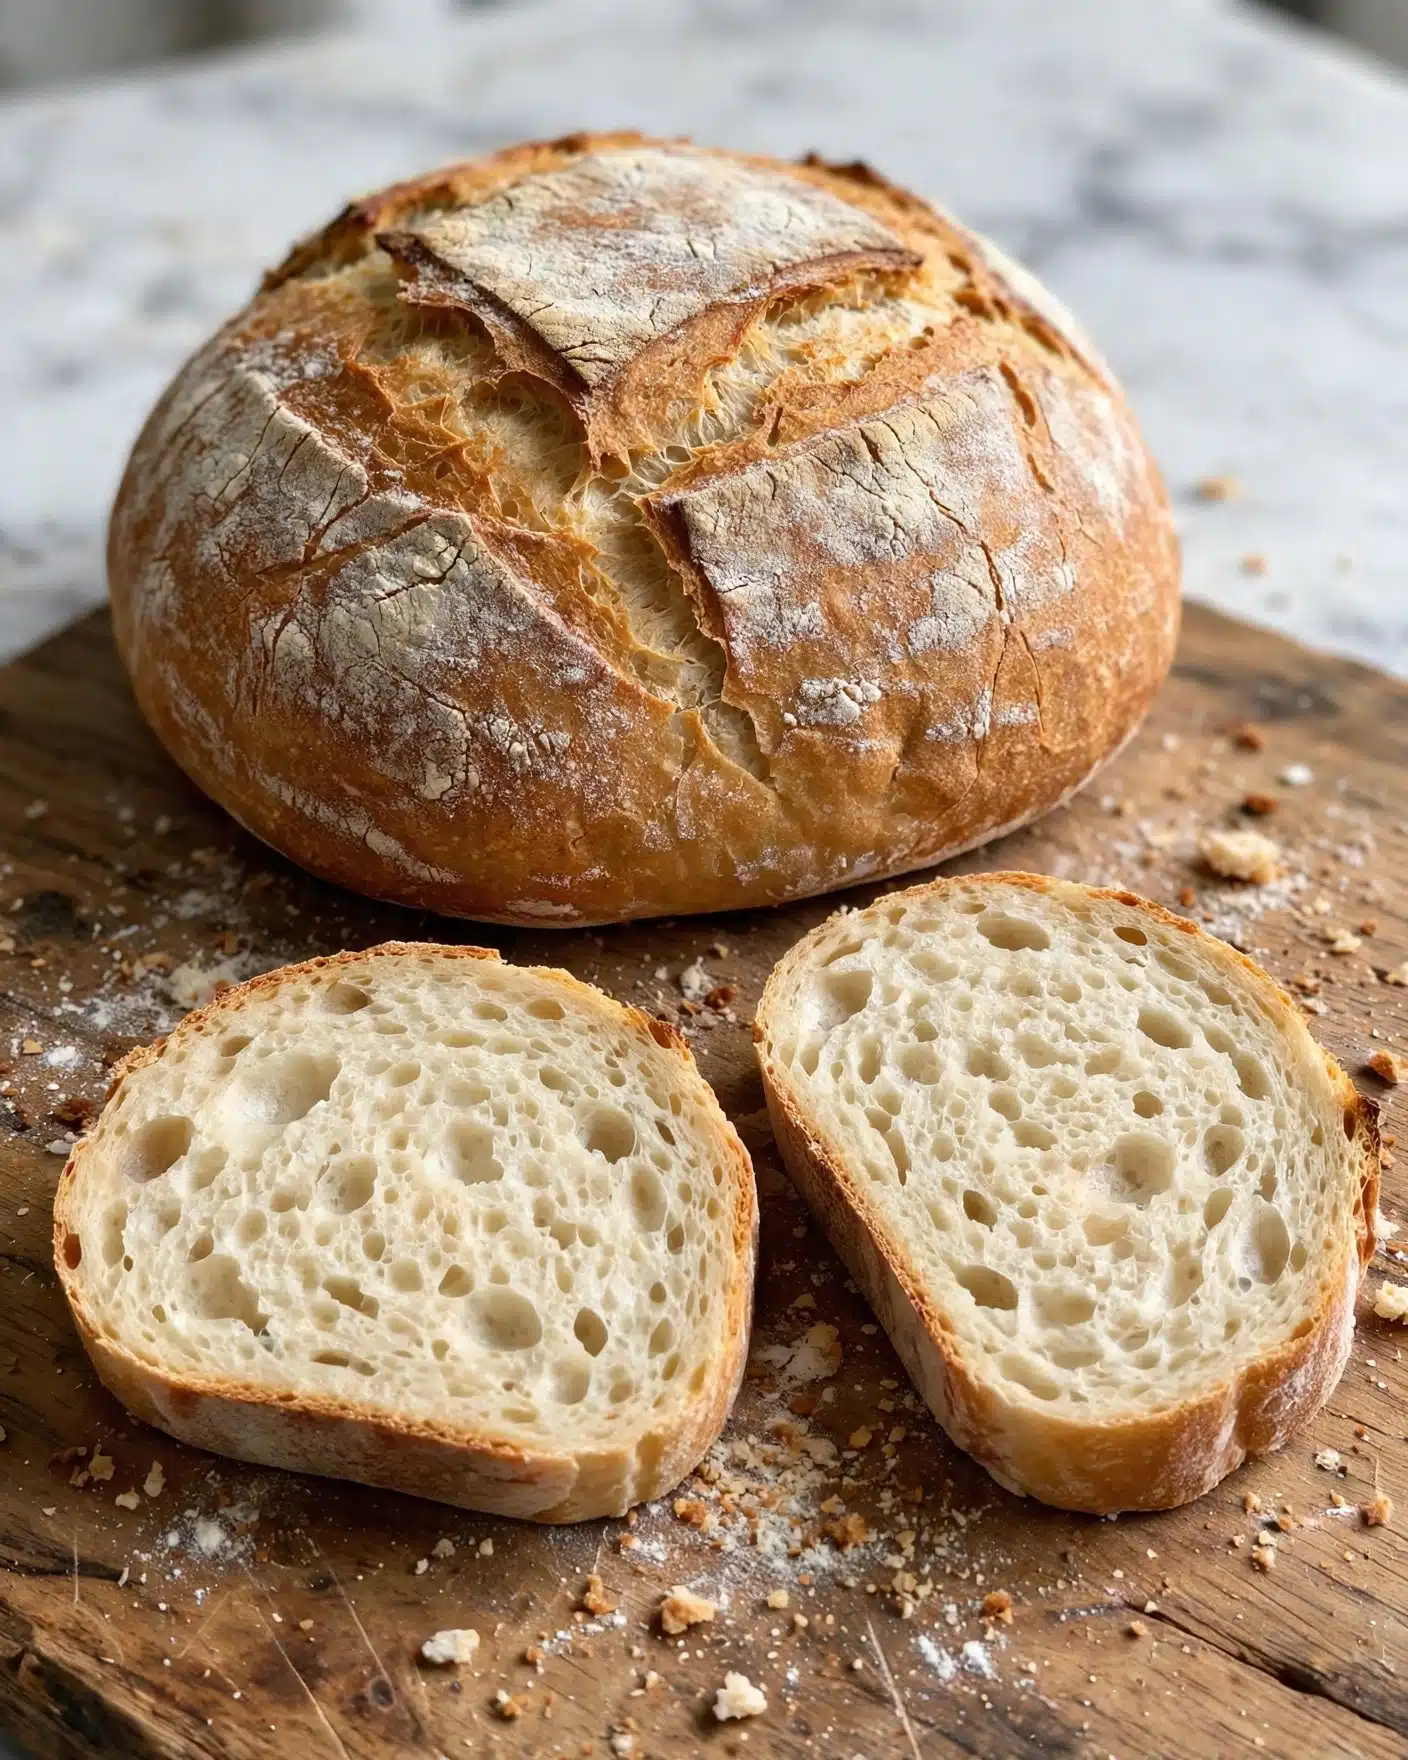
I love serving this bread warm, fresh out of the oven, with just a pat of good butter melting on top. It’s fantastic alongside hearty soups, stews, or a vibrant salad. If I’m hosting a casual gathering, I slice it thick and serve it with quality olive oil and balsamic vinegar for dipping, adding a sprinkle of fresh herbs for a colorful presentation.
For a cozy breakfast, this bread makes an amazing base for avocado toast or simply toasted with a drizzle of honey and a sprinkle of sea salt. When guests come over, I often create a rustic cheese and charcuterie board, letting this bread be the star for scooping and pairing. It’s versatile — equally delicious at room temperature for sandwiches or toasted crisp for snacking.
Beverage-wise, I pair it with a light white wine like Sauvignon Blanc or a smooth herbal tea for non-alcoholic options. This bread’s mild but complex taste really shines when paired with fresh, natural flavors. Whether it’s a casual weeknight meal or a festive occasion, I find that this bread elevates the whole experience and makes any meal feel more special.
Variations
I’ve had fun experimenting with this Easy No Knead Bread Recipe by mixing in different ingredients or tweaking techniques. For example, swapping half of the all-purpose flour for whole wheat adds a wonderful nutty flavor and a slightly denser texture, which I enjoy for a heartier loaf. You can sprinkle some seeds like sunflower or sesame on top before baking for extra crunch and visual appeal.
If you need a gluten-free option, I recommend using a gluten-free all-purpose flour blend and adding a bit of xanthan gum to achieve the right elasticity. For a vegan twist, this recipe is already perfect since it doesn’t require dairy or eggs, so it’s naturally friendly to many diets.
For flavor variations, I occasionally fold in minced garlic, fresh herbs like rosemary or thyme, or even some grated cheese to give the bread a savory kick. Instead of baking in a cast iron pot, I’ve also tried placing the dough on a baking stone with a steam tray underneath to mimic the steam effect, which works beautifully if you don’t have a Dutch oven.
Storage and Reheating
Storing Leftovers
After enjoying your bread, I always store leftovers in a paper bag or loosely wrapped in a kitchen towel on the counter. This helps maintain the crust’s crispness without trapping moisture that can lead to sogginess. It usually keeps fresh for about 2 to 3 days this way. Avoid plastic bags at room temperature, as they can soften the crust prematurely.
Freezing
If you want to save some for later, slicing the bread and freezing it in an airtight container or resealable freezer bag works great. I recommend wrapping the slices tightly in plastic wrap before bagging them for extra protection against freezer burn. Frozen bread will keep well for up to 3 months. When you’re ready, just thaw slices at room temperature or toast them straight from the freezer.
Reheating
To bring your bread back to life, I warm leftovers in the oven at 350°F for about 10 minutes. This crisp reheats the crust and refreshes the crumb nicely. I avoid microwaving because it tends to make bread rubbery or chewy. If you have a toaster oven, that’s perfect for reheating single slices with great results.
FAQs
Do I need a special type of yeast for this recipe?
No, you can use regular active dry yeast. You don’t need to activate it before mixing because the long, slow rise at room temperature is enough to get the dough developing.
Can I use whole wheat flour instead of all-purpose flour?
Absolutely! You can substitute half or all of the all-purpose flour with whole wheat for a nuttier flavor. Just expect a slightly denser loaf and maybe a bit less rise.
Is it necessary to use a cast iron pot for baking?
While a cast iron or Dutch oven pot is ideal as it traps steam beautifully for a crusty exterior, you can also bake the dough on a preheated baking stone with a pan of water to mimic steam, though results might vary slightly.
How long can I let the dough rise?
The dough can rise anywhere from 12 to 24 hours at room temperature. The longer the rise, the more developed and tangy the flavor becomes. I usually aim for around 18 hours for a perfect balance.
Why isn’t the bread crust as crispy when I use parchment paper?
Parchment can slightly reduce direct heat contact on the bottom and sides of the loaf, leading to a crust that’s a bit less browned but still wonderfully crusty and delicious overall.
Conclusion
I truly hope you’ll give this Easy No Knead Bread Recipe a try because it’s such a joy to make and enjoy. It’s straightforward, forgiving, and rewards you with a bakery-quality loaf that feels like a warm hug every time you slice into it. Baking bread at home doesn’t need to be intimidating, and this recipe proves it’s possible to create something incredible with minimal fuss and maximum flavor. Happy baking!
PrintEasy No Knead Bread Recipe

This Easy No Knead Bread recipe yields a crusty, artisan-style loaf with minimal effort. Simply mix the ingredients, let the dough rise slowly for 12 to 24 hours, and bake it in a preheated cast iron pot for a perfect homemade bread with a golden crust and soft interior.
- Prep Time: 15 minutes
- Cook Time: 50 minutes
- Total Time: 18 hours 50 minutes
- Yield: 10 servings
- Category: Bread
- Method: Baking
- Cuisine: American
- Diet: Vegetarian
Ingredients
Dry Ingredients
- 3 cups all-purpose flour
- 1 ¾ teaspoon salt
- ½ teaspoon active dry yeast
Wet Ingredients
- 1 ½ cups water (110°F to 115°F / 43°C to 46°C)
Instructions
- Form the dough: In a large bowl, combine the flour, salt, and yeast. Pour in the warm water and stir with a spatula or wooden spoon until fully incorporated. There is no need to activate the yeast separately; the long rise will allow it to work slowly.
- Allow it to rise: Cover the bowl with plastic wrap and leave it at room temperature or inside an unheated oven for 12 to 24 hours, allowing the dough to ferment and develop flavor.
- Preheat your oven: Heat the oven to 450°F (232°C). Place a cast iron pot with its lid inside the oven to preheat alongside it. When the oven reaches temperature, the pot should be very hot. Carefully remove the pot and lid using oven mitts.
- Shape the dough: Generously flour your hands and the dough surface. Gently lift the dough from the bowl and shape it roughly into a ball. Sprinkle some flour inside the hot pot. Place the dough ball into the pot directly or on a piece of parchment paper to prevent sticking. Cover with the lid and return the pot to the oven.
- Finish the bread: Bake covered for 30 minutes. Then remove the lid and bake for another 15 to 20 minutes until the bread is golden brown and crusty. Carefully remove the bread from the pot, allowing it to cool completely before slicing and serving.
Notes
- The long, slow rise replaces the kneading process, resulting in a chewy texture and complex flavor.
- Using parchment paper helps to prevent sticking and makes removing the bread easier, though it may reduce browning on the sides.
- Ensure the cast iron pot is very hot before adding the dough for a crisp crust.
- Let the bread cool fully to set the crumb before slicing.


