
I absolutely adore this Butterbeer Fudge Recipe because it captures the magical, creamy richness of butterbeer in a sweet, fudgy treat that’s incredibly easy to make. Whenever I want to bring a bit of that cozy, whimsical flavor to life in my kitchen, this fudge is my go-to. It’s the perfect combination of butterscotch and white chocolate swirled together, creating a velvety texture and taste that reminds me of the warm butterbeer from my favorite storybook moments. Trust me, once you try this, it’ll become a staple in your dessert rotation too.
Why You’ll Love This Butterbeer Fudge Recipe
The flavor of this fudge is what truly swept me off my feet. The butterscotch chips paired with sweetened condensed milk create this deep, buttery sweetness that just melts on your tongue. Then, when you add the gentle swirl of white chocolate and a hint of vanilla, it elevates the entire experience with a silky, smooth contrast that keeps you coming back for more. It tastes like a mini buttery celebration in every bite.
What really excites me about this recipe, beyond the flavor, is how simple it is to bring together. It doesn’t require fancy equipment or a lot of time making it, making it a fabulous choice whether I’m whipping it up for a holiday party or just a cozy weekend treat. Plus, it stores beautifully and slices easily, so it’s great for sharing or gifting. I’d say this Butterbeer Fudge Recipe stands out because it blends nostalgic comfort with effortless charm.
Ingredients You’ll Need
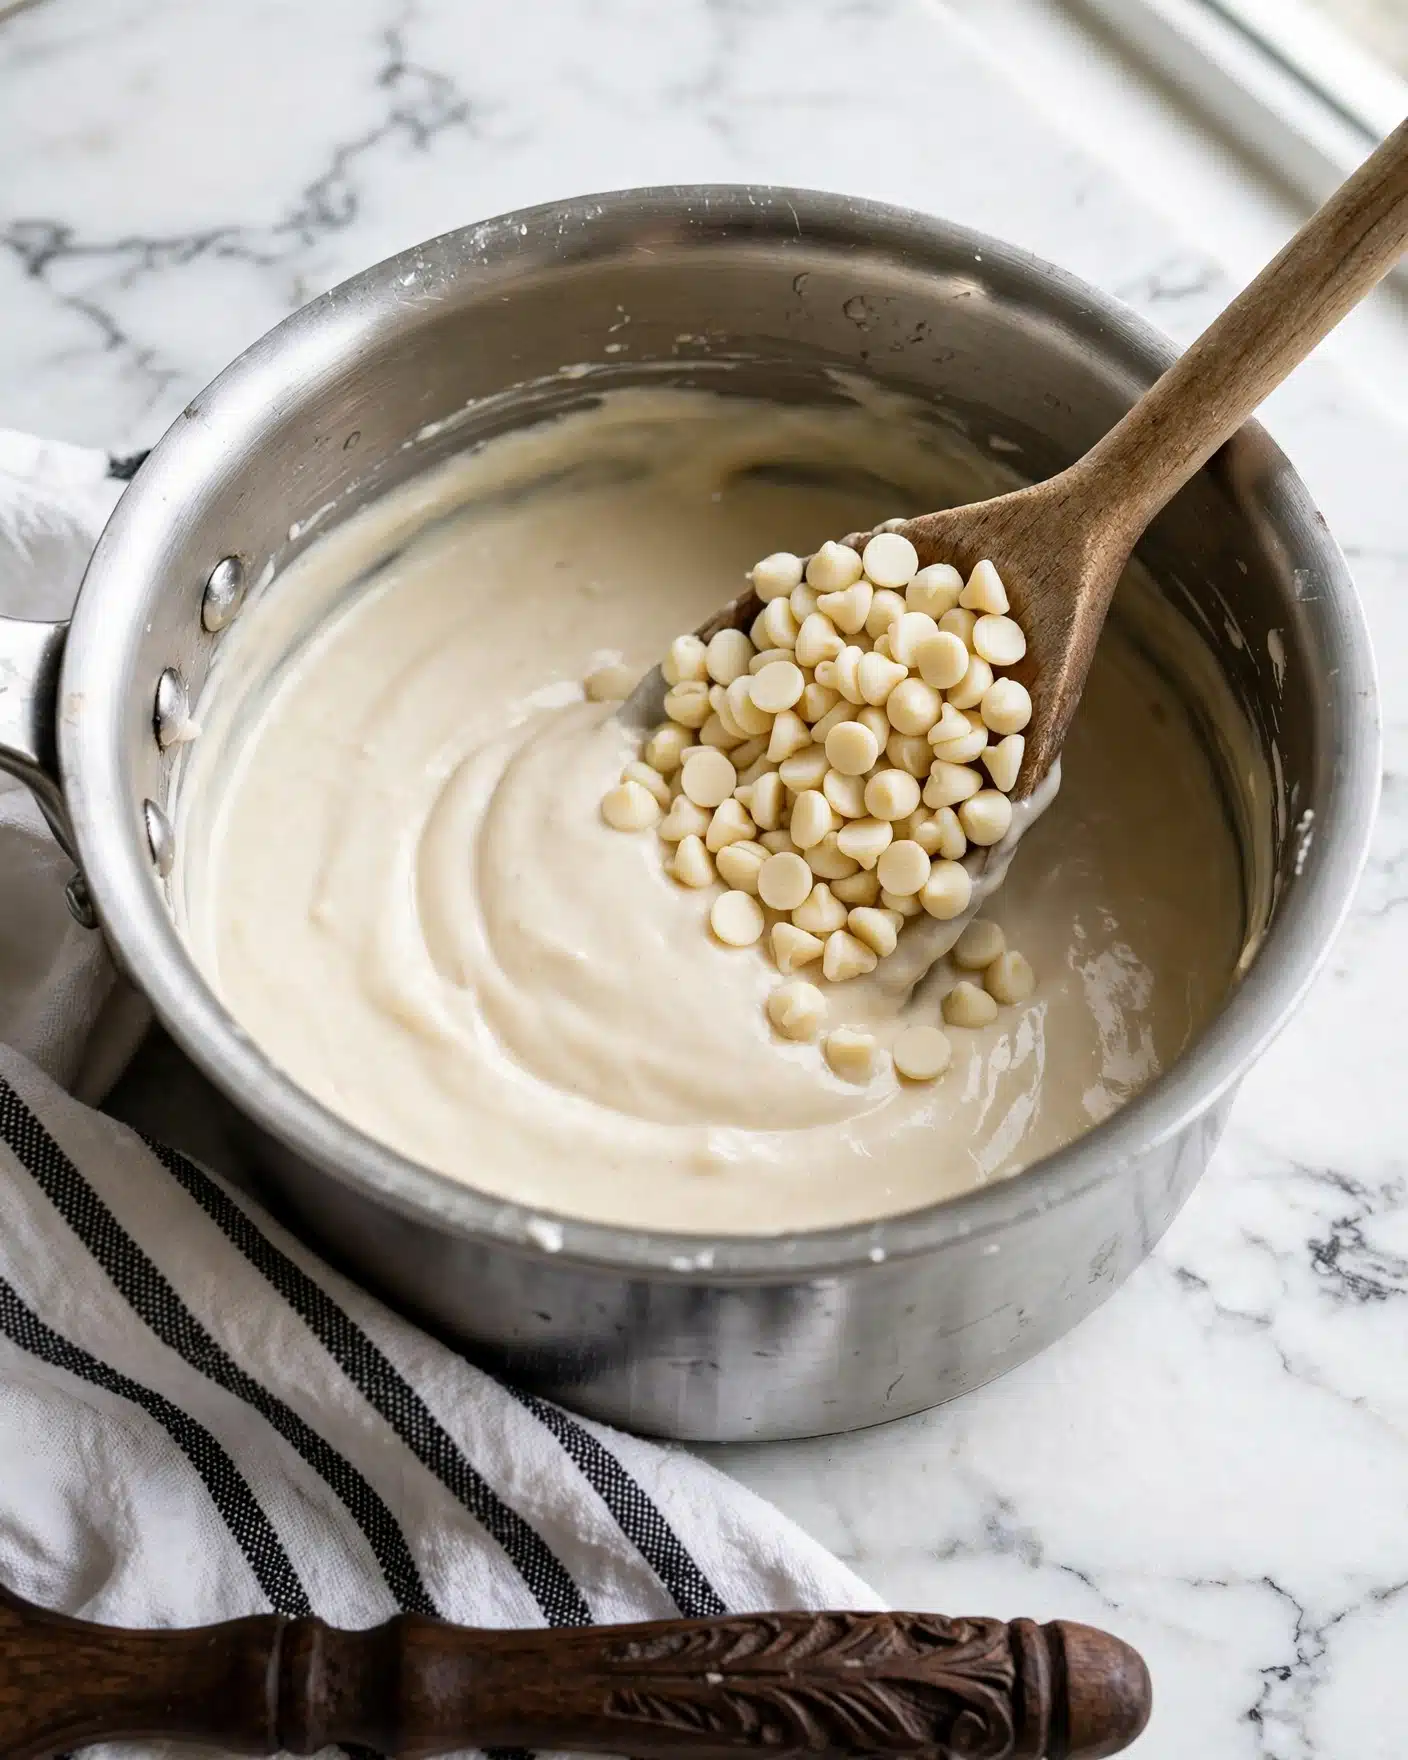
The ingredients for this fudge might be few, but each one carries a powerful role in the recipe’s flavor and texture. From the richness of the butter to the creamy sweetness of the condensed milk and the luscious melt of the chocolate chips, every single one contributes to a decadent, buttery finish.
- Butter (2 tbsp.): This adds a smooth, rich base that enhances the butterscotch flavor and creates a lovely creamy texture.
- Sweetened condensed milk (1 14-oz. can plus 1/3 cup): A key ingredient that brings sweetness and body, helping the chips melt perfectly and bind the fudge together.
- Butterscotch chips (3 cups): Packed with buttery sweetness, these chips deliver that signature butterbeer flavor in every bite.
- Pure vanilla extract (1/2 tsp.): Adds a delicate aroma and depth, perfectly balancing the sweetness.
- White chocolate chips (1 cup): They provide a creamy, smooth swirl that complements the butterscotch and makes the fudge look irresistibly beautiful.
- Marshmallow bits (1 cup, optional): I love sprinkling these on top for a little extra texture and a whimsical touch reminiscent of frothy butterbeer foam.
Directions
Step 1: Start by lining an 8-inch by 8-inch pan with aluminum foil and spraying it lightly with cooking spray. This ensures easy removal of the fudge once it’s set.
Step 2: For the butterscotch layer, melt the butter in a medium saucepan over medium-low heat. Once melted, stir in the 14-ounce can of sweetened condensed milk and the three cups of butterscotch chips. Keep stirring gently but consistently until the chips are fully melted and the mixture is smooth and combined. Avoid high heat to prevent scorching.
Step 3: Pour this warm butterscotch mixture into your prepared pan and spread it evenly to form the base layer.
Step 4: Now, make the white chocolate swirl. In a separate small saucepan over medium-low heat, combine the 1/3 cup of sweetened condensed milk, vanilla extract, and the white chocolate chips. Stir carefully until everything melts together into a smooth, glossy mixture.
Step 5: Drizzle the white chocolate mixture evenly over the butterscotch layer in the pan. Then, take a butter knife and gently swirl the two layers together to create beautiful marbled patterns. At this point, if you’re using marshmallow bits, sprinkle them on top and gently press them in with your hands to make sure they stick.
Step 6: Refrigerate the fudge for at least four hours. This resting time is crucial because it allows the fudge to firm up properly for clean slices and the best flavor texture.
Step 7: Once set, lift the fudge out of the pan using the foil edges, slice it into 12 squares, and enjoy!
Servings and Timing
This Butterbeer Fudge Recipe makes about 12 generous servings—perfect for sharing or savoring in small doses. The prep time is quick, around 15 minutes, mostly spent melting and stirring the ingredients. Then, the magic happens during the cooking steps, which take about 10 minutes combined. Remember to plan a solid four hours for chilling in the refrigerator, bringing your total time to roughly 4 hours and 15 minutes. This patience pays off with the perfect firm yet creamy fudge texture.
How to Serve This Butterbeer Fudge Recipe
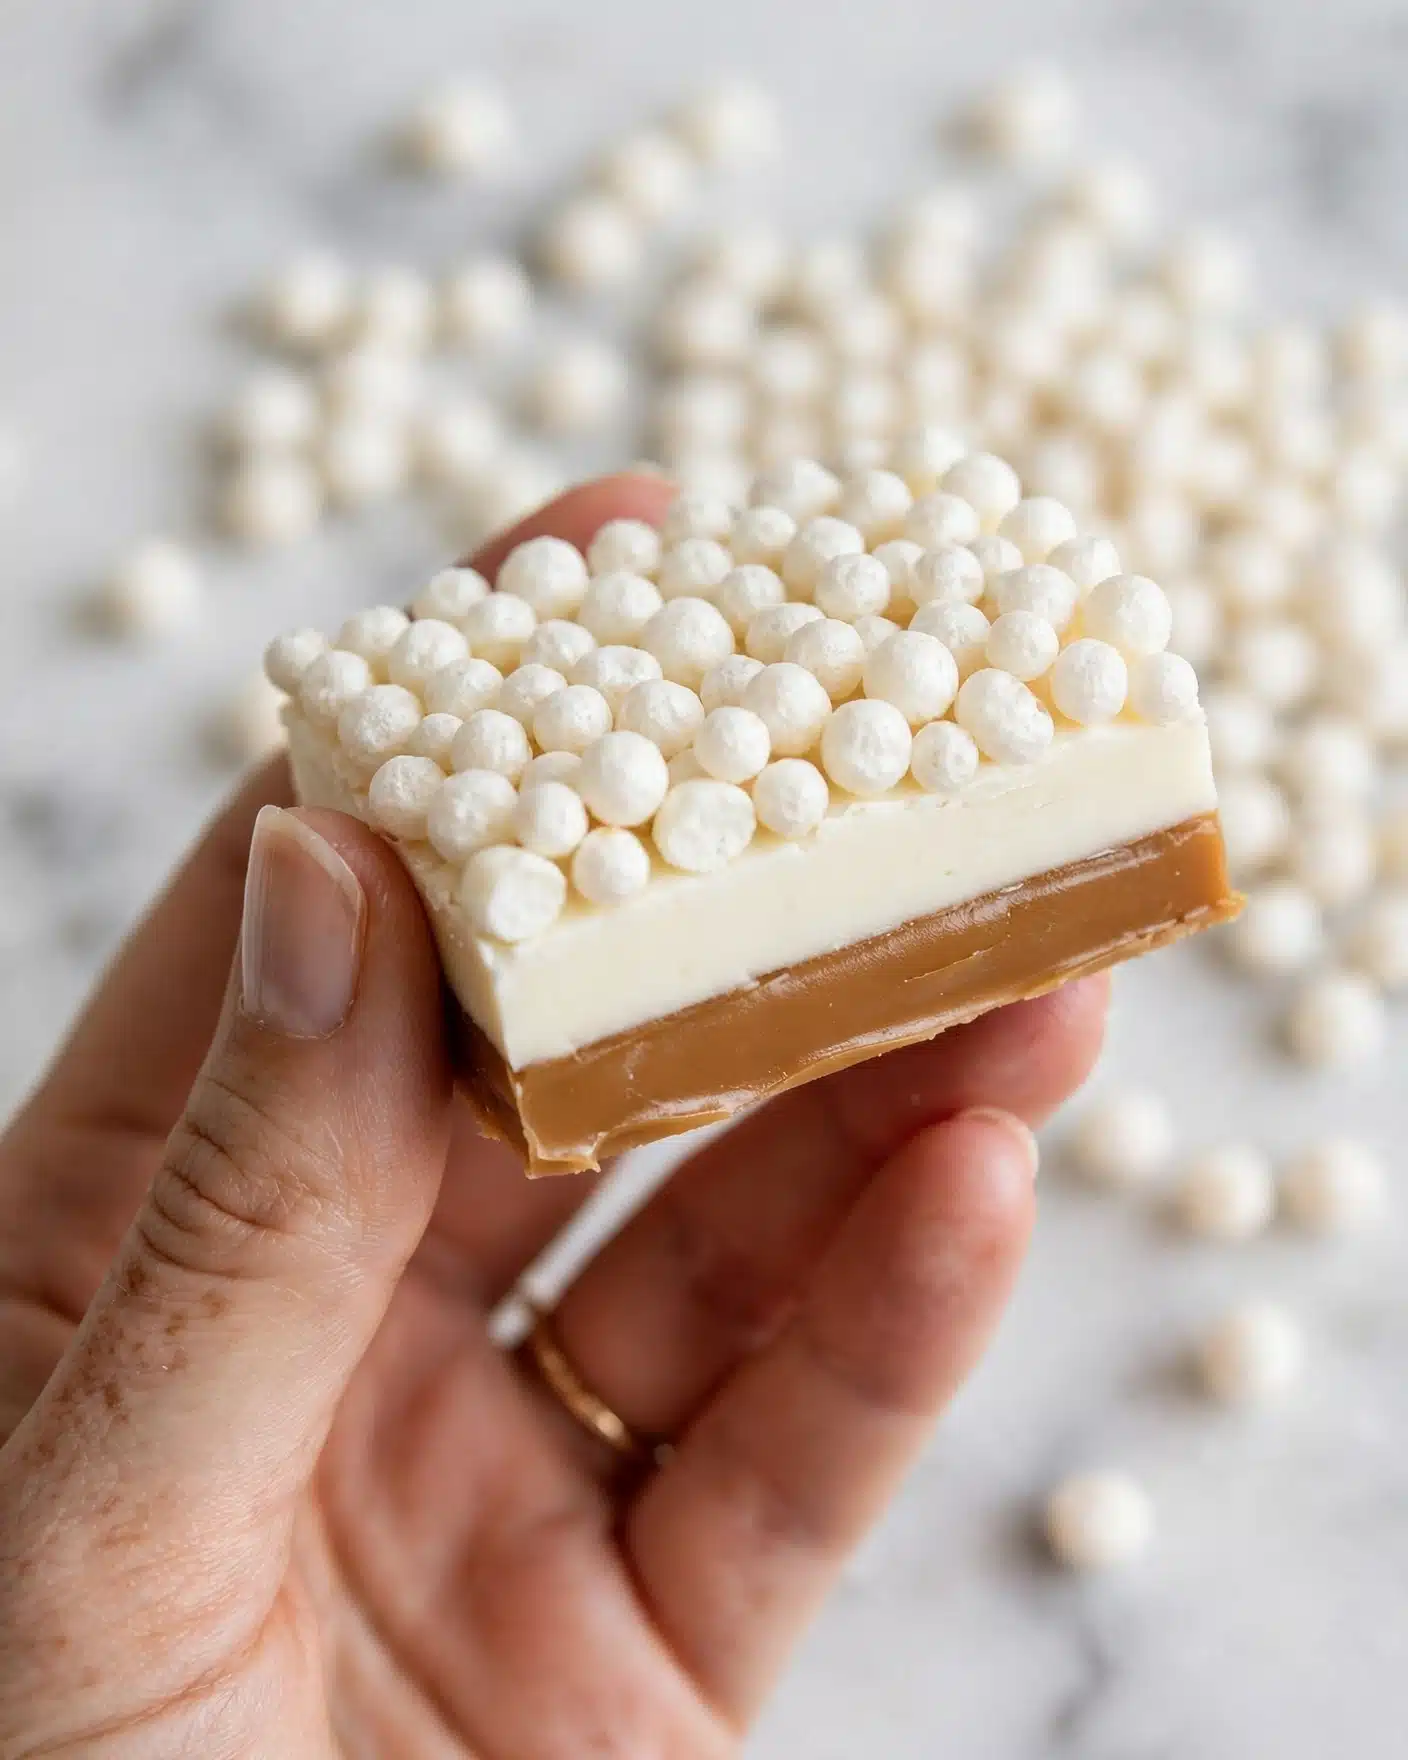
When I serve this fudge, I love presenting it on a decorative platter or rustic wooden board layered with parchment paper for a charming look. It pairs wonderfully with hot beverages like spiced chai tea, rich coffee, or a creamy latte—each bite of fudge balanced by an aromatic sip. For a festive touch, you can garnish each slice with a small sprinkle of edible gold dust or tiny caramel drizzle to echo the buttery sweetness inside.
This fudge shines at holiday gatherings, Harry Potter movie nights, or as a special weekend treat when you want to impress friends or family with a nostalgic twist. I’ve also found that it tastes best served chilled or at room temperature, allowing the flavors to fully unfold. Warm it slightly if you like it softer, but just a few seconds in the microwave—too much heat can spoil the delicate texture.
If you’re planning a party, cut the fudge into small bite-sized pieces and serve it alongside other themed treats like pumpkin pasties or gingerbread cookies. The fudge’s rich sweetness balances out more spice-forward accompaniments beautifully. It’s definitely a crowd-pleaser that gets compliments every time I bring it out.
Variations
I love customizing this Butterbeer Fudge Recipe depending on the occasion or what I have on hand. For example, you can swap the butterscotch chips for caramel chips for a deeper, buttery-caramel flavor. If you want a little crunch, folding in chopped toffee bits or crushed pretzels before chilling adds a fun surprise texture without overpowering the classic flavors.
If you or someone you’re sharing with is vegan, you can try using plant-based “sweetened condensed milk” alternatives (like a coconut milk-based version) and find dairy-free butterscotch and white chocolate chips. It needs a bit of experimenting, but I’ve found it’s possible to get a very similar rich taste with some tweaks.
For an extra flavor kick, try adding a teaspoon of pumpkin spice or a pinch of cinnamon to the butterscotch mixture—you’ll get a cozy, seasonal twist that’s absolutely irresistible. I’ve also experimented with melting the white chocolate in the microwave in short bursts if pressed for time, although stovetop melting gives the smoothest result for swirling.
Storage and Reheating
Storing Leftovers
After you’ve enjoyed some of the fudge, I always keep the leftovers wrapped tightly in plastic wrap or stored in an airtight container. This prevents the fudge from drying out or picking up odors in the refrigerator. Stored this way, the fudge stays fresh for up to two weeks, so you can savor it slowly or share with guests over time.
Freezing
This fudge freezes exceptionally well, which is great if you want to make it ahead or save some for later. I wrap the fudge tightly in plastic wrap, then place it in a freezer-safe zip-top bag or container to protect it from moisture and freezer burn. It’ll keep for up to three months frozen without losing that buttery flavor and smooth texture. To thaw, I recommend moving it to the refrigerator overnight, letting it come back slowly to preserve consistency.
Reheating
I typically don’t reheat fudge in the traditional sense because it’s best enjoyed chilled or at room temperature. If you want it a little softer, you can warm a slice gently in the microwave for 5-10 seconds, but be careful not to melt it too much. Avoid direct stovetop heating or longer microwaving, as this can make it greasy or grainy. Instead, just let it sit at room temperature if you prefer a softer bite.
FAQs
Can I use regular chocolate chips instead of butterscotch chips?
While you absolutely can substitute regular milk or semi-sweet chocolate chips, the fudge loses that signature buttery, caramel-like flavor that butterscotch provides. If you want something closer to butterbeer, I highly recommend sticking with butterscotch chips or trying caramel chips for a slightly different but still delicious twist.
Is this recipe gluten-free?
Yes, this Butterbeer Fudge Recipe is naturally gluten-free as none of the ingredients contain gluten. Just be sure to check your chips and extracts for any cross-contamination if you have a severe gluten allergy or celiac disease.
Can I skip the marshmallow bits on top?
Definitely! The marshmallow bits are optional and mostly add a fun texture and sweet decoration reminiscent of frothy butterbeer foam. If you prefer a smoother fudge, you can leave them out without any impact on the main flavor.
How thick should I make the white chocolate swirl?
The white chocolate swirl should be drizzled in thin streams across the butterscotch layer, allowing you to easily swirl it with a butter knife. If it’s too thick or poured as a whole layer, the fudge texture can become uneven. Gentle swirling creates the perfect marbled look and delightful flavor contrast.
Can I double the recipe?
Yes, this fudge scales up nicely! Just use a larger pan (like 9″x13″) and double all the ingredients. Keep an eye on the cooking time when melting to make sure the chips melt evenly without burning. The chilling time remains the same, but you might want to allow extra time for the fudge to set fully in a bigger batch.
Conclusion
I hope you feel inspired to try this Butterbeer Fudge Recipe because it’s truly one of my favorite indulgences that brings joy and comfort with every bite. It’s simple enough for a quick sweet fix but special enough to impress guests or celebrate festive moments. Give it a go and let yourself fall in love with this buttery, dreamy fudge—it might just become your new favorite treat!
PrintButterbeer Fudge Recipe

Delight in the rich, creamy flavors of Butterbeer Fudge, a luscious treat combining butterscotch and white chocolate swirls with an optional marshmallow topping. This easy-to-make fudge delivers the nostalgic taste of butterbeer in a decadent dessert perfect for sharing.
- Prep Time: 15 minutes
- Cook Time: 10 minutes
- Total Time: 4 hours 25 minutes
- Yield: 12 servings
- Category: Dessert
- Method: Stovetop
- Cuisine: American
Ingredients
Butterscotch Layer
- 2 tbsp. butter
- 1 (14-oz.) can sweetened condensed milk
- 3 cups butterscotch chips
White Chocolate Swirl
- 1/3 cup sweetened condensed milk
- 1/2 tsp. pure vanilla extract
- 1 cup white chocolate chips
Topping (Optional)
- 1 cup marshmallow bits
Instructions
- Prepare the Pan: Line an 8″ x 8″ pan with aluminum foil and spray it with cooking spray to ensure the fudge does not stick. Set the pan aside while you make the fudge layers.
- Make the Butterscotch Layer: In a medium saucepan over medium-low heat, melt the butter. Add the full 14-ounce can of sweetened condensed milk and butterscotch chips. Stir continuously until the butterscotch chips are completely melted and the mixture is smooth and fully combined. Pour this mixture into the prepared pan.
- Create the White Chocolate Swirl: Using a separate small saucepan on medium-low heat, combine the 1/3 cup sweetened condensed milk, vanilla extract, and white chocolate chips. Stir until the white chocolate chips melt and the mixture is smooth. Remove from heat and drizzle this white chocolate mixture evenly over the butterscotch fudge layer. Use a butter knife to gently swirl the two layers together for a marbled effect.
- Add Marshmallow Topping (Optional): Sprinkle marshmallow bits over the top of the fudge, pressing down gently with your hands to ensure they stick to the surface.
- Chill the Fudge: Refrigerate the fudge for at least 4 hours to allow it to set properly. Once set, remove from pan using the foil edges, cut into 12 slices, and serve.
Notes
- Press marshmallows gently into the fudge to prevent them from falling off when cutting or serving.
- For a firmer fudge, extend refrigeration time beyond 4 hours.
- Store fudge in an airtight container in the refrigerator for up to one week.
- You can substitute marshmallow bits with mini marshmallows if preferred, but adjust for size.
- Use high-quality white chocolate chips for best flavor in the swirl.