
I am so excited to share with you my beloved The Best Cheesecake with Homemade Strawberry Topping Recipe, a dessert that feels like a warm hug on a plate. Every time I make this cheesecake, it brings that perfect balance of creamy richness, a buttery graham cracker crust, and the fresh, vibrant burst of homemade strawberry topping that makes it utterly unforgettable. It’s one of my all-time favorites that never fails to impress, whether for a special occasion or a simple weekend treat.
Why You’ll Love This The Best Cheesecake with Homemade Strawberry Topping Recipe
When I think about what makes this cheesecake stand out, it’s the harmony of flavors and textures that really excites me. The crust is buttery and slightly crunchy, perfectly complementing the smooth, luscious cream cheese filling that’s neither too sweet nor too dense. Then, the homemade strawberry topping adds that fresh, fruity burst that elevates it from good to spectacular. I love the subtle tang from the sour cream in the filling and how the vanilla and lemon juice brighten everything up in the right way.
Beyond the taste, what I adore about this recipe is how approachable it feels. Even if you haven’t made cheesecake before, the step-by-step instructions make it manageable without overwhelming you. Plus, the water bath baking technique it uses helps achieve that iconic creamy texture with zero cracks on the surface—trust me, that was a game changer for me. It’s a perfect dessert to bring to family dinners, holiday feasts, or celebrations because it always feels special. I truly believe it deserves a spot in your go-to recipe collection.
Ingredients You’ll Need
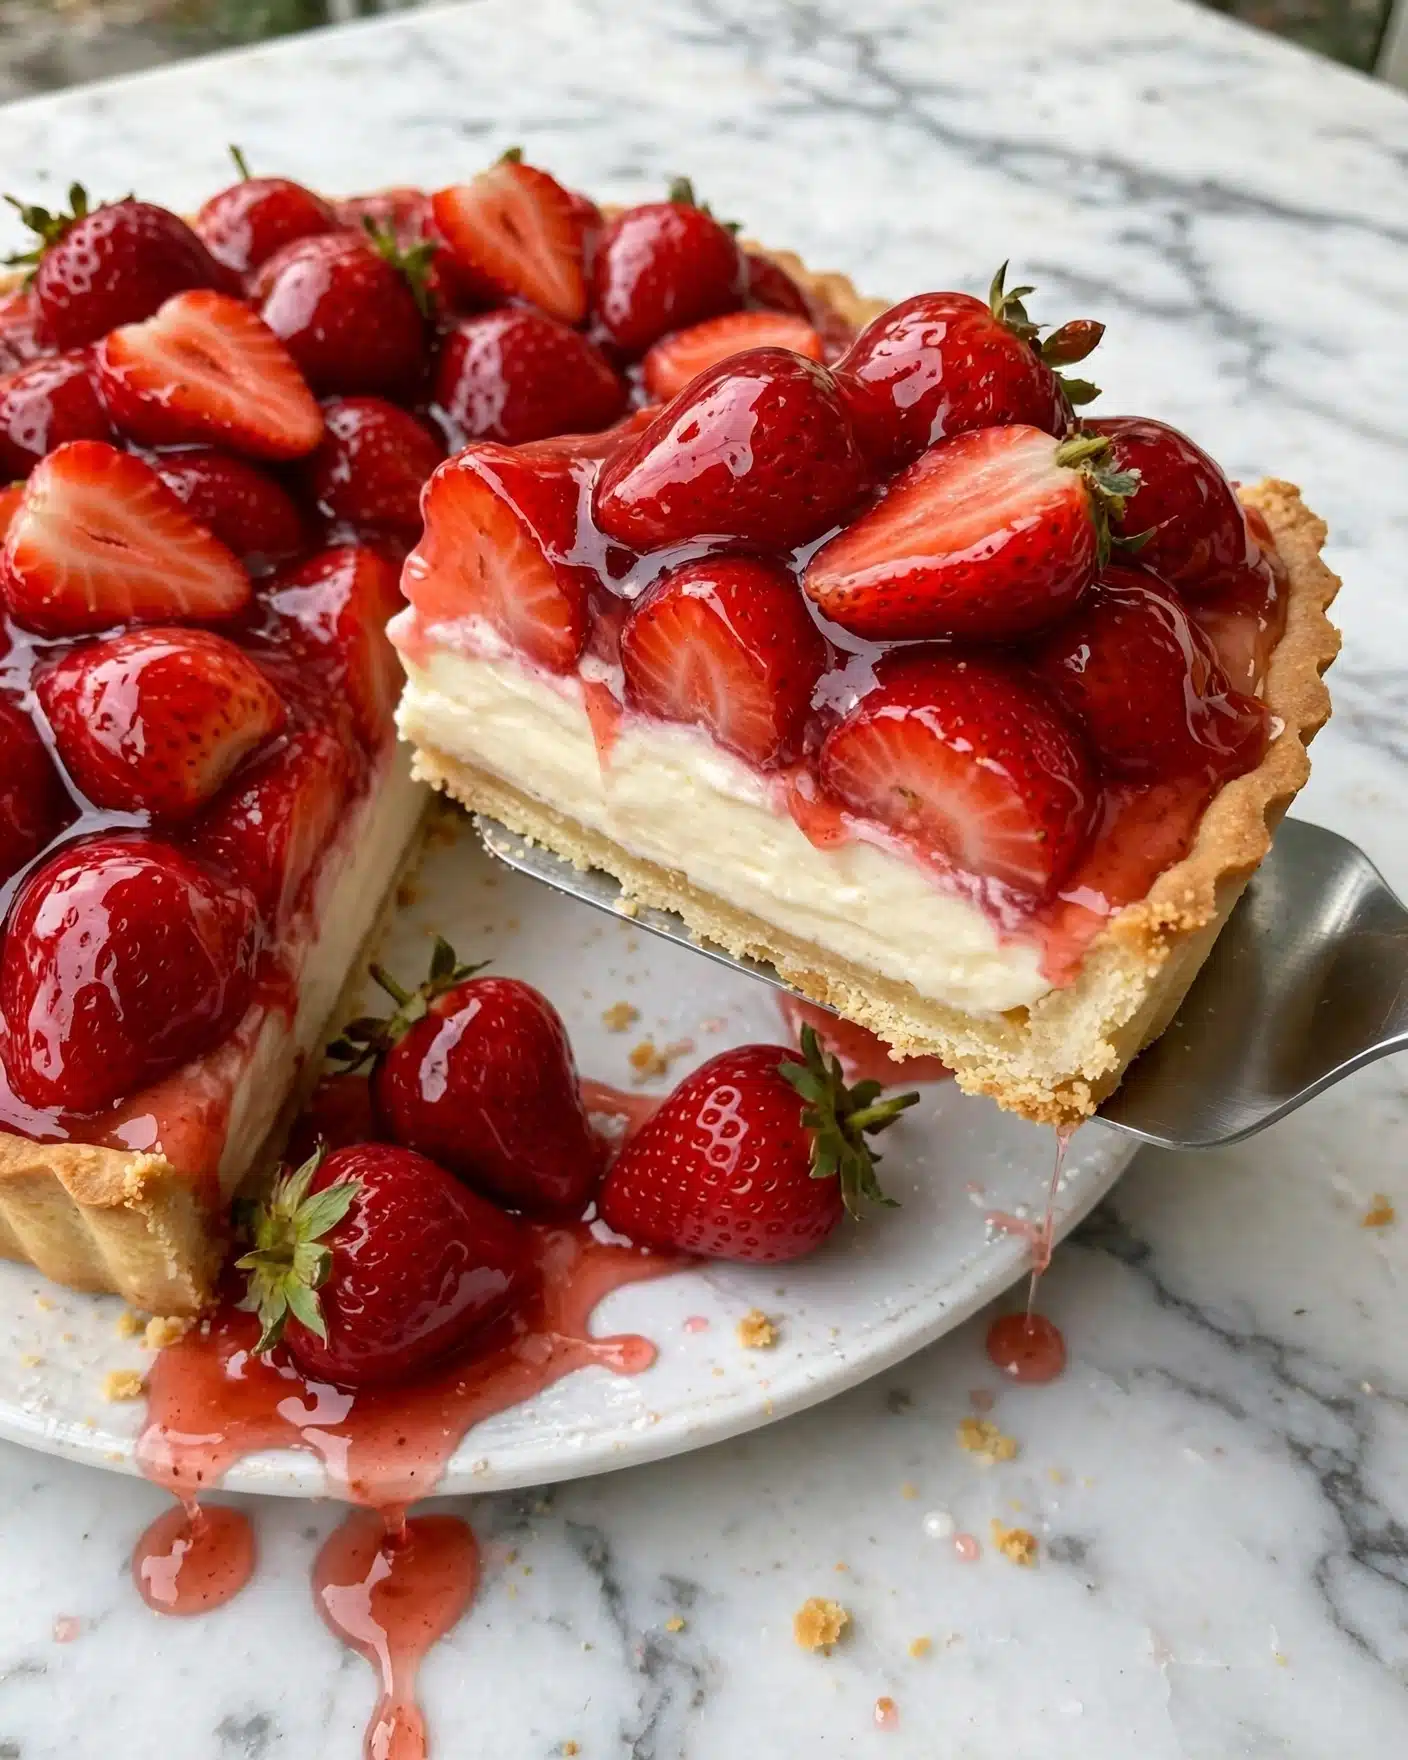
All these ingredients might look simple, but each one plays an essential role in creating the perfect balance of taste, texture, and color in this cheesecake. From the buttery graham cracker crust to the luscious cream cheese filling and the fresh strawberry topping, every component comes together harmoniously.
- Graham cracker crumbs: I use finely crushed graham crackers for a crunchy yet tender crust base.
- Light brown sugar: Adds a subtle caramel note to balance the crust’s sweetness.
- Unsalted butter: Melted butter binds the crust and adds richness.
- Full-fat cream cheese: The heart of the filling, room temperature for smooth mixing.
- Granulated sugar: Sweetens the filling perfectly without overpowering the cream cheese.
- All-purpose flour: Helps stabilize the filling for a velvety texture.
- Sour cream: Adds a slight tang and makes the filling irresistibly creamy.
- Pure vanilla extract: Brings warmth and depth to the filling and topping.
- Large eggs: Room temperature eggs help incorporate air gently without overmixing.
- Fresh strawberries: Divided into diced and halved for the best fresh strawberry topping texture.
- Lemon juice: Brightens the strawberry topping for that fresh, summery zing.
- Cornstarch: Thickens the strawberry syrup to create a glossy, luscious finish.
Directions
Step 1: Preheat your oven to 325°F. Prep your 9-inch deep springform pan by lining the base with parchment paper and lightly spraying it to prevent sticking. Wrap the pan outside with two layers of heavy-duty foil to protect it during the water bath baking.
Step 2: To make the graham cracker crust, pulse the graham crackers in a food processor until fine crumbs form. Add brown sugar and melted butter. Pulse again until the mixture looks like wet sand. Press this evenly into the bottom of your prepared pan using the bottom of a measuring cup for a uniform layer.
Step 3: Bake the crust for 8 to 10 minutes, then remove it and let it cool completely while you prepare the filling. This helps ensure your filling won’t slide off the warm crust later.
Step 4: Beat cream cheese and granulated sugar on medium speed in a stand mixer with a paddle attachment until smooth and lump-free, scraping the bowl as needed.
Step 5: Add flour, sour cream, and vanilla extract. Mix on low speed just until everything is blended.
Step 6: Lightly beat the eggs in a separate bowl. Add the eggs to the cream cheese mixture in two parts, mixing gently on low speed after each addition. Avoid overmixing to keep your cheesecake creamy.
Step 7: Once combined, pour the batter over the cooled crust and smooth the surface. Tap the pan on the counter to release air bubbles.
Step 8: Fold a clean dish towel and place it in the bottom of a roasting pan. Set your springform pan on top and carefully pour hot water into the roasting pan so it reaches about an inch up the sides of the cheesecake pan. This water bath method helps prevent cracks.
Step 9: Bake the cheesecake for 90 to 105 minutes until the edges are set but the center has a slight jiggle. The ideal internal temperature should read between 150 and 155°F.
Step 10: Turn off the oven and crack the door open. Leave the cheesecake inside to cool for 1 hour.
Step 11: Remove the cheesecake from the water bath and let it cool fully to room temperature. Cover it with cling wrap and chill in the refrigerator for at least 6 hours or overnight for best results.
Step 12: For the strawberry topping, combine diced strawberries, granulated sugar, lemon juice, and 1 tablespoon water in a saucepan. Cook over medium heat for 6 minutes until the strawberries release juices and the mixture turns syrupy, stirring occasionally.
Step 13: Mix cornstarch with the remaining tablespoon of cold water until smooth, then stir this slurry into the strawberry mixture. Simmer for 2 minutes until thick and glossy.
Step 14: Remove from heat, stir in vanilla extract, fold in the halved strawberries gently to coat them in the glaze.
Step 15: Let the topping cool for about 15 minutes before spooning it over the chilled cheesecake. Return to the fridge for 20 to 30 minutes so the topping sets nicely.
Step 16: Slice, serve, and indulge in one of the most delightful cheesecakes you’ve ever had!
Servings and Timing
This recipe yields 12 generous servings, perfect for sharing with family or friends. You’ll need about 15 minutes to prep the crust and filling, plus roughly 1 hour and 40 minutes for baking. Don’t forget the crucial resting time — at least 6 hours chilling in the fridge to achieve that creamy, set texture. Altogether, plan for approximately 8 hours and 15 minutes from start to finish, mostly hands-off thanks to the baking and chilling.
How to Serve This The Best Cheesecake with Homemade Strawberry Topping Recipe
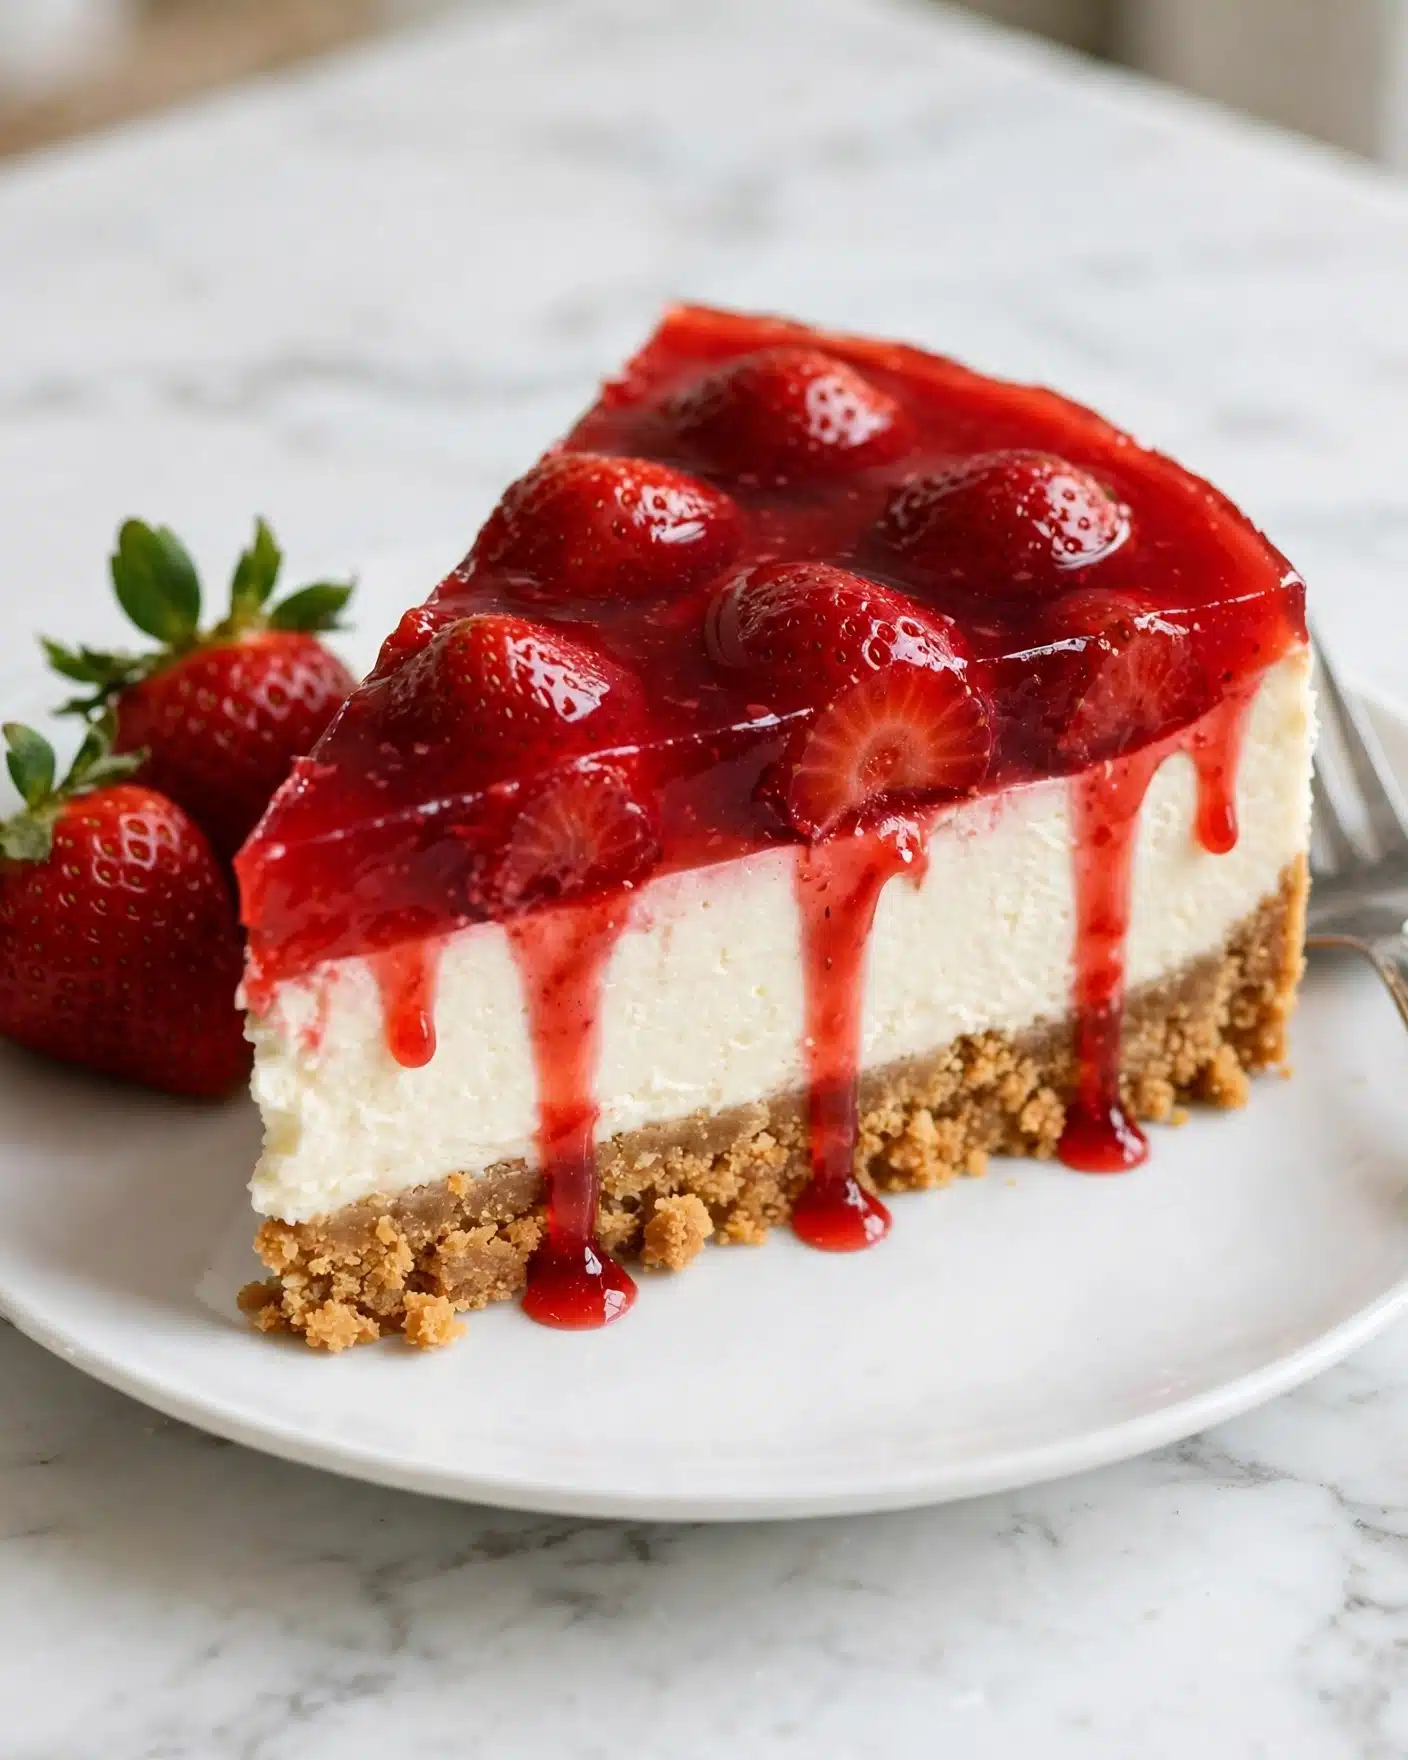
When it comes to serving this cheesecake, I love how versatile it is. It’s best enjoyed chilled straight from the fridge, giving you that smooth, cool bite with the juicy strawberry topping piled high. For presentation, I usually slice it into modest 12 portions, which feels just right so nobody misses out but no one feels overwhelmed.
To make it extra special, try garnishing each slice with a fresh strawberry slice or two and a light dusting of powdered sugar. A sprig of fresh mint adds a lovely pop of color and a refreshing aroma that pairs nicely with the sweet, creamy layers. For side accompaniments, a dollop of whipped cream or a small scoop of vanilla bean ice cream is always a winner.
I also enjoy pairing this cheesecake with crisp, chilled sparkling rosé or a light Moscato if I’m celebrating. If you prefer something non-alcoholic, a glass of sparkling water with a lemon twist or a fragrant cup of herbal tea complements the dessert beautifully. This cheesecake shines during family dinners, holiday gatherings, parties, or whenever you want to treat yourself and loved ones to something truly delicious.
Variations
I get asked often about how to change up this recipe, and I love experimenting! A simple swap like using gluten-free graham crackers lets you enjoy this cheesecake without gluten worries, and it tastes just as amazing. If you want a vegan version, you can use plant-based cream cheese and replace eggs with a vegan egg substitute, although keep in mind the texture will be a bit different but still delightful.
For a fresh twist on flavor, I sometimes swap strawberries for blueberries or raspberries in the topping, or mix in a combo of berries for a more vibrant taste. Adding a swirl of homemade chocolate or caramel sauce into the batter before baking can create a lovely marbled effect and a different flavor profile that’s decadent and rich.
If you want to take a no-bake shortcut, there are no-bake cheesecake versions, but for me, the magic of The Best Cheesecake with Homemade Strawberry Topping Recipe is truly in that carefully baked, creamy filling and the fresh, glossy fruit topping. Trying a slow cooker cheesecake variation can also be fun and results in a slightly different texture but equally satisfying flavor.
Storage and Reheating
Storing Leftovers
Leftover cheesecake should be tightly covered with cling wrap or stored in an airtight container in the refrigerator. I find using a cake container or carefully wrapping the cheesecake pan with foil works great too. It will keep fresh for up to 5 days. Just make sure it’s kept cold to maintain that creamy texture and to preserve the fresh strawberry topping.
Freezing
The cheesecake freezes wonderfully if you want to save some for later. I recommend freezing it without the strawberry topping first. Wrap the cheesecake tightly with plastic wrap, then in foil, and store it in a freezer-safe container. It can last up to 2 months frozen. When ready to enjoy, thaw it overnight in the refrigerator, then add the fresh strawberry topping before serving for that just-made taste and texture.
Reheating
I personally avoid reheating cheesecake because I love it best chilled, but if you prefer it a little less cold, letting a slice sit at room temperature for 15 to 20 minutes softens it perfectly. Avoid microwaving as it can cause the texture to curdle or become grainy. A gentle warming by leaving it out or slightly warming your plate before serving makes the experience just right without compromising the cheesecake’s creaminess.
FAQs
Can I make this cheesecake ahead of time?
Absolutely! This cheesecake actually tastes better after resting overnight. Making it the day before allows the flavors to meld wonderfully and the texture to set perfectly. Just make sure it’s chilled and covered tightly in the fridge until serving.
Why do you bake the cheesecake in a water bath?
The water bath creates a gentle, even cooking environment that helps prevent cracks and keeps the cheesecake super creamy. The steam from the water softens the heat around the sides, avoiding drying out the edges or creating air bubbles.
Can I use frozen strawberries for the topping?
While fresh strawberries give the best texture and brightness, you can use frozen ones if needed. Thaw them fully and drain excess liquid before preparing the topping to avoid a watery finish.
How do I avoid cracks on top of my cheesecake?
Besides the water bath, avoid overmixing the batter and don’t open the oven door during baking. Also, cooling the cheesecake gradually by leaving it in the turned-off oven with the door cracked helps prevent cracks from sudden temperature changes.
What if I don’t have a stand mixer?
No worries! You can use a hand mixer to achieve the same smooth, lump-free batter. Just be patient and scrape down the sides of your mixing bowl frequently to ensure everything is evenly combined.
Conclusion
I truly hope you’ll give The Best Cheesecake with Homemade Strawberry Topping Recipe a try soon. It’s a dessert that feels like a celebration in every bite and comes with the added joy of making it yourself. I promise, once you experience that creamy filling paired with the fresh, glossy strawberry topping, this recipe will become a treasured favorite in your kitchen, just like it is in mine.
PrintThe Best Cheesecake with Homemade Strawberry Topping Recipe
This classic cheesecake recipe features a creamy, smooth full-fat cream cheese filling baked over a buttery graham cracker crust and topped with a luscious homemade strawberry glaze. The dessert is baked in a water bath to ensure a silky texture, and the fresh strawberry topping adds a bright, sweet finish perfect for any occasion.
- Prep Time: 30 minutes
- Cook Time: 1 hour 45 minutes
- Total Time: 8 hours 15 minutes
- Yield: 12 servings
- Category: Dessert
- Method: Baking
- Cuisine: American
Ingredients
Graham Cracker Crust
- 2 cups graham cracker crumbs (about 16 full sheets graham crackers)
- 1/4 cup light brown sugar
- 8 tablespoons unsalted butter (melted)
Cheesecake Filling
- 32 ounces full-fat cream cheese (at room temperature)
- 1 cup granulated sugar
- 2 tablespoons all-purpose flour
- 1 cup sour cream (at room temperature)
- 1 1/2 teaspoons pure vanilla extract
- 4 large eggs (at room temperature)
Homemade Strawberry Topping
- 3 cups fresh strawberries (1 1/2 cups diced, 1 1/2 cups halved)
- 1/3 cup granulated sugar
- 1 tablespoon lemon juice
- 2 tablespoons water (divided)
- 2 teaspoons cornstarch
- 1/4 teaspoon vanilla extract
Instructions
- Preheat and prepare the pan: Preheat your oven to 325°F. Line the base of a 9-inch deep springform pan with parchment paper and lightly grease the entire pan with nonstick baking spray. Wrap the outside of the pan with two layers of heavy-duty foil to prevent water leaks during baking.
- Make the graham cracker crust: In a food processor, pulse the graham crackers into fine crumbs. Add the brown sugar and melted butter, then pulse until the mixture resembles wet sand and is evenly combined.
- Press and bake the crust: Firmly press the crust mixture into the bottom of the prepared pan using the bottom of a measuring cup to create an even layer. Bake the crust for 8–10 minutes, then remove and let it cool completely while preparing the filling.
- Prepare the cheesecake filling: In the bowl of a stand mixer fitted with the paddle attachment, beat the cream cheese and granulated sugar on medium speed until smooth and lump-free, scraping down the bowl as needed.
- Incorporate additional ingredients: Add the flour, sour cream, and vanilla extract. Mix on low speed until just combined.
- Add the eggs: Lightly beat the eggs in a separate bowl. Add them to the batter in two additions, mixing on low speed briefly after each addition. Avoid overmixing and then finish by folding the batter gently with a rubber spatula to ensure uniformity.
- Assemble the cheesecake: Pour the batter over the cooled crust and smooth the top. Gently tap the pan on the counter to release any air bubbles.
- Prepare the water bath: Fold a dish towel and place it in a large roasting pan. Set the springform pan on top of the towel. Carefully pour hot water into the roasting pan until it reaches about 1 inch up the sides of the cheesecake pan.
- Bake the cheesecake: Bake for 90–105 minutes, or until the edges are set and the center slightly jiggles when gently shaken. The internal temperature should be about 150–155°F.
- Cool in the oven: Turn off the oven, crack the door open, and allow the cheesecake to cool inside for 1 hour.
- Chill the cheesecake: Remove the cheesecake from the water bath and let it cool completely at room temperature. Cover with cling wrap and refrigerate for at least 6 hours or overnight to fully set.
- Make the strawberry topping: In a small saucepan, combine diced strawberries, sugar, lemon juice, and 1 tablespoon of water. Cook over medium heat for 6 minutes, stirring occasionally until the strawberries release juice and the mixture thickens into a syrup.
- Thicken the topping: Whisk cornstarch and remaining 1 tablespoon cold water until smooth. Stir this slurry into the hot strawberry mixture and simmer for 2 minutes until glossy and thickened.
- Finish the topping: Remove from heat and stir in the vanilla extract. Gently fold in the halved strawberries to coat them with glaze.
- Cool the topping: Let the topping cool for 15 minutes before spooning it over the chilled cheesecake.
- Set the topping: Refrigerate the topped cheesecake for 20–30 minutes to allow the strawberry glaze to set before slicing.
- Serve: Slice, serve, and enjoy your creamy cheesecake with fresh strawberry topping!
- Additional note: Step-by-step photos for the entire process are available below the recipe for guidance if needed.
Notes
- Using room temperature ingredients helps achieve a smooth filling.
- Do not overmix the batter to prevent cracks and dense texture.
- Wrap the pan well to avoid water leakage during the water bath baking.
- Allow the cheesecake to chill thoroughly for best texture and flavor.
- The homemade strawberry topping adds a fresh, tangy complement to the rich cheesecake.


