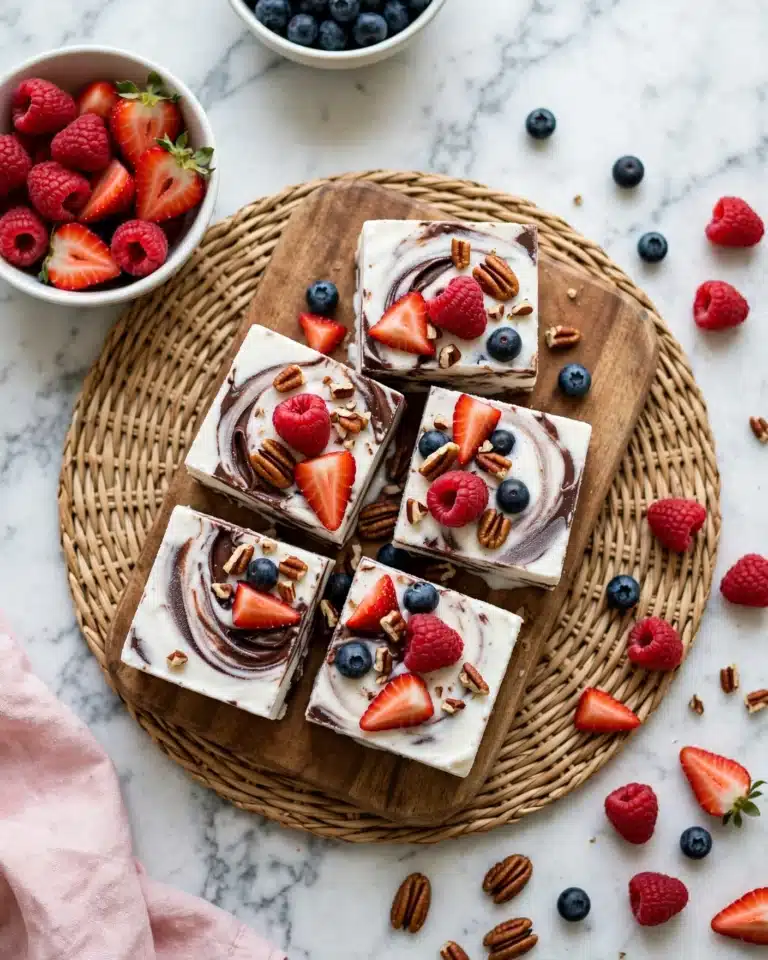
I absolutely adore sharing this Easy Fudge Recipe because it brings together rich chocolate flavor and a creamy, melt-in-your-mouth texture with surprisingly little effort. Whenever I want a sweet treat that feels indulgent but doesn’t demand hours in the kitchen, this fudge is my go-to. It’s creamy, luscious, and just perfect for sharing—or keeping all to yourself!
Why You’ll Love This Easy Fudge Recipe
What I really love about this Easy Fudge Recipe is its decadent chocolate flavor balanced by a subtle hint of vanilla and just a pinch of flaky sea salt. The blend of semi-sweet chocolate chips and sweetened condensed milk creates this incredibly rich and smooth texture that feels luxurious with every bite. It’s never grainy or hard but perfectly soft and creamy, which makes it so comforting and satisfying.
The other reason I’m so passionate about this fudge is how wonderfully simple it is to prepare. You don’t need any fancy equipment or complicated steps, just a few staple ingredients and some patience while it chills. Whether I’m prepping for a holiday gathering or a casual get-together, I know this recipe will impress without adding stress. Plus, it’s endlessly adaptable, so I can tweak it to suit my mood or what I have on hand. Truly a winner in my kitchen!
Ingredients You’ll Need
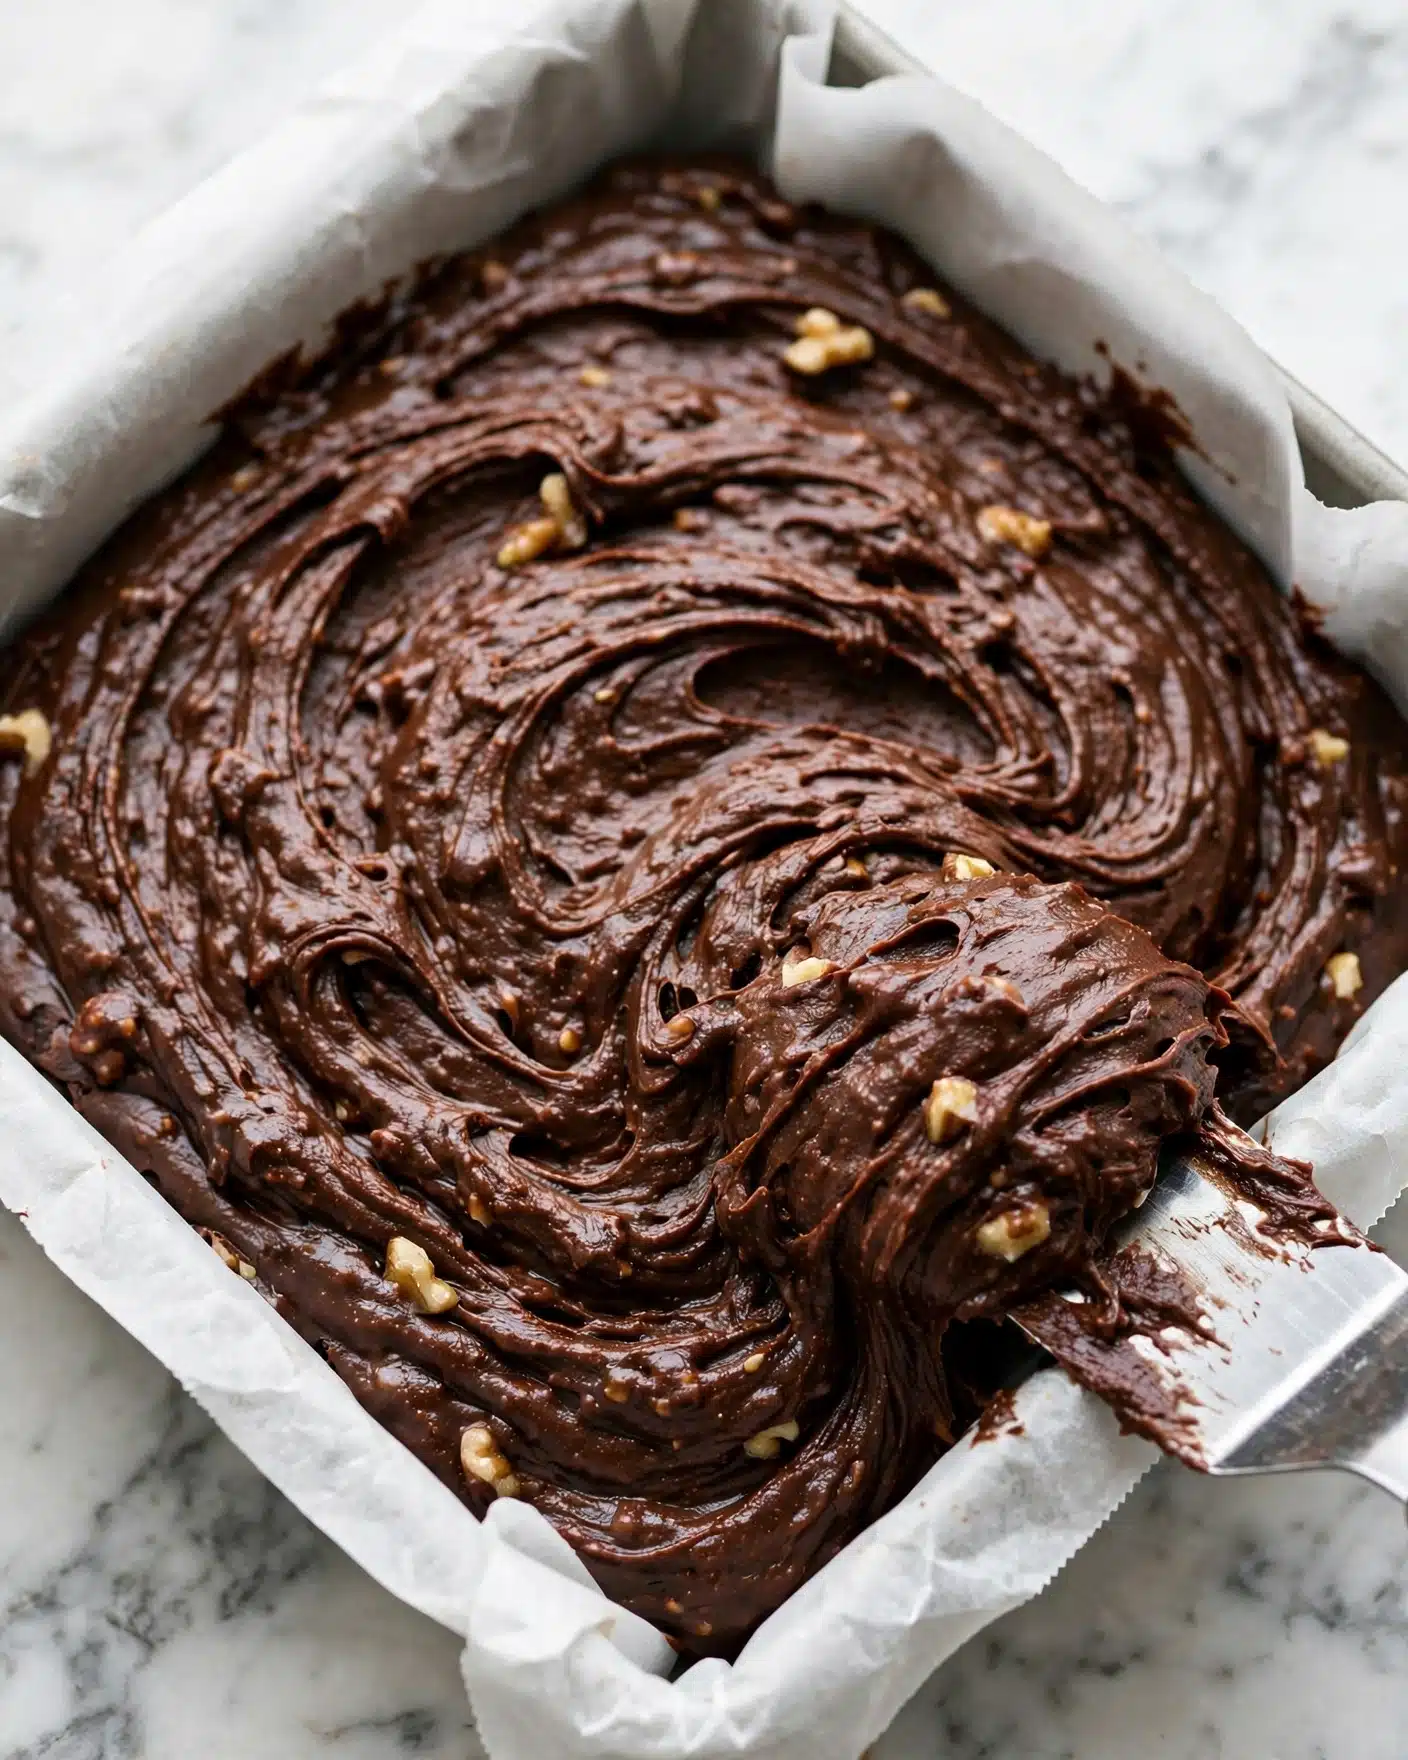
Every ingredient in this Easy Fudge Recipe plays a crucial role in achieving that perfect texture and flavor, and honestly, the list is wonderfully simple. Each component brings its own magic — from creamy butter to rich chocolate and the crunchy nuts that add delightful contrast.
- 3 cups semi-sweet chocolate chips: I recommend Guittard for its smooth melting and rich flavor that makes the fudge truly decadent.
- 2 tablespoons unsalted butter: Adds creaminess and helps everything melt beautifully together without overpowering the chocolate.
- 14 oz can sweetened condensed milk: The secret to fudge’s silky texture and subtle sweetness, no extra sugar needed.
- 1/2 teaspoon flaky sea salt: Just a pinch balances sweetness and enhances the chocolate notes.
- 1 teaspoon pure vanilla extract: A splash of vanilla deepens the fudge’s flavor and makes it more aromatic.
- 1 cup chopped toasted pecans or walnuts (optional): Adds a wonderful crunch and nutty richness if you want some texture.
Directions
Step 1: Begin by lining an 8-inch square baking dish with parchment paper or aluminum foil, making sure to leave about a 1-inch overhang on the sides. This helps with easy removal later. Lightly spritz with nonstick cooking spray, then dab off any excess oil with a paper towel. This prevents sticking without making the fudge greasy.
Step 2: Set up a double boiler by placing a large, heatproof bowl over a pan of simmering water on medium-low heat. Add your chocolate chips and butter to the bowl. Stir gently but continuously with a spatula so the mixture melts evenly and combines into a glossy smooth chocolate base. It’s important the water doesn’t touch the bowl bottom so the chocolate doesn’t scorch.
Step 3: Once melted, remove the bowl from heat and stir in the sweetened condensed milk, flaky sea salt, and vanilla extract. Mix until everything is perfectly smooth with no lumps. If you’re adding nuts, fold them in now so they are evenly distributed throughout the mixture.
Step 4: Pour the luscious chocolate mixture into your prepared pan. Use your spatula to spread it out evenly and smooth the top so the fudge sets with a nice flat surface.
Step 5: Place the pan in the refrigerator and let the fudge chill for about 2 to 3 hours. It needs this time to set fully into that perfect firm-but-creamy texture we all crave.
Step 6: Once set, carefully lift the fudge using the parchment paper or foil overhang and transfer it to a cutting board. Cut into small squares—about an inch or so—to serve. Then dive right in!
Servings and Timing
This recipe yields approximately 25 delicious pieces of fudge, perfect for sharing or gifting. The prep time is really just about 10 minutes, which mostly involves melting and mixing the ingredients. The cook time is minimal since you only melt the chocolate and butter—about 5 to 10 minutes. The real magic happens during the chilling time, which takes 2 to 3 hours for the fudge to set properly. So, including chill time, you’re looking at roughly 2 hours and 10 minutes from start to finish. It’s a fantastic make-ahead treat that saves you last-minute hassle!
How to Serve This Easy Fudge Recipe
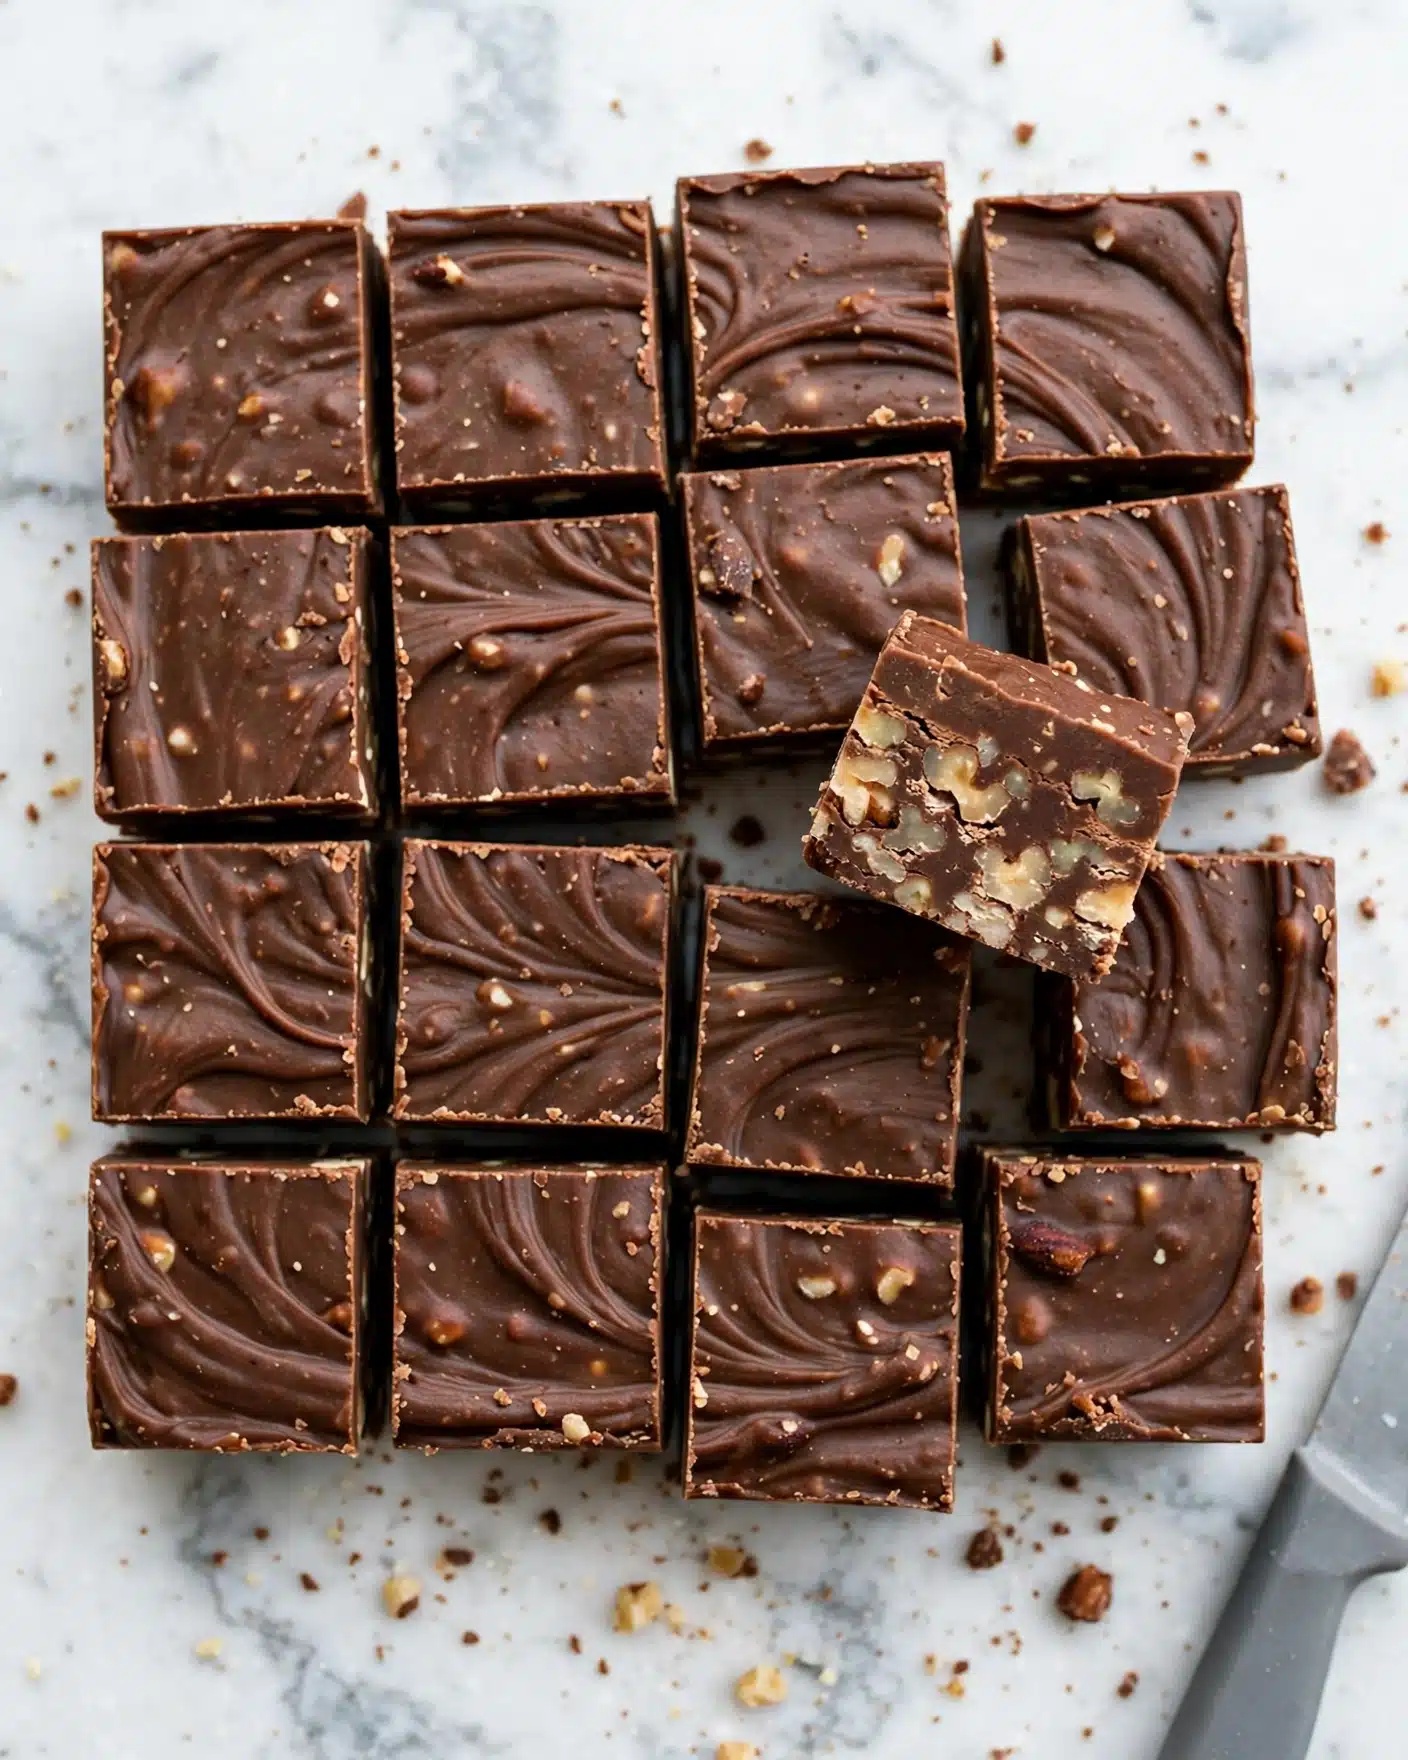
When I serve this fudge, I like to let it come to room temperature so it’s not too hard and the chocolate flavor really shines. It’s delightful on its own as a little sweet bite after dinner or alongside a cup of rich coffee or black tea. The creamy texture pairs beautifully with the warmth and slight bitterness of those beverages, making every bite feel indulgent yet balanced.
If I’m serving this at a party or holiday gathering, I like to arrange the fudge squares on a pretty platter and sprinkle a few extra toasted nuts or a tiny pinch of flaky sea salt on top for a polished look. Sometimes, I add a few fresh raspberries on the side — their tartness cuts through the richness perfectly. It’s also charming to include a small bowl of caramel sauce for dipping if you want to elevate it even more.
This fudge also pairs wonderfully with festive drinks like a rich red wine, especially a fruity Zinfandel or Port. For non-alcoholic options, a sparkling cranberry mocktail or creamy vanilla chai brings out the vanilla notes in the fudge beautifully. Honestly, this recipe is so versatile it fits any occasion, from casual weeknight indulgences to holiday dessert tables!
Variations
I love experimenting with this Easy Fudge Recipe to suit different tastes or dietary needs. For example, you can swap the semi-sweet chocolate chips for dark chocolate or milk chocolate, depending on how intense or sweet you want your fudge. Using dark chocolate gives it a more sophisticated, slightly bittersweet edge, while milk chocolate adds a lighter, creamier sweetness.
For my vegan friends, I’ve had excellent results using dairy-free chocolate chips and replacing the sweetened condensed milk with a homemade coconut condensed milk alternative. It takes a bit more effort but creates a lovely creamy fudge that everyone enjoys. Similarly, anyone with nut allergies can simply omit the nuts or substitute with toasted seeds like pumpkin or sunflower seeds for a lovely crunch.
If you want to add a twist, try swirling in flavored extracts like peppermint, orange, or almond instead of vanilla for a different dimension. You can also mix in dried fruit or mini marshmallows for a fun texture contrast. The stovetop melting method works perfectly, but I’ve also made fudge in the microwave in short bursts (stirring frequently) if I’m in a hurry, and it turns out just as lush!
Storage and Reheating
Storing Leftovers
I always store leftover fudge in an airtight container to keep it fresh and prevent it from drying out or picking up odors from the fridge. Placing parchment paper between layers stops pieces from sticking together. Stored this way, the fudge stays perfectly delicious for up to two weeks in the refrigerator. Just be sure it’s well-covered and chilled so it maintains its creamy firmness.
Freezing
This Easy Fudge Recipe freezes exceptionally well, which is perfect if you want to make a big batch ahead of time. Wrap individual pieces tightly in plastic wrap and then place them in a freezer-safe container or zip-top bag to avoid freezer burn. Frozen fudge can last up to 3 months. When you’re ready to enjoy, thaw it overnight in the fridge for the best texture.
Reheating
Fudge isn’t typically reheated like other desserts, but if you want it a bit softer, simply let it warm to room temperature naturally. Avoid microwaving fudge directly as it can melt unevenly or become grainy. Instead, if you want a warm fudge sauce, gently melt a portion in a double boiler or briefly in the microwave, stirring carefully. This way you can enjoy it as a dip or drizzle without losing the original creamy texture.
FAQs
Can I use different types of chocolate in this Easy Fudge Recipe?
Absolutely! You can experiment with milk, dark, or even white chocolate chips. Just keep in mind that white chocolate tends to be sweeter and less stable when melted, so you might want to adjust sweetness or add stabilizers. Using high-quality chocolate always produces the best results in terms of flavor and texture.
Do I have to use nuts, or can I leave them out?
Nuts are completely optional in this recipe. They add a lovely crunch and nutty richness, but the fudge is fantastic on its own with just the creamy chocolate base. If you’re allergic or prefer a smoother fudge, simply omit the nuts.
What’s the best way to cut fudge without it sticking to the knife?
I find using a sharp knife warmed under hot water and wiped dry between cuts works wonders. Press firmly and cut straight down without dragging to maintain clean edges and prevent sticking. Chilling the fudge thoroughly also helps it hold its shape when sliced.
Can I make this fudge vegan or dairy-free?
Yes! Swap the semi-sweet chocolate chips for dairy-free varieties and replace sweetened condensed milk with a coconut milk-based condensed milk alternative. It might require a bit of experimentation for texture, but I’ve had success with this in the past. Vegan butter or coconut oil can replace unsalted butter seamlessly.
How long will this fudge last at room temperature?
Since fudge contains dairy and butter, I recommend keeping it refrigerated to maintain freshness and texture. At room temperature, especially in warm climates, it can soften too much or even spoil within a day or two. Refrigeration helps it keep its shape and taste perfectly for up to two weeks.
Conclusion
I truly hope you give this Easy Fudge Recipe a try because it has been such a joyful staple in my kitchen. It’s sweet, simple, and reliably delicious, making it a perfect homemade treat to brighten any day or celebration. Once you taste how silky and rich it is, I bet it’ll become one of your favorite go-to recipes too. Happy fudge making!
PrintEasy Fudge Recipe

This Easy Fudge recipe delivers a rich and creamy treat made with semi-sweet chocolate chips, butter, and sweetened condensed milk. Enhanced with a touch of vanilla and flaky sea salt, and optionally studded with toasted nuts, this classic fudge is simple to prepare and perfect for slicing into bite-sized squares after chilling.
- Prep Time: 15 minutes
- Cook Time: 10 minutes
- Total Time: 2 hours 25 minutes
- Yield: 25 servings
- Category: Dessert
- Method: Stovetop
- Cuisine: American
Ingredients
Fudge Base
- 3 cups semi-sweet chocolate chips (Guittard recommended)
- 2 tablespoons unsalted butter
- 14 oz can sweetened condensed milk
- 1/2 teaspoon flaky sea salt
- 1 teaspoon pure vanilla extract
Optional Mix-ins
- 1 cup chopped toasted pecans or walnuts
Instructions
- Prepare pan: Line an 8-inch square baking dish with parchment paper or aluminum foil, leaving about a 1-inch overhang on the sides for easy removal. Lightly spray with nonstick cooking spray and dab away any excess oil with a paper towel. Set aside.
- Melt chocolate and butter: In a large heatproof bowl, combine the chocolate chips and butter. Place the bowl over a pan of simmering water (double boiler method) over medium-low heat, making sure the water does not touch the bottom of the bowl. Stir with a spatula until fully melted and smooth.
- Add remaining ingredients: Remove from heat and stir in the sweetened condensed milk, flaky sea salt, and vanilla extract until well combined and smooth. If using nuts, fold them in evenly at this point.
- Pour and spread: Pour the fudge mixture into the prepared pan and spread the top evenly with a spatula to create a smooth surface.
- Chill to set: Refrigerate the fudge for 2 to 3 hours or until fully set and firm to the touch.
- Cut and serve: Use the parchment or foil overhang to lift the fudge out of the pan. Cut into small squares and serve.
Notes
- Use a good quality chocolate for best flavor and smooth texture.
- To toast nuts, place them in a dry skillet over medium heat for 5-7 minutes, stirring frequently until fragrant and golden.
- Store fudge in an airtight container in the refrigerator for up to 2 weeks.
- Allow fudge to sit at room temperature for a few minutes before serving for a softer bite.
- Adjust salt amount to taste or use regular table salt if flaky sea salt is unavailable.